How to Layer a Gorgeous Card!
New Vintage Love Release from Honey Bee Stamps!
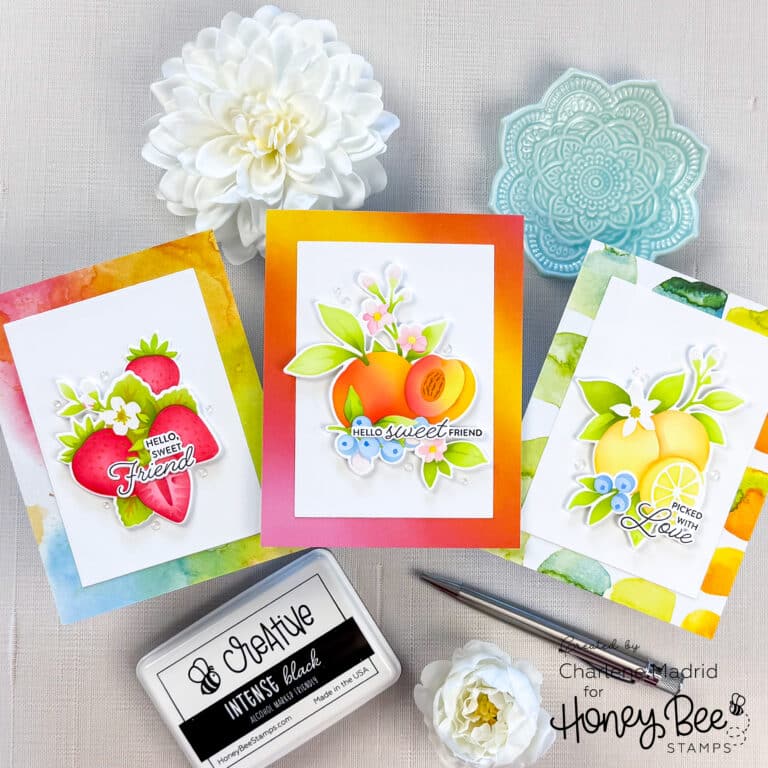
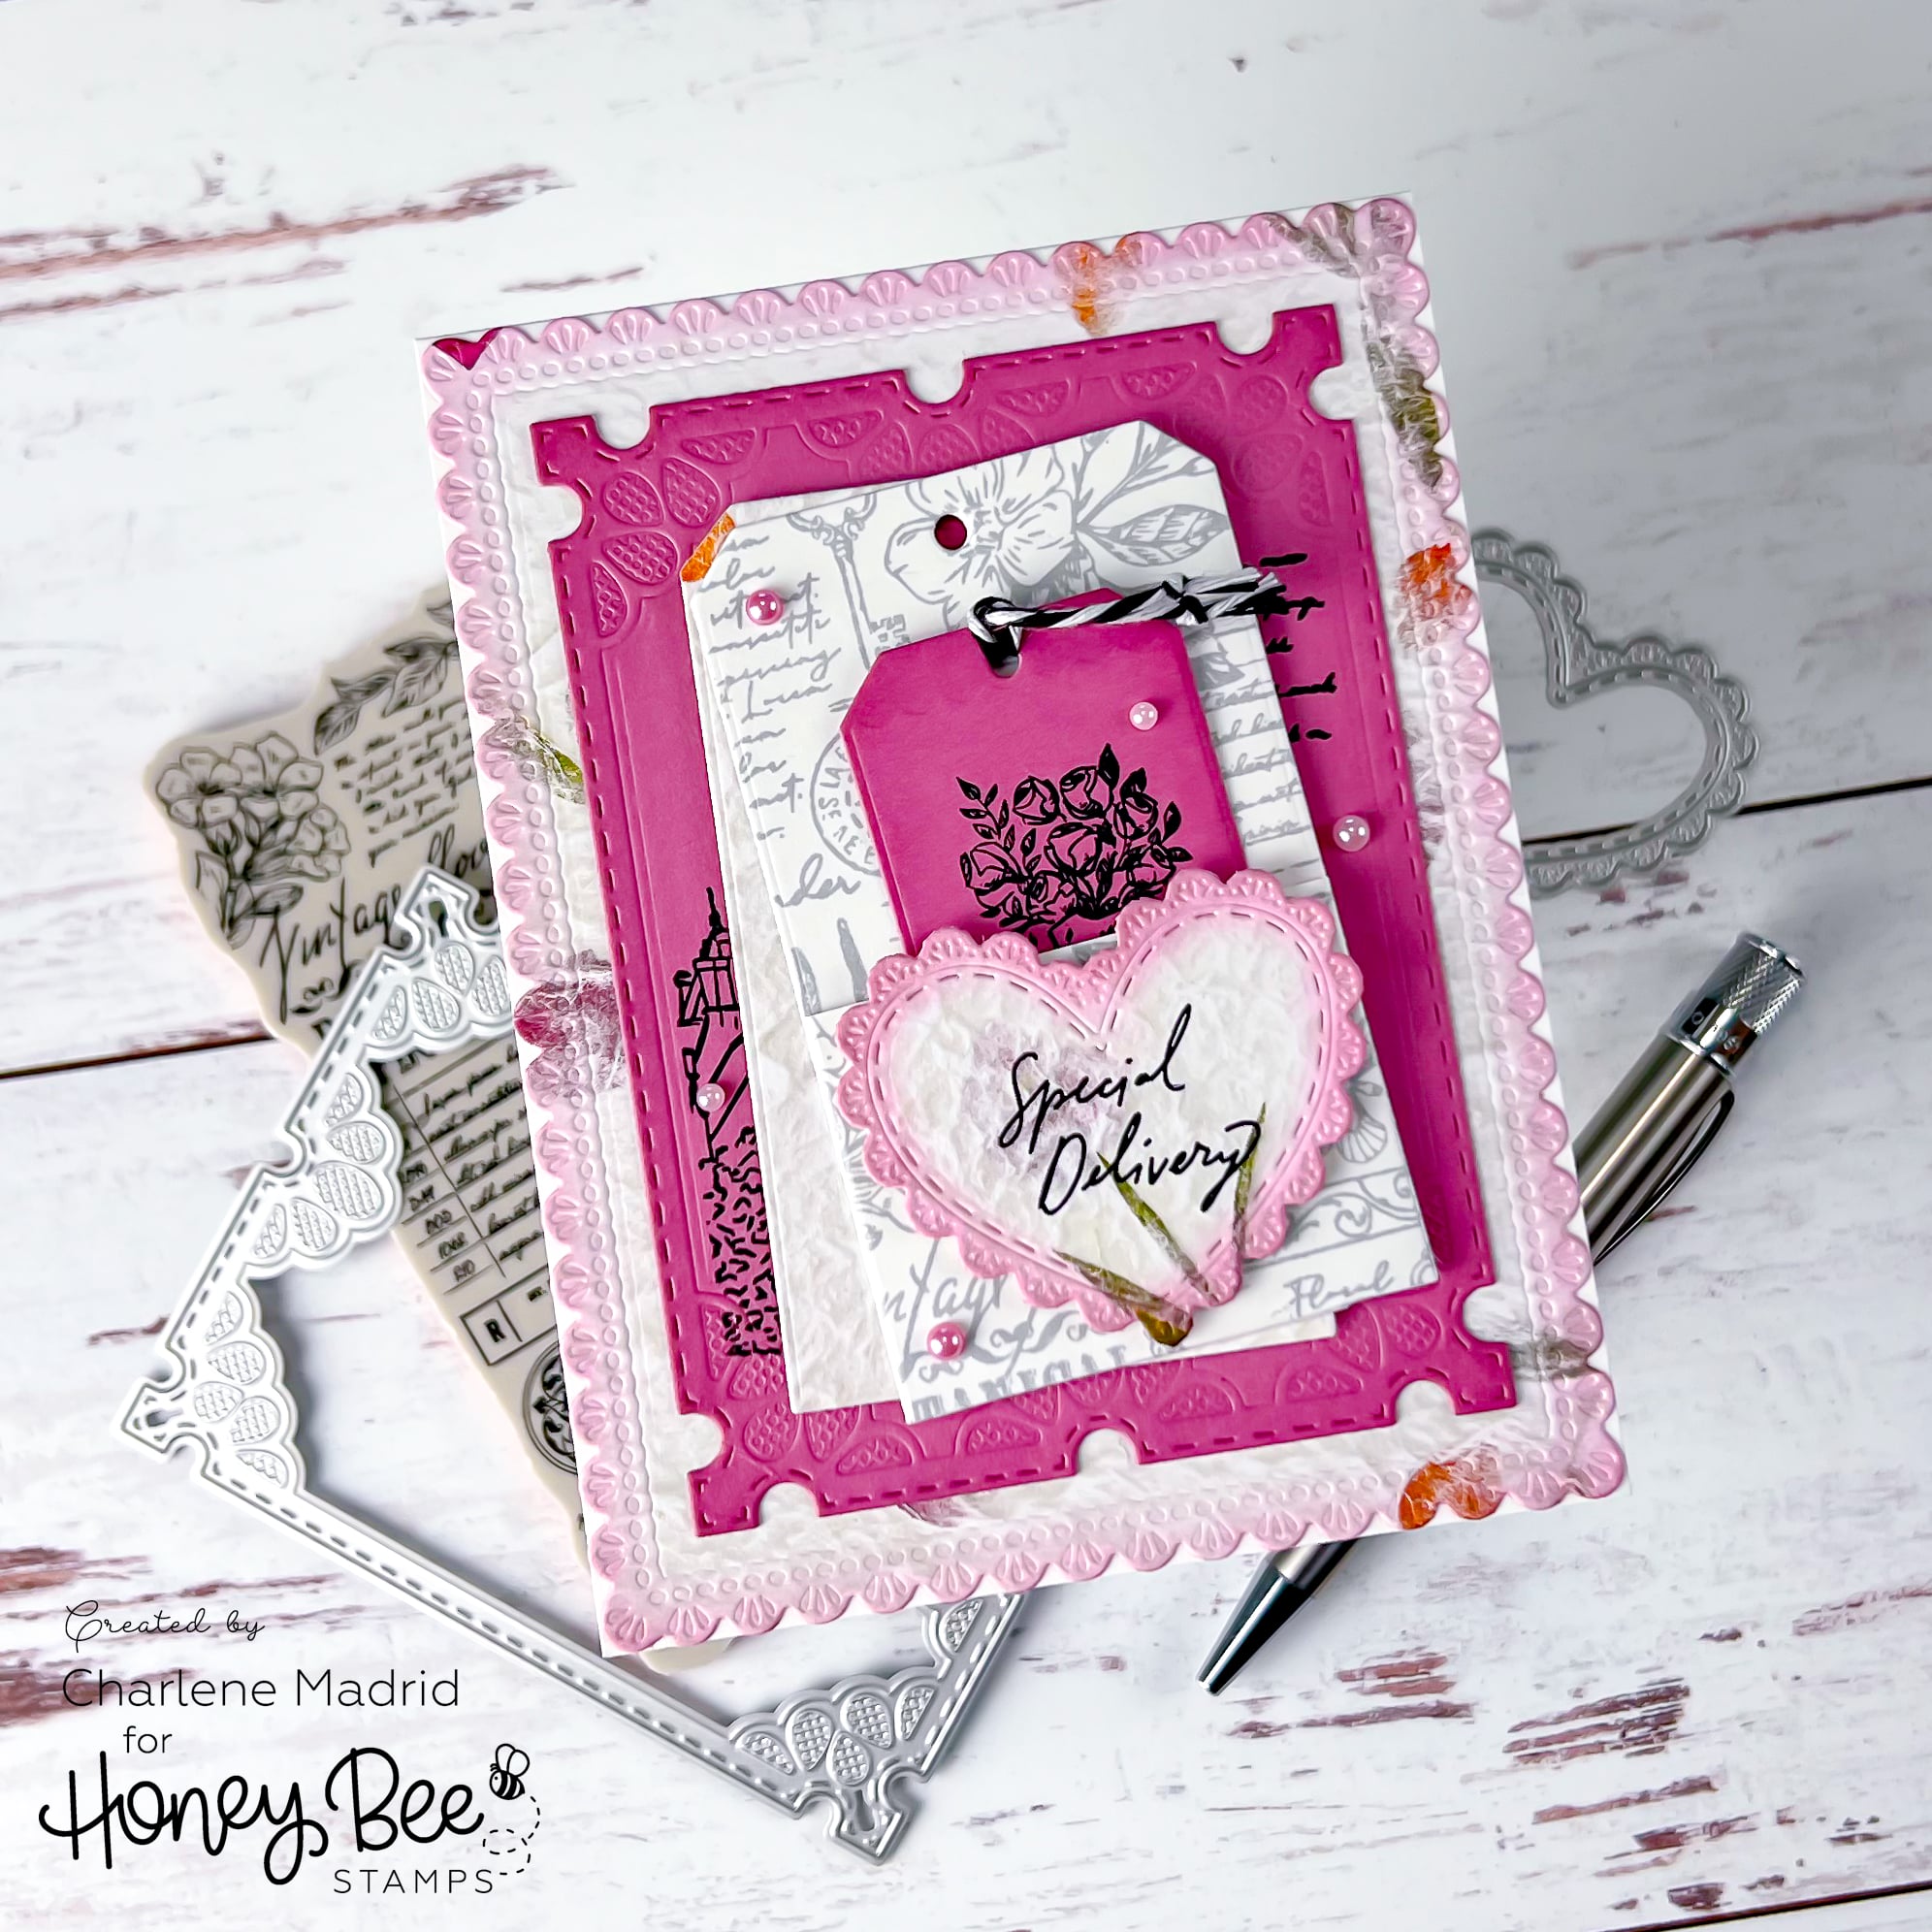
Hey fellow crafters! I am excited to share this card featuring the NEW Vintage Love Release from Honey Bee Stamps. I went a little outside of my comfort zone and I am so glad! Today, we’re diving into the creation of a layered card that’s equal parts elegant and playful.
I’ve captured the entire journey in a video tutorial on my YouTube channel. So, grab your crafting essentials, hit play, and let’s embark on a layered perfection journey with Vintage Love. Happy crafting!
Disclosure
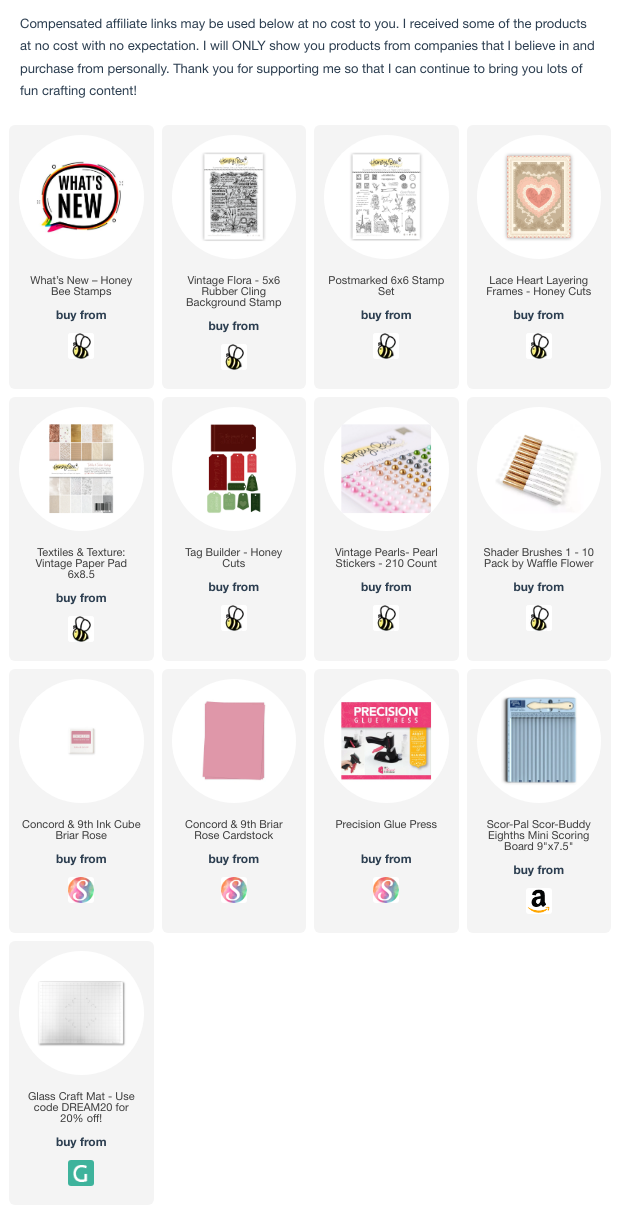
Compensated affiliate links may be used in this post at no cost to you. I received some of the products in this post at no cost. I will ONLY show you products from companies that I believe in and purchase from personally. Thank you for supporting me so that I can continue to bring you lots of fun crafting content!
Featured Products
- See the FULL Vintage Love Release
- Lace Heart Layering Frames Dies
- Tag Builder Honey Cuts
- Vintage Flora Stamp
- Textiles & Textures Paper Pad
- Postmarked Stamps
- Vintage Pearl Stickers
- For the full supply list, scroll down to the thumbnails at the end of this post.
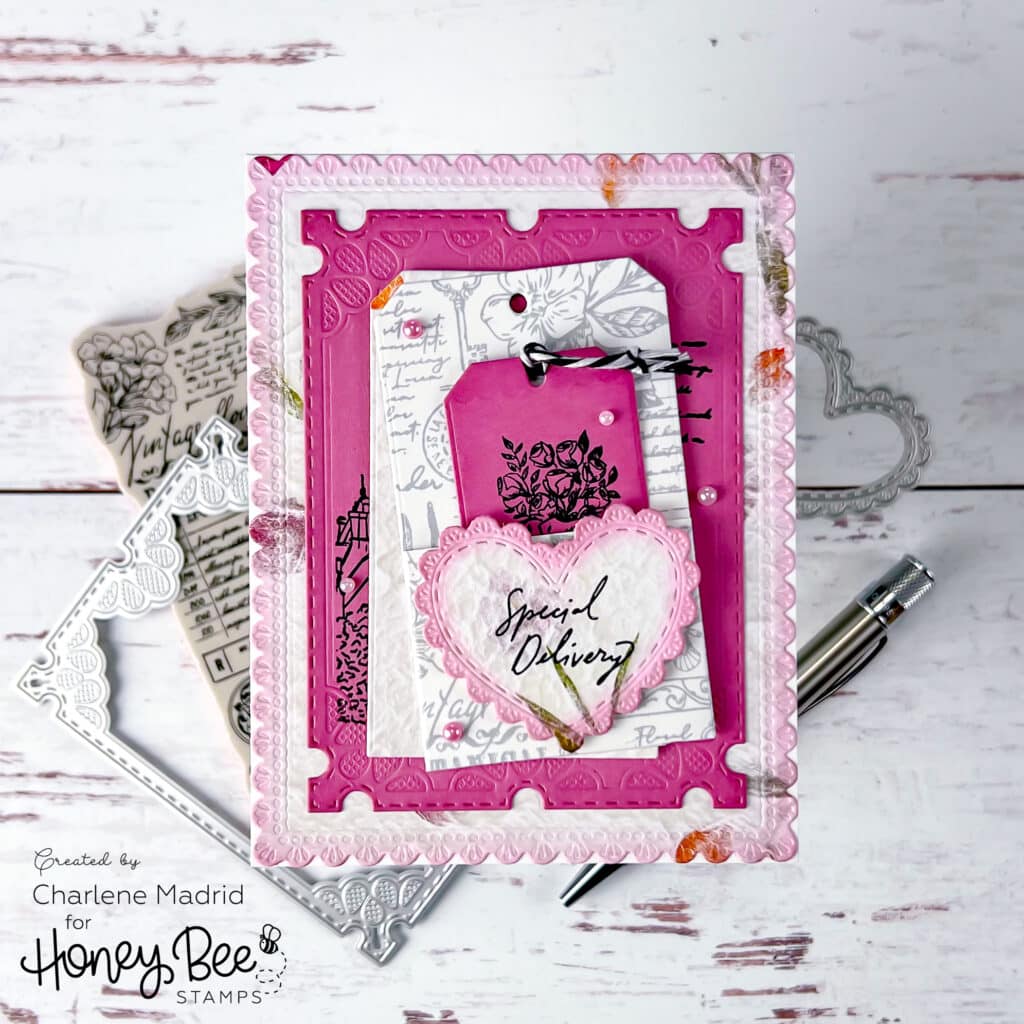
I started by stamping the gorgeous Vintage Flora Stamp, using a soft touch of light gray ink on crisp white cardstock. I grabbed the Tag Builder Honey Cuts, die cut a tag from the stamped paper, and cleverly transformed the leftovers into an adorable pocket for the tag.
Venturing into the Textiles & Textures Paper Pad, I picked a sheet that looks exactly like pressed flowers. So pretty! Cue the Lace Heart Layering Frames Dies for some crafting magic. The big scalloped die and the petite heart die worked like a charm. A subtle halo of pink ink around the edges added a touch of romance.
Get ready – here comes the pink cardstock glamour! With the Lace Heart Layering Frames Dies and the Tag Builder Honey Cuts, I fashioned a smaller frame and tag, giving them a rosy glow with a hint of pink ink. The layers were building up beautifully.
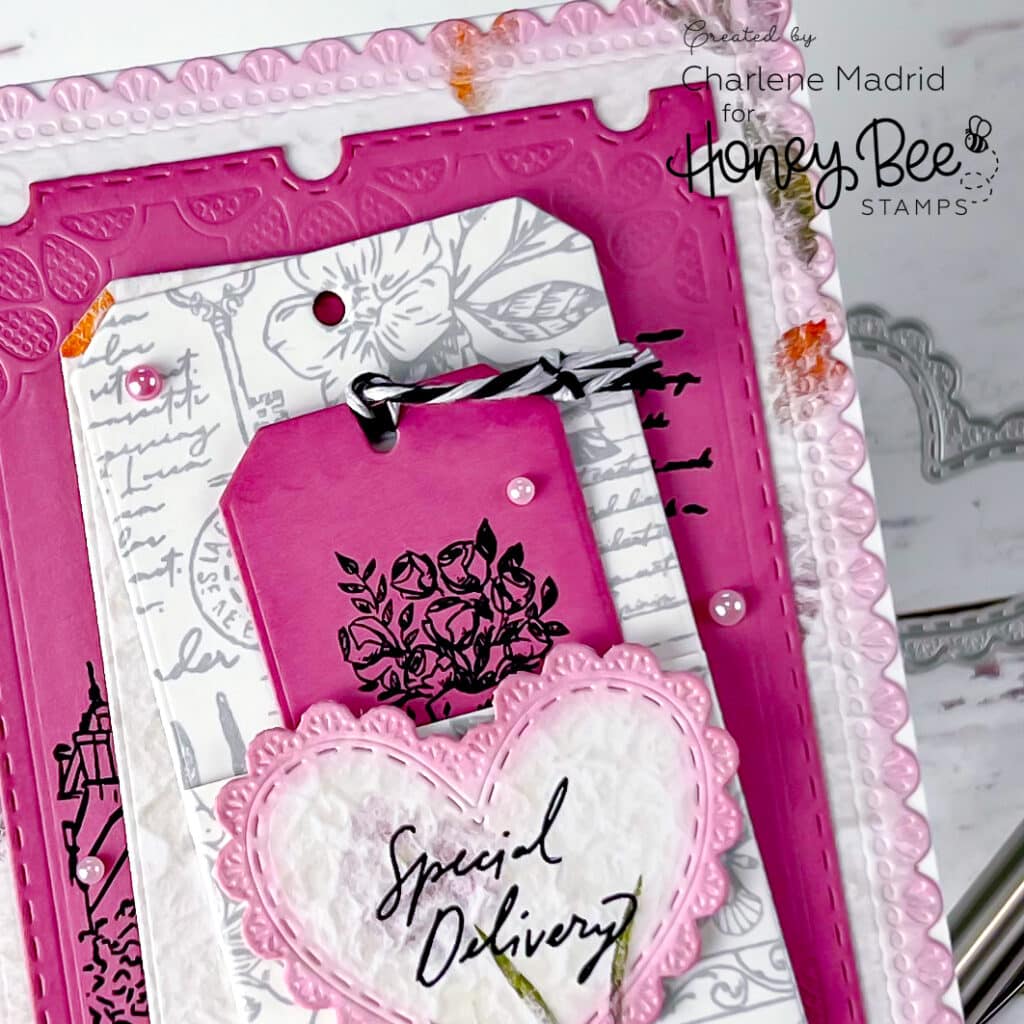
Time for more stamping! A rose bouquet from the Postmarked Stamps on the tag and a heartwarming “Special Delivery” sentiment took center stage. I also stamped a few more of the beautiful stamps onto my pink smaller frame to create background texture.
Now, let’s assemble this masterpiece! A sturdy card base, the grand scalloped frame, the dainty pink frame, the pattern paper tag, the cleverly crafted pocket tag snuggling the pink counterpart, and the pièce de résistance – a raised small scalloped heart. To sprinkle a bit more elegance, I adorned the creation with pink embellishments from the Vintage Pearl Stickers – the perfect finishing touch.
Feeling inspired? Be sure to watch my video tutorial to see how everything came together. Happy crafting!
Supplies