5 Fun Ways to Use Masking Magic!
Get Creative with Amazing Masking Magic Techniques!
Welcome to my creative corner! In this blog post, I am thrilled to share my latest card-making adventure using Masking Magic. Join me as we dive into the world of masking and explore five incredible techniques that will take your handmade cards to a whole new level. Get ready to be inspired and amazed!
Come along with me as I guide you through the process of using Masking Magic to create cards that are truly one-of-a-kind, and see the stunning results! Check out my video tutorial below and learn five fun ways to use Masking Magic on your handmade cards! Happy crafting! ❤️
Disclosure
Compensated affiliate links may be used in this post at no cost to you. I received some of the products in this video/post at no cost. I will ONLY show you products from companies that I believe in and purchase from personally. Thank you for supporting me so that I can continue to bring you lots of fun crafting content!
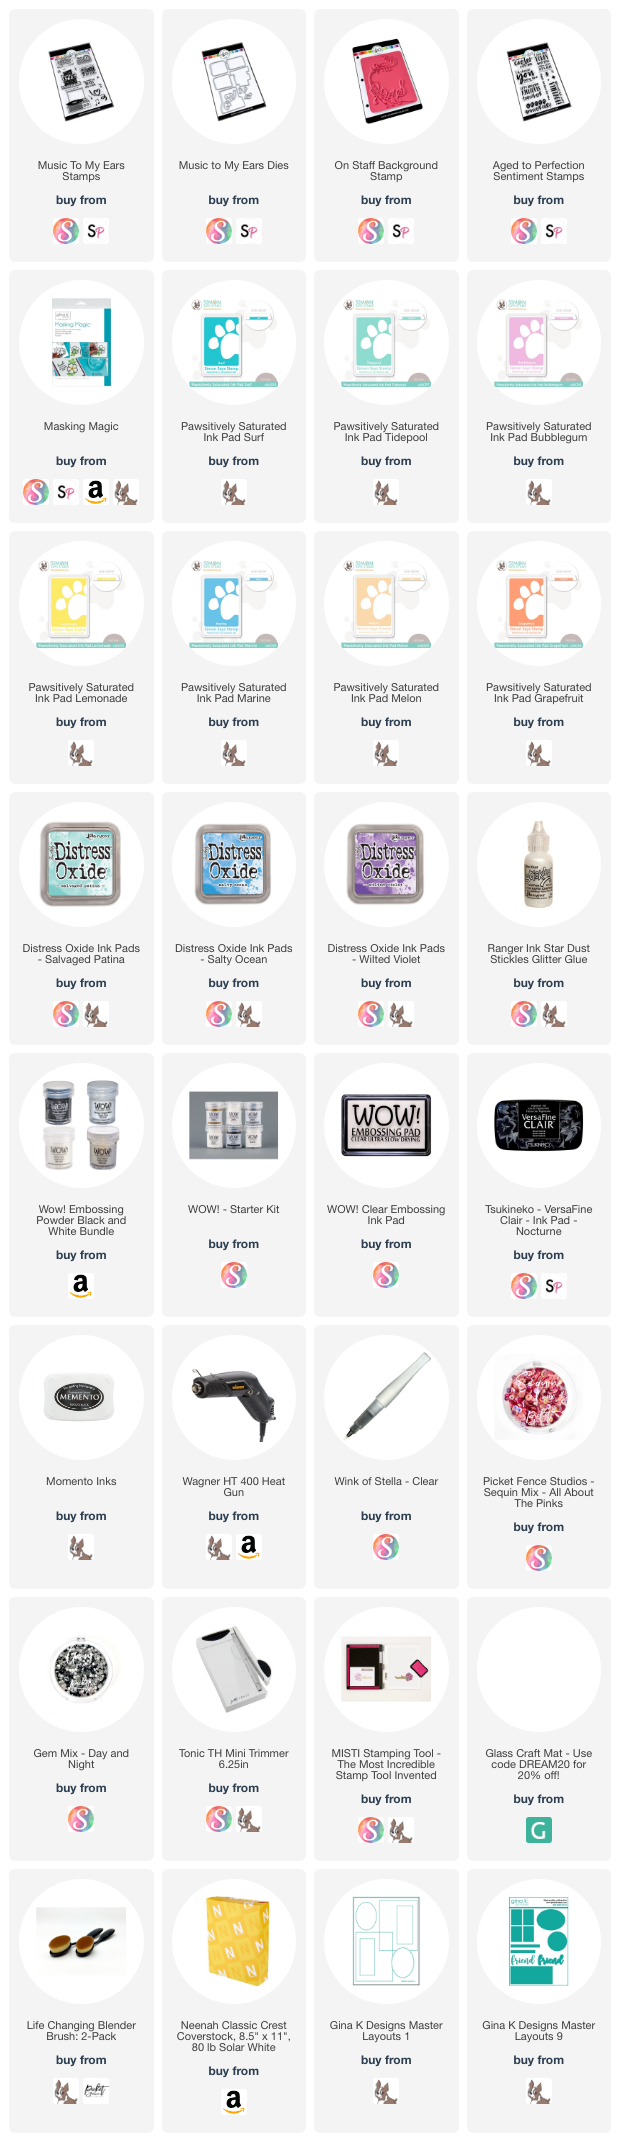
Featured Products
- Music To My Ears Stamps and Dies
- On Staff Background Stamp
- Aged to Perfection Sentiment Stamps
- Masking Magic
- For the full supply list, scroll down to the thumbnails at the end of this post.
Technique #1 Striped Backgrounds
Use strips of Masking Magic to create color changing backgrounds.

Technique #2 Multi-Colored Letter Stamping
Use Masking Magic to stamp letters in a sentiment in different colors.
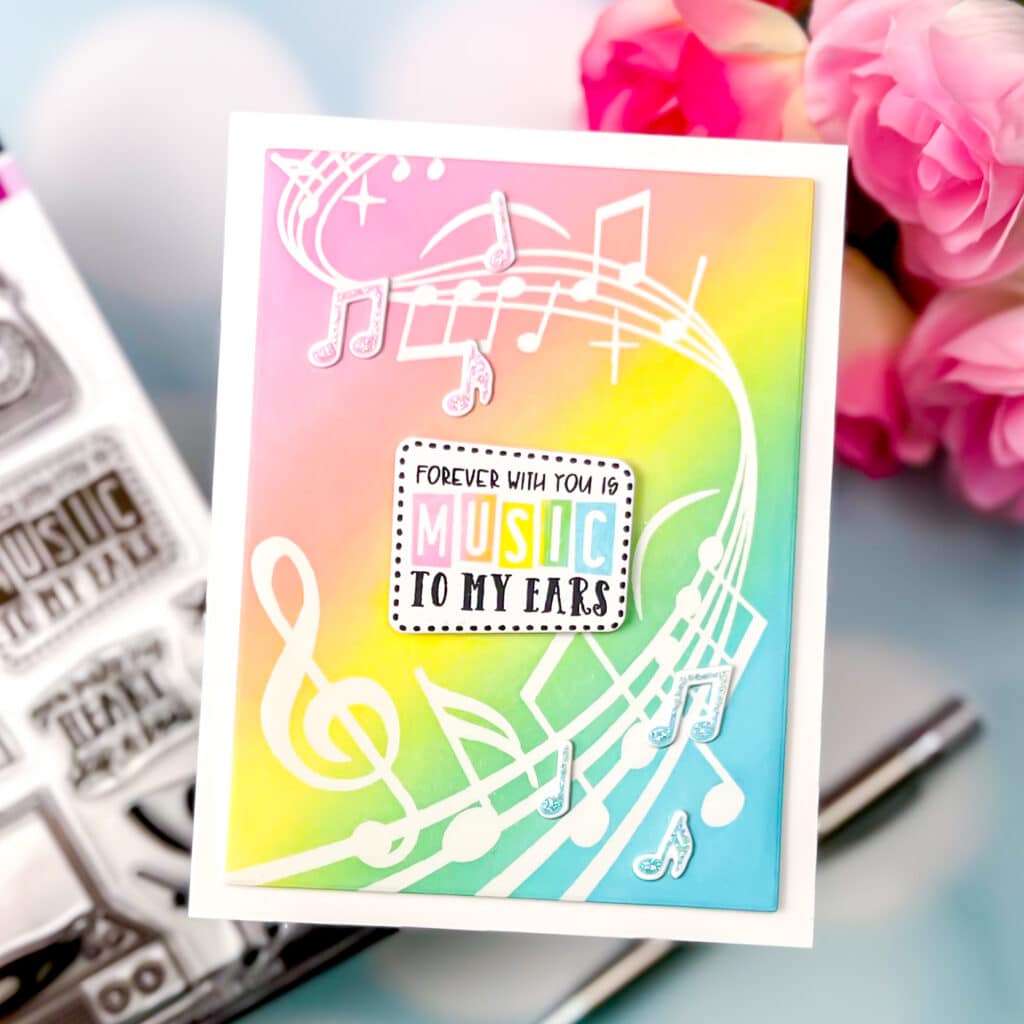
Technique #3 Layered Stamping
Technique #4 Masked Ink Blending
Mask your stamped images to create layered stamping and to ink blend your background.
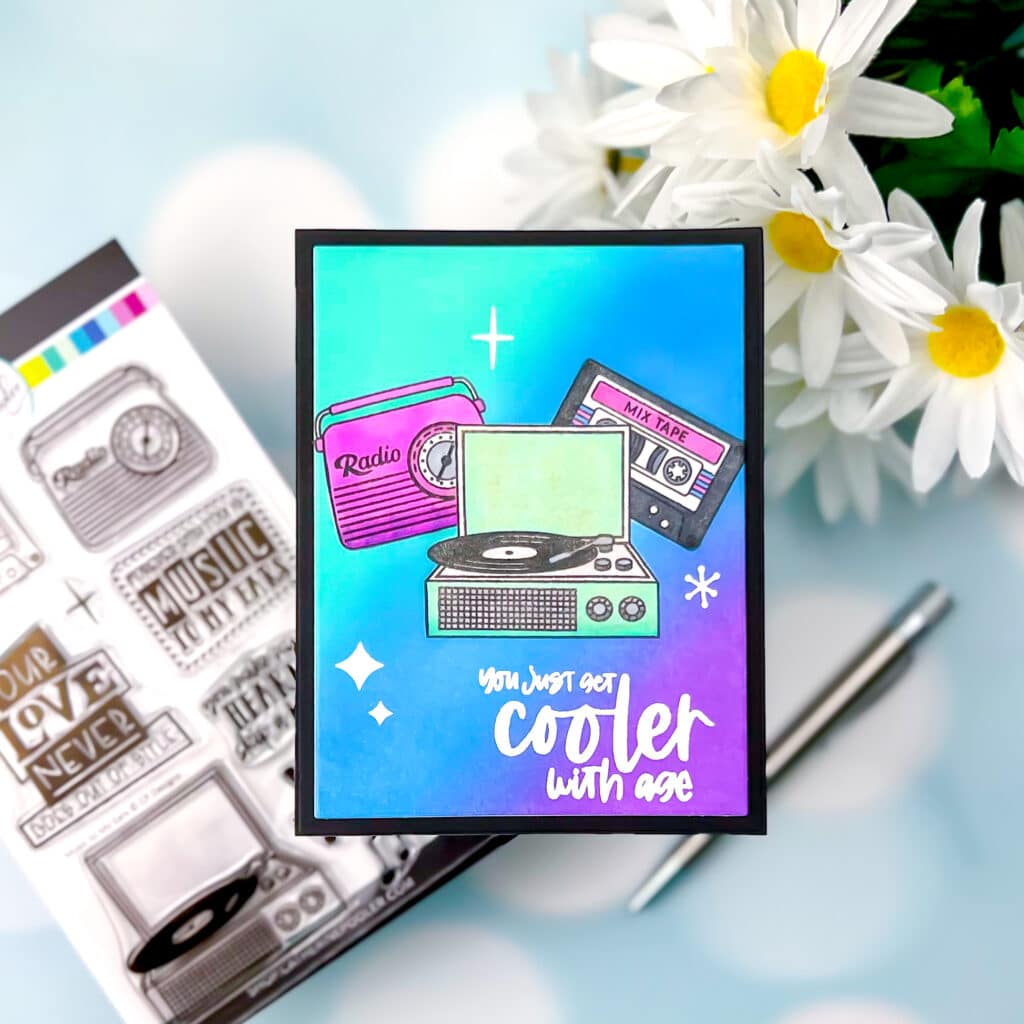
Technique #5 Ink Blended Die Cut Shape Backgrounds
Add a focal point by ink blending the negative of an image die cut from Masking Magic.

Tips and Tricks
- Practice on Scrap Paper: If you’re new to masking techniques or trying a new design, it’s always a good idea to practice on scrap paper first. This allows you to refine your technique, test color combinations, and ensure you’re satisfied with the results before applying it to your actual cards.
- Secure the Masking Magic: To ensure your Masking Magic stays in place while stamping and blending, gently press it down to adhere it firmly to the cardstock. This will prevent any ink or blending from bleeding underneath the mask, resulting in clean and defined images.
- Remove Masking Magic Carefully: When removing the Masking Magic after stamping or blending, do it slowly and gently to avoid any damage to the cardstock or the masked areas. Use your fingertips or tweezers to lift the mask from the edges, peeling it away gradually.
- Add Embellishments: Once you’ve completed your masked designs, consider adding embellishments to enhance the overall look of your cards. Embossing powders, sequins, ribbons, or even simple hand-drawn details can elevate your creations and make them truly special.
- Have Fun and Embrace Imperfections: Remember, crafting is all about expressing your creativity and enjoying the process. Embrace any imperfections or happy accidents that may occur along the way—they often add character and uniqueness to your handmade cards.
With these tips and tricks in mind, you’re well-equipped to embark on your masking journey using Masking Magic. Remember to stay patient, practice, and let your imagination guide you. The possibilities are endless, and each card you create will be a reflection of your artistic flair. Enjoy the journey and happy crafting!