
Alcohol Marker Magic with Altenew’s New Sunshine Flowers Kit
Get Stunning Alcohol Ink Results with Your Markers!
Hello, fellow crafters! Today, I’m excited to share a creative journey using the Craft Your Life Project Kit: Sunshine Flowers from Altenew. This kit is a treasure trove of crafting delights, featuring a 6″ x 8″ clear stamp set with coordinating dies, layering stencils, and an embossing folder. In this project, I’ve harnessed the vibrant magic of alcohol markers to create two stunning cards that capture the essence of sunshine and blossoms. Join me as I walk you through this crafty adventure, and be sure to check out the video tutorial for a closer look at the process!
The Craft Your Life Project Kit: Sunshine Flowers is available to new subscribers from now through October 3, 2023 at 5pm EST.
This card was created after I took the Altenew Online Workshop: Magic Marker Techniques. The workshop features several lessons on ways to use alcohol markers. I was inspired to use my alcohol markers in a similar way to how I used my alcohol inks. The result is as stunning as the traditional drip method, but you get much more control of the outcome!
Disclosure
Compensated affiliate links may be used in this post at no cost to you. I received some of the products in this post at no cost. I will ONLY show you products from companies that I believe in and purchase from personally. Thank you for supporting me so that I can continue to bring you lots of fun crafting content!
Featured Products
- Craft Your Life Project Kit: Sunshine Flowers
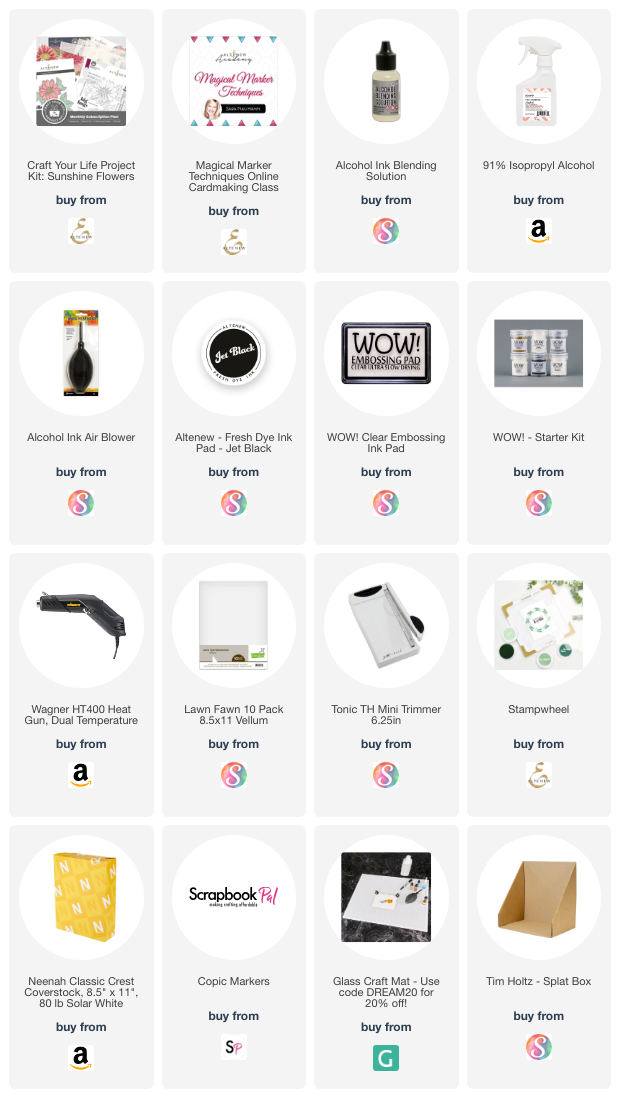
- For the full supply list, scroll down to the thumbnails at the end of this post.
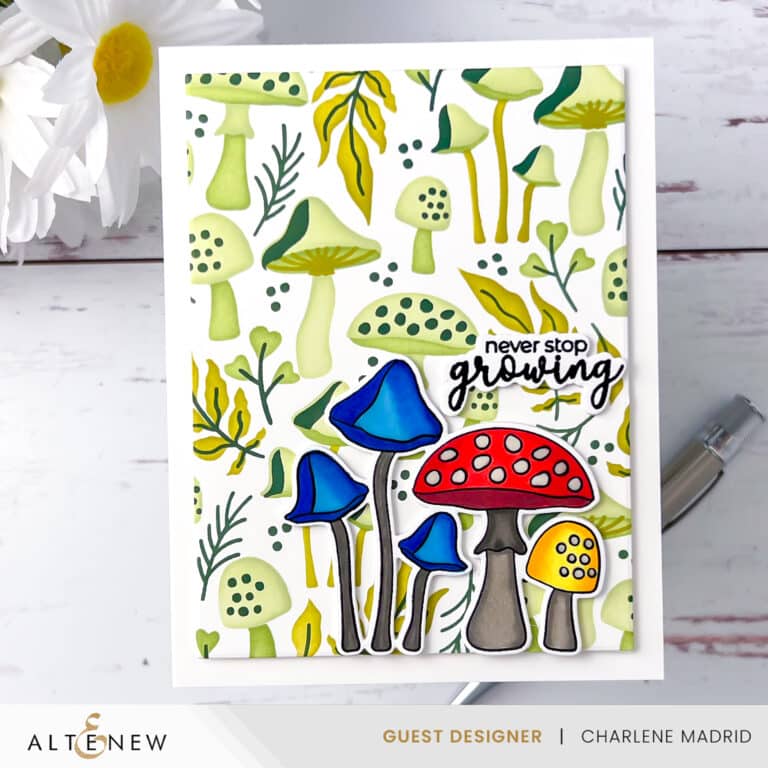
Card One
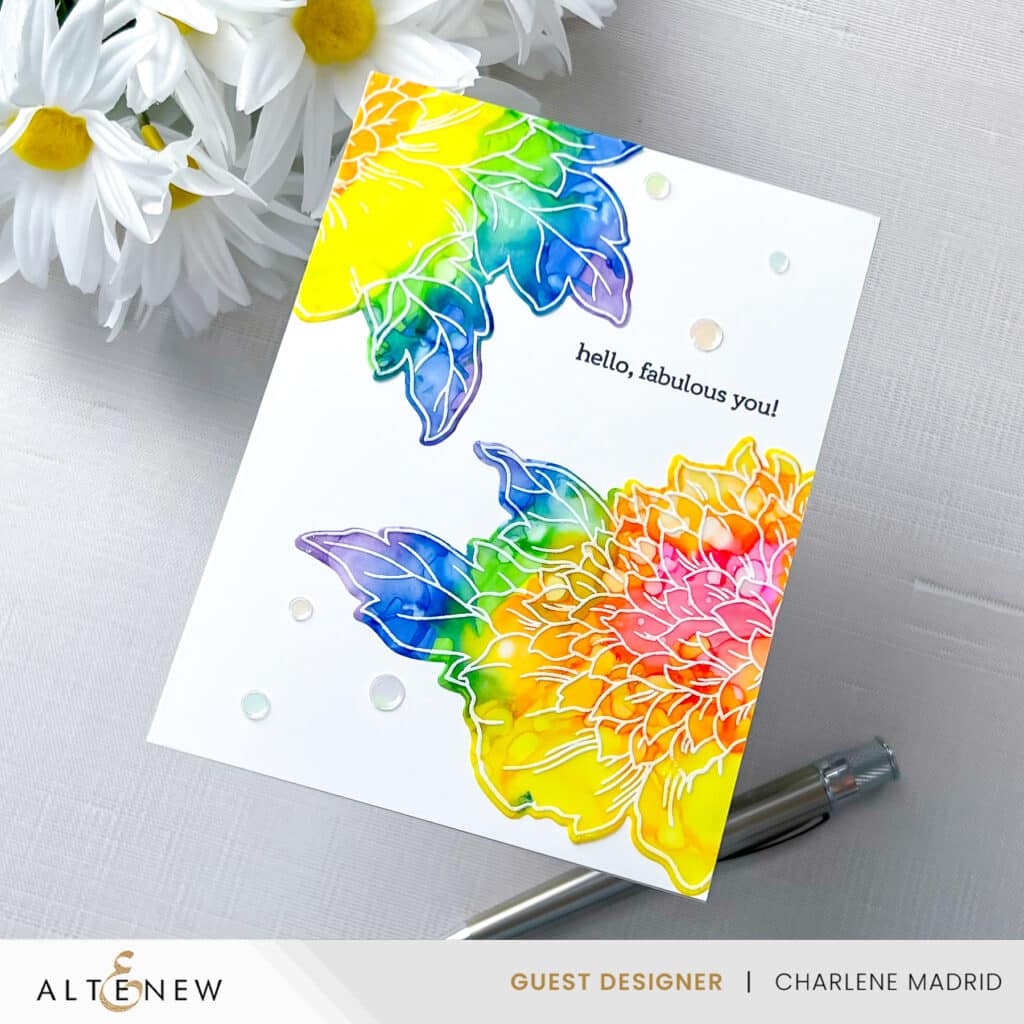
First, I die-cut the outlines of the two large floral images from vellum. Placing the first vellum die cut over the stamp packaging allowed me to see the stamp outline beneath. I then used pink, orange, yellow, green, blue, and purple alcohol markers to color different areas of the floral design.
With the colored vellum in hand, I laid it on my glass craft mat and alternated between using blending solution and isopropyl alcohol with a handheld blower until I achieved the desired blended effect. The colors melded together, creating a breathtaking masterpiece of hues.
To add a touch of elegance, I took the finished floral piece and placed it in the coordinating embossing folder. Running it through my die-cutting machine embossed the floral image beautifully onto the vellum.
I then embossed a panel of white cardstock using the same embossing folder. With the embossed white cardstock as a base, I carefully glued the colored vellum floral on top. The assembled panel was then affixed to a card base. I added a die-cut sentiment and added a touch of sparkle by splattering the card with shimmer spray.
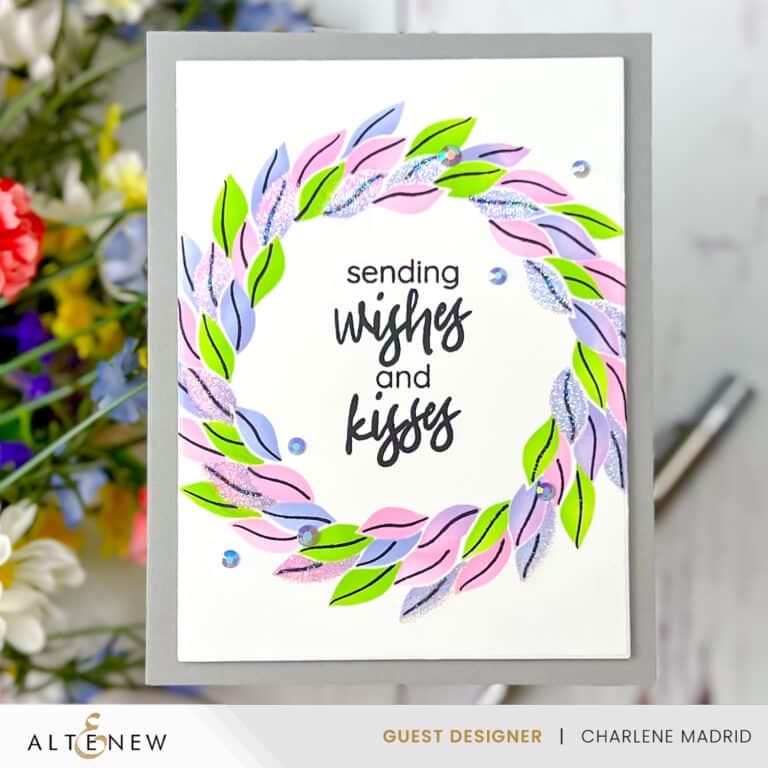
Card Two
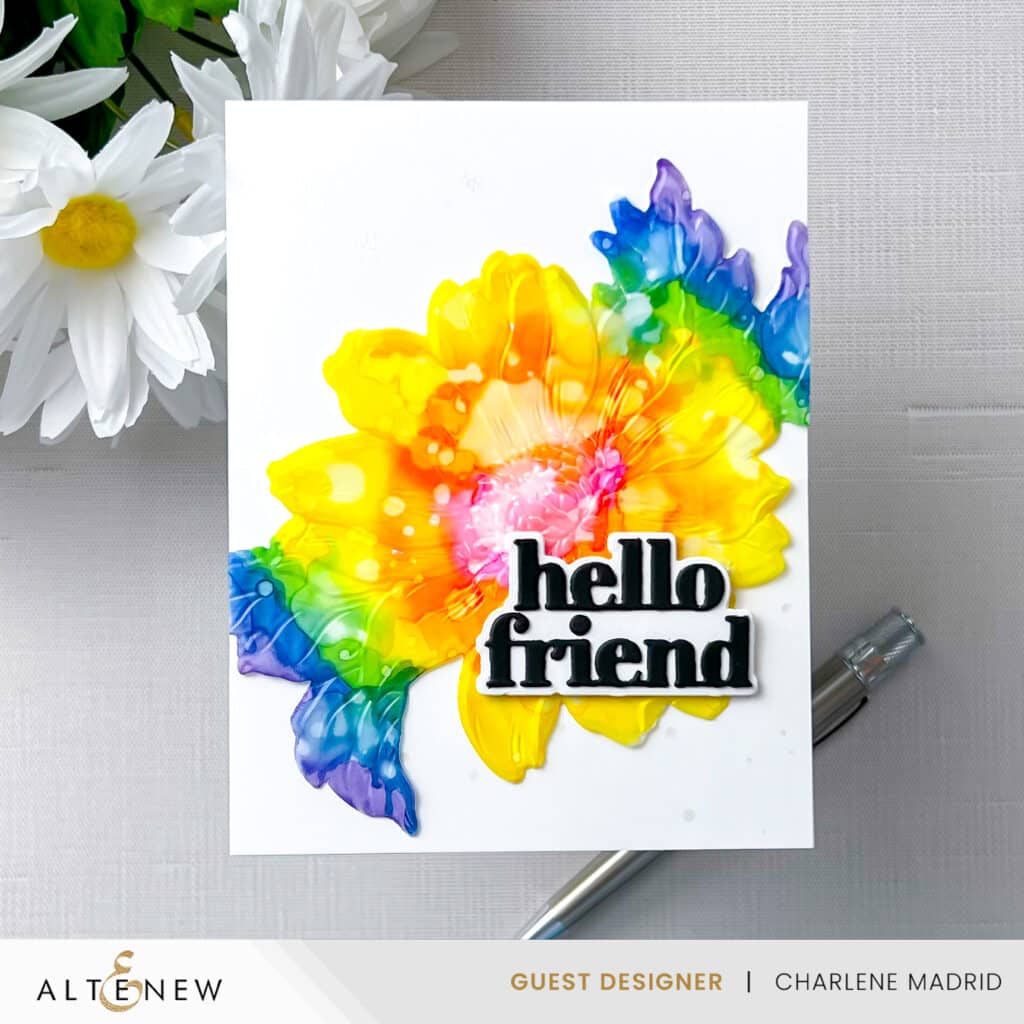
For the second large floral, I repeated the alcohol marker process. However, this time, I stamped the coordinating stamp over the colored vellum using embossing ink. Heat embossing with white embossing powder added delightful texture and dimension to the image.
To create a unique design, I cut the large floral in half and glued it to the front of a card base. Trimming the excess with scissors resulted in a striking composition. A few delicate pieces of white confetti added a finishing touch of elegance.
Tip
When working with vellum and alcohol markers, be sure to make two or more passes on the vellum with your markers. Having the extra alcohol ink on the vellum will give you more color to work with and make it so any glue does not show through the vellum.
Copic Colors
RV04, YR04, Y08, YG09, B18, V17
Supplies

Wonderful cards, Charlene! Love the burst of colours.
Thank you! 🥰