Crafting a Fall Treat Box with New Products from Honey Bee Stamps
Plus, three fun ways to add details to die cuts!
Hey there, fellow crafters! It’s Charlene, and today, I’m excited to share a delightful crafting adventure with you. We’ll be creating a charming treat box adorned with the latest releases from Honey Bee Stamps. But wait, there’s more! If you prefer a step-by-step visual guide, I’ve got you covered with an in-depth video tutorial available on my YouTube channel. So, whether you’re new to crafting or a seasoned pro, this project is perfect for spreading some creative sweetness.
Disclosure
Compensated affiliate links may be used in this post at no cost to you. I received some of the products in this post at no cost. I will ONLY show you products from companies that I believe in and purchase from personally. Thank you for supporting me so that I can continue to bring you lots of fun crafting content!
Featured Products
- See the FULL Heartfelt Harvest Release
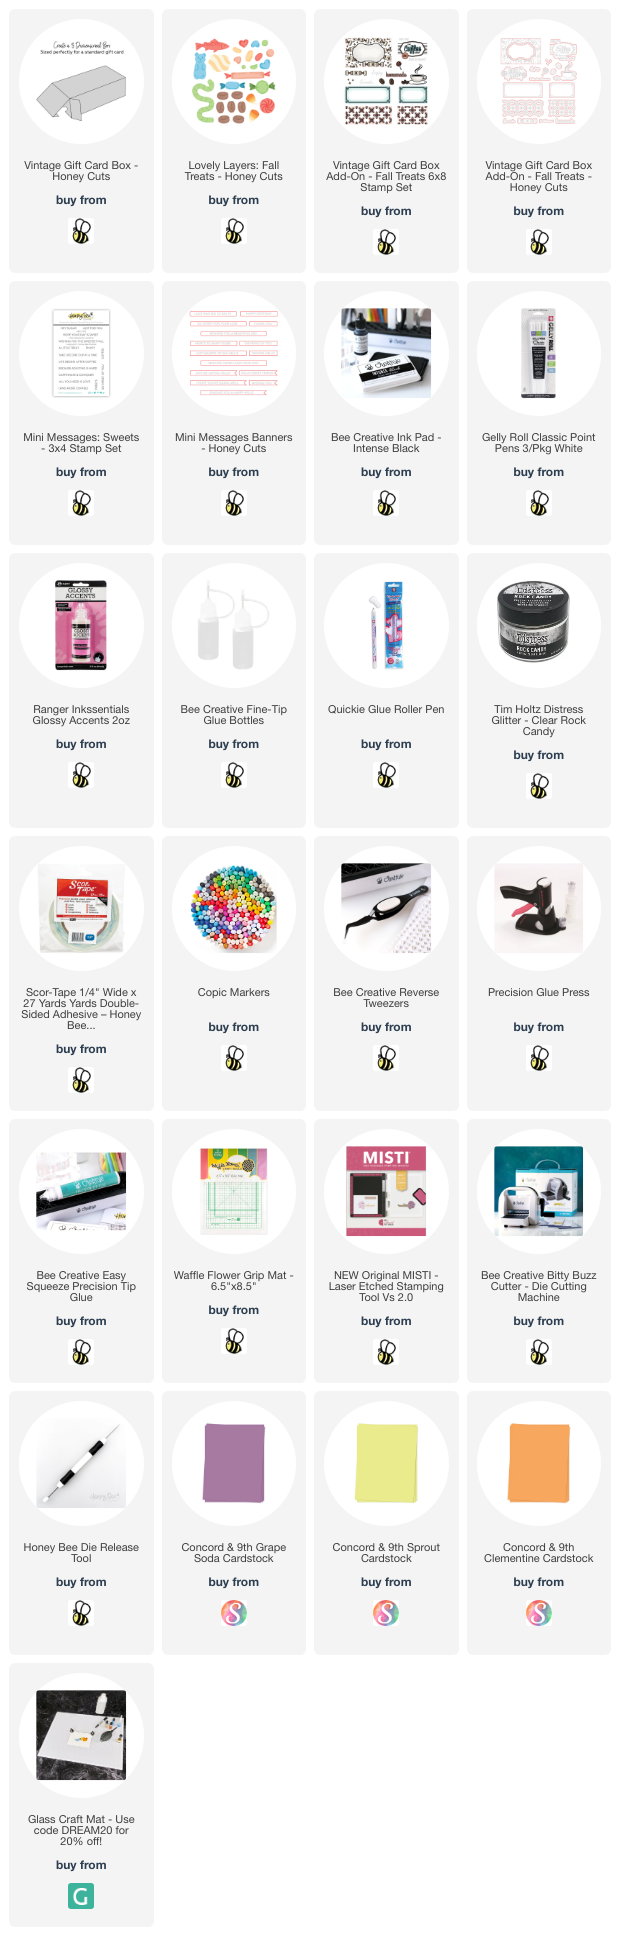
- Vintage Gift Card Box – Honey Cuts
- Lovely Layers: Fall Treats – Honey Cuts
- Vintage Gift Card Box Add-On – Fall Treats 6×8 Stamp Set
- Vintage Gift Card Box Add-On – Fall Treats – Honey Cuts
- Mini Messages: Sweets – 3×4 Stamp Set
- Mini Messages Banners – Honey Cuts
- For the full supply list, scroll down to the thumbnails at the end of this post.

Creating the Base:
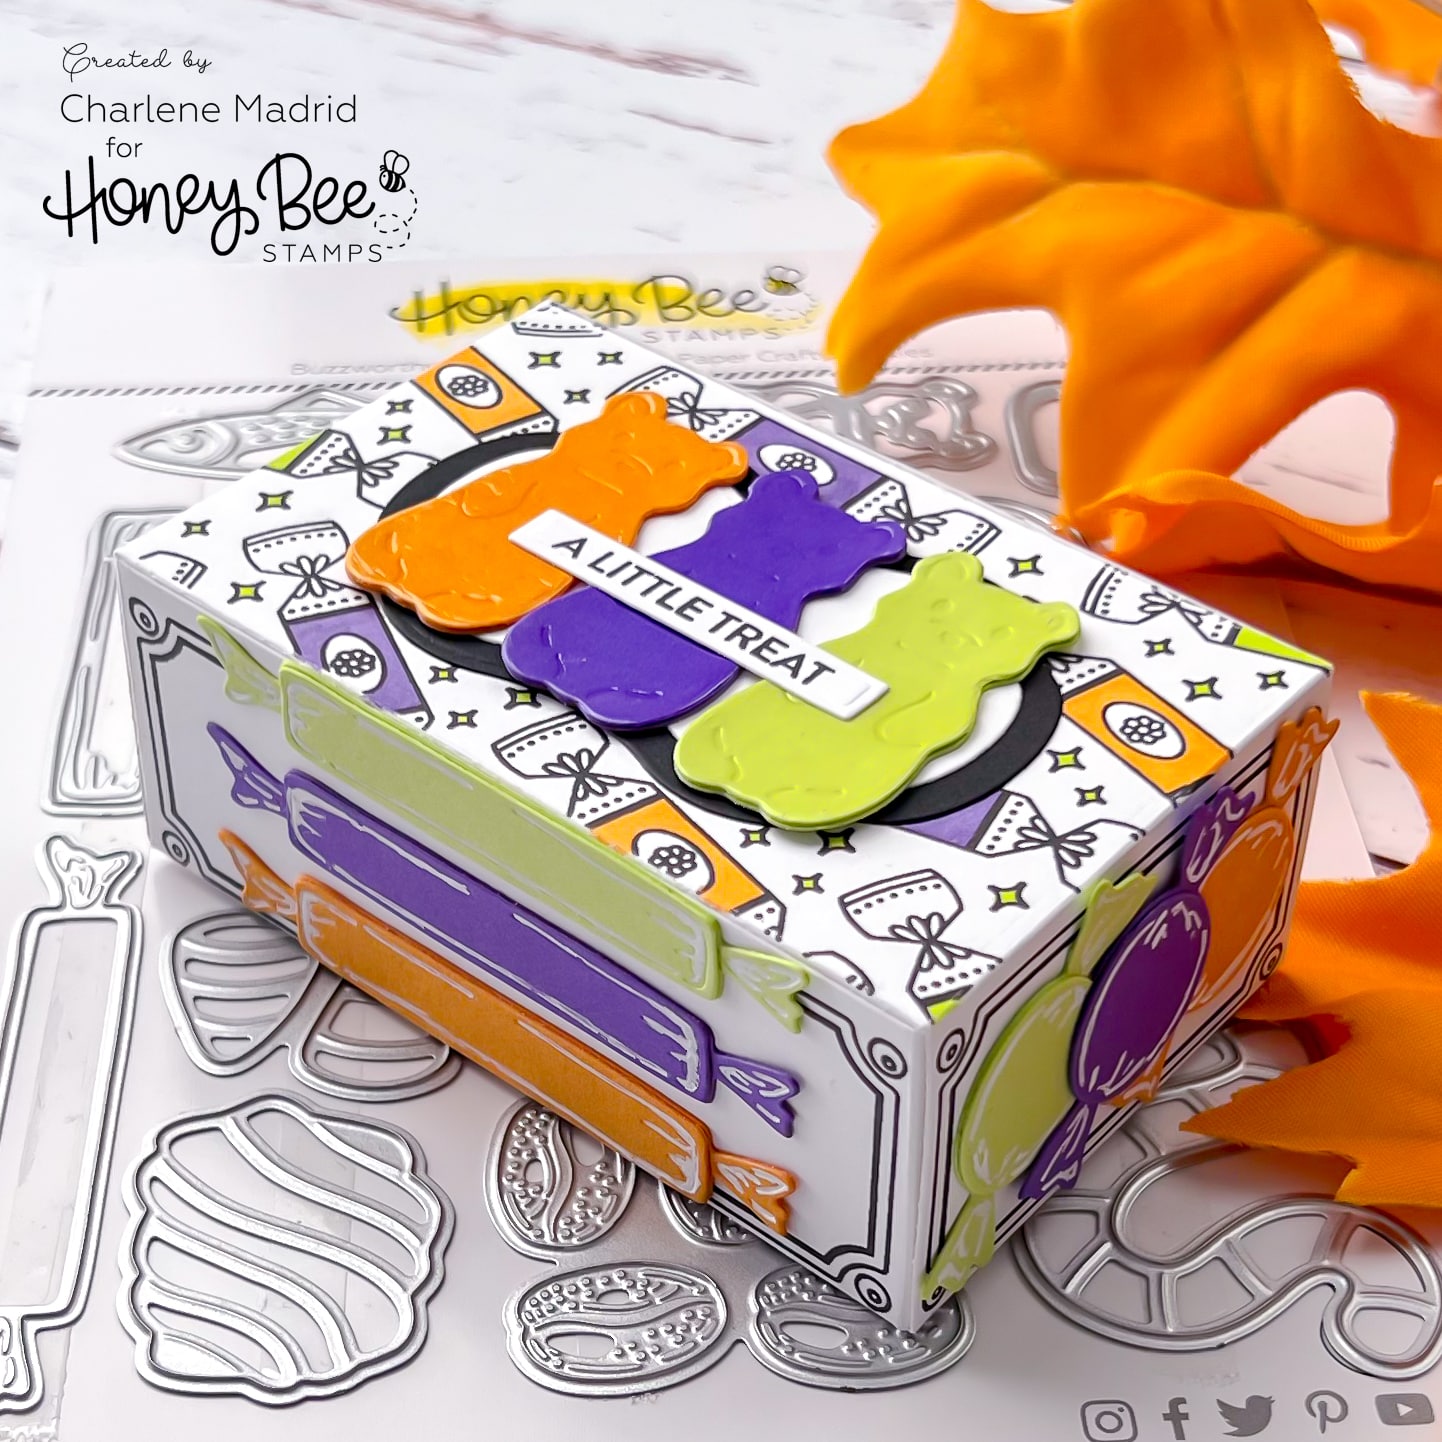
To kick things off, I started by crafting the gift card box base using the Vintage Gift Card Box dies from white cardstock. With precise folding and a bit of burnishing, the box quickly took shape, ready to hold our sweet treasures.
Crafting the Sweets:
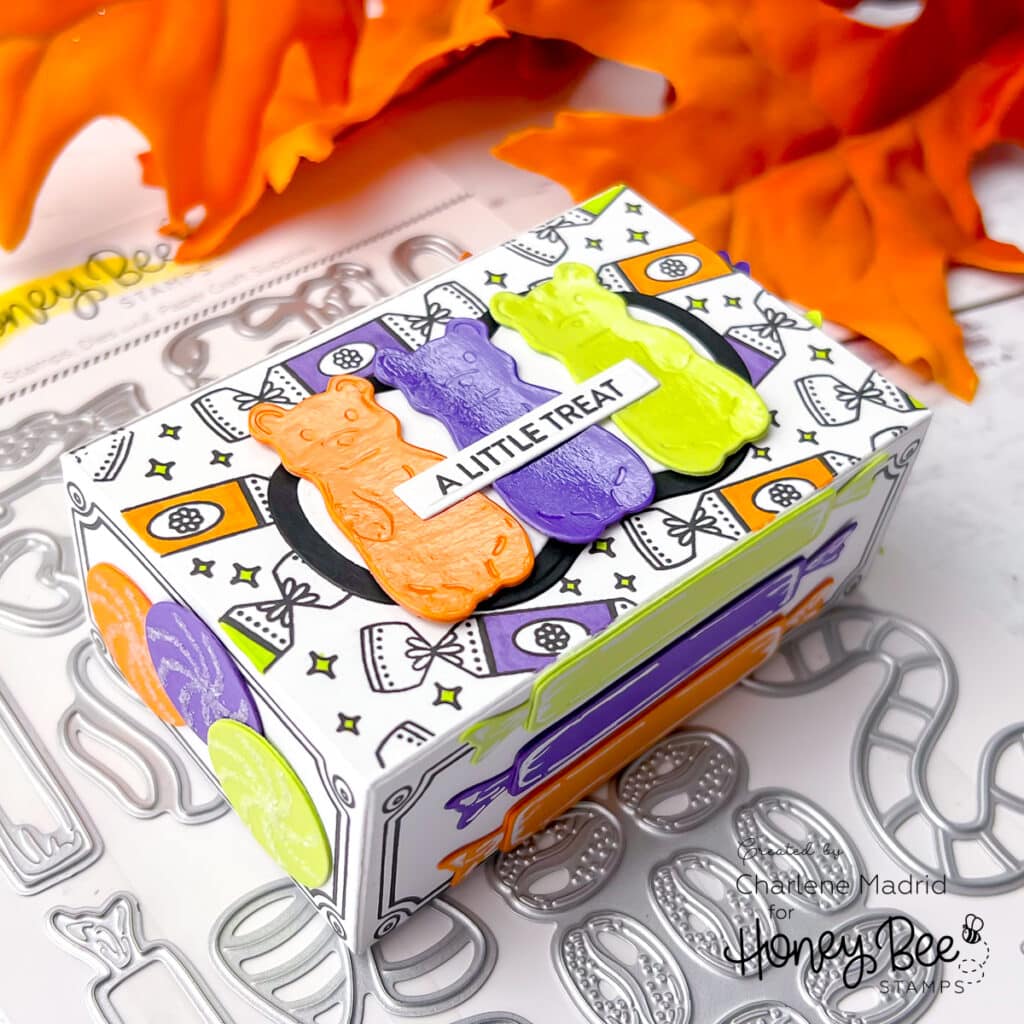
Now, let’s talk about the stars of the show—the irresistible treats! Using the new Lovely Layers: Fall Treats dies, I cut out an assortment of mouthwatering delights. Gummy bears, spiral hard candies, wrapped bubble gum, and more—all in three delectable colors: purple, orange, and green.
Adding Those Special Touches:
To make these treats even more appealing, I employed three fantastic techniques to add intricate details. For the gummy bears, a thin layer of Glossy Accents applied with a palette knife turned them into shiny, realistic-looking delights. The spiral candies received a touch of elegance with a Quickie Glue Pen and a generous dusting of Distress Rock Candy Glitter. And for the wrapped candies, a white gel pen meticulously highlighted embossed details, making them stand out on the colored cardstock.
Putting It All Together:
With our candy creations complete, it was time to assemble the Vintage Gift Card Box. The double-sided tape worked like magic, holding everything together securely.
Adding the Final Flourish:
To give the box that extra pop, I used the Vintage Gift Card Box Add-On: Fall Treats stamps to stamp delightful edging designs on the sides of the box. The top of the box received a pattern of wrapped candies, adding to the overall charm.
Finishing Touches:
For the finishing touches, I cut a large label from white cardstock and a shadow layer from black cardstock using the Vintage Gift Card Box Add-On: Fall Treats dies. After gluing them together, I affixed them to the top of the box. The three gummy bears found their place on top, creating an inviting display.
Adding Colorful Flourishes:
Using purple, orange, and green Copic markers, I colored in the candy pattern on the box’s top, adding a burst of vibrant color.
A Sweet Sentiment:
No treat box is complete without a heartfelt sentiment. I stamped “A Little Treat” from the Mini Messages: Sweets stamps and die-cut it using the coordinating dies. This sweet sentiment found its home on top of the gummy bears, adding a delightful final touch.
There you have it—a charming fall treat box that’s perfect for gifting or as a special decoration for your autumn celebrations. Crafting this project was an absolute joy, and I hope it inspires you to create your own delightful treat boxes using the fantastic Honey Bee Stamps products.
So, whether you’re crafting for friends, family, or just for the sheer pleasure of it, remember that every handmade creation is a sweet expression of your creativity. Have fun, and may your crafting adventures be as delightful as the treats you create! Happy crafting!
Supplies
Copic Colors
- V17, YG03, YR15