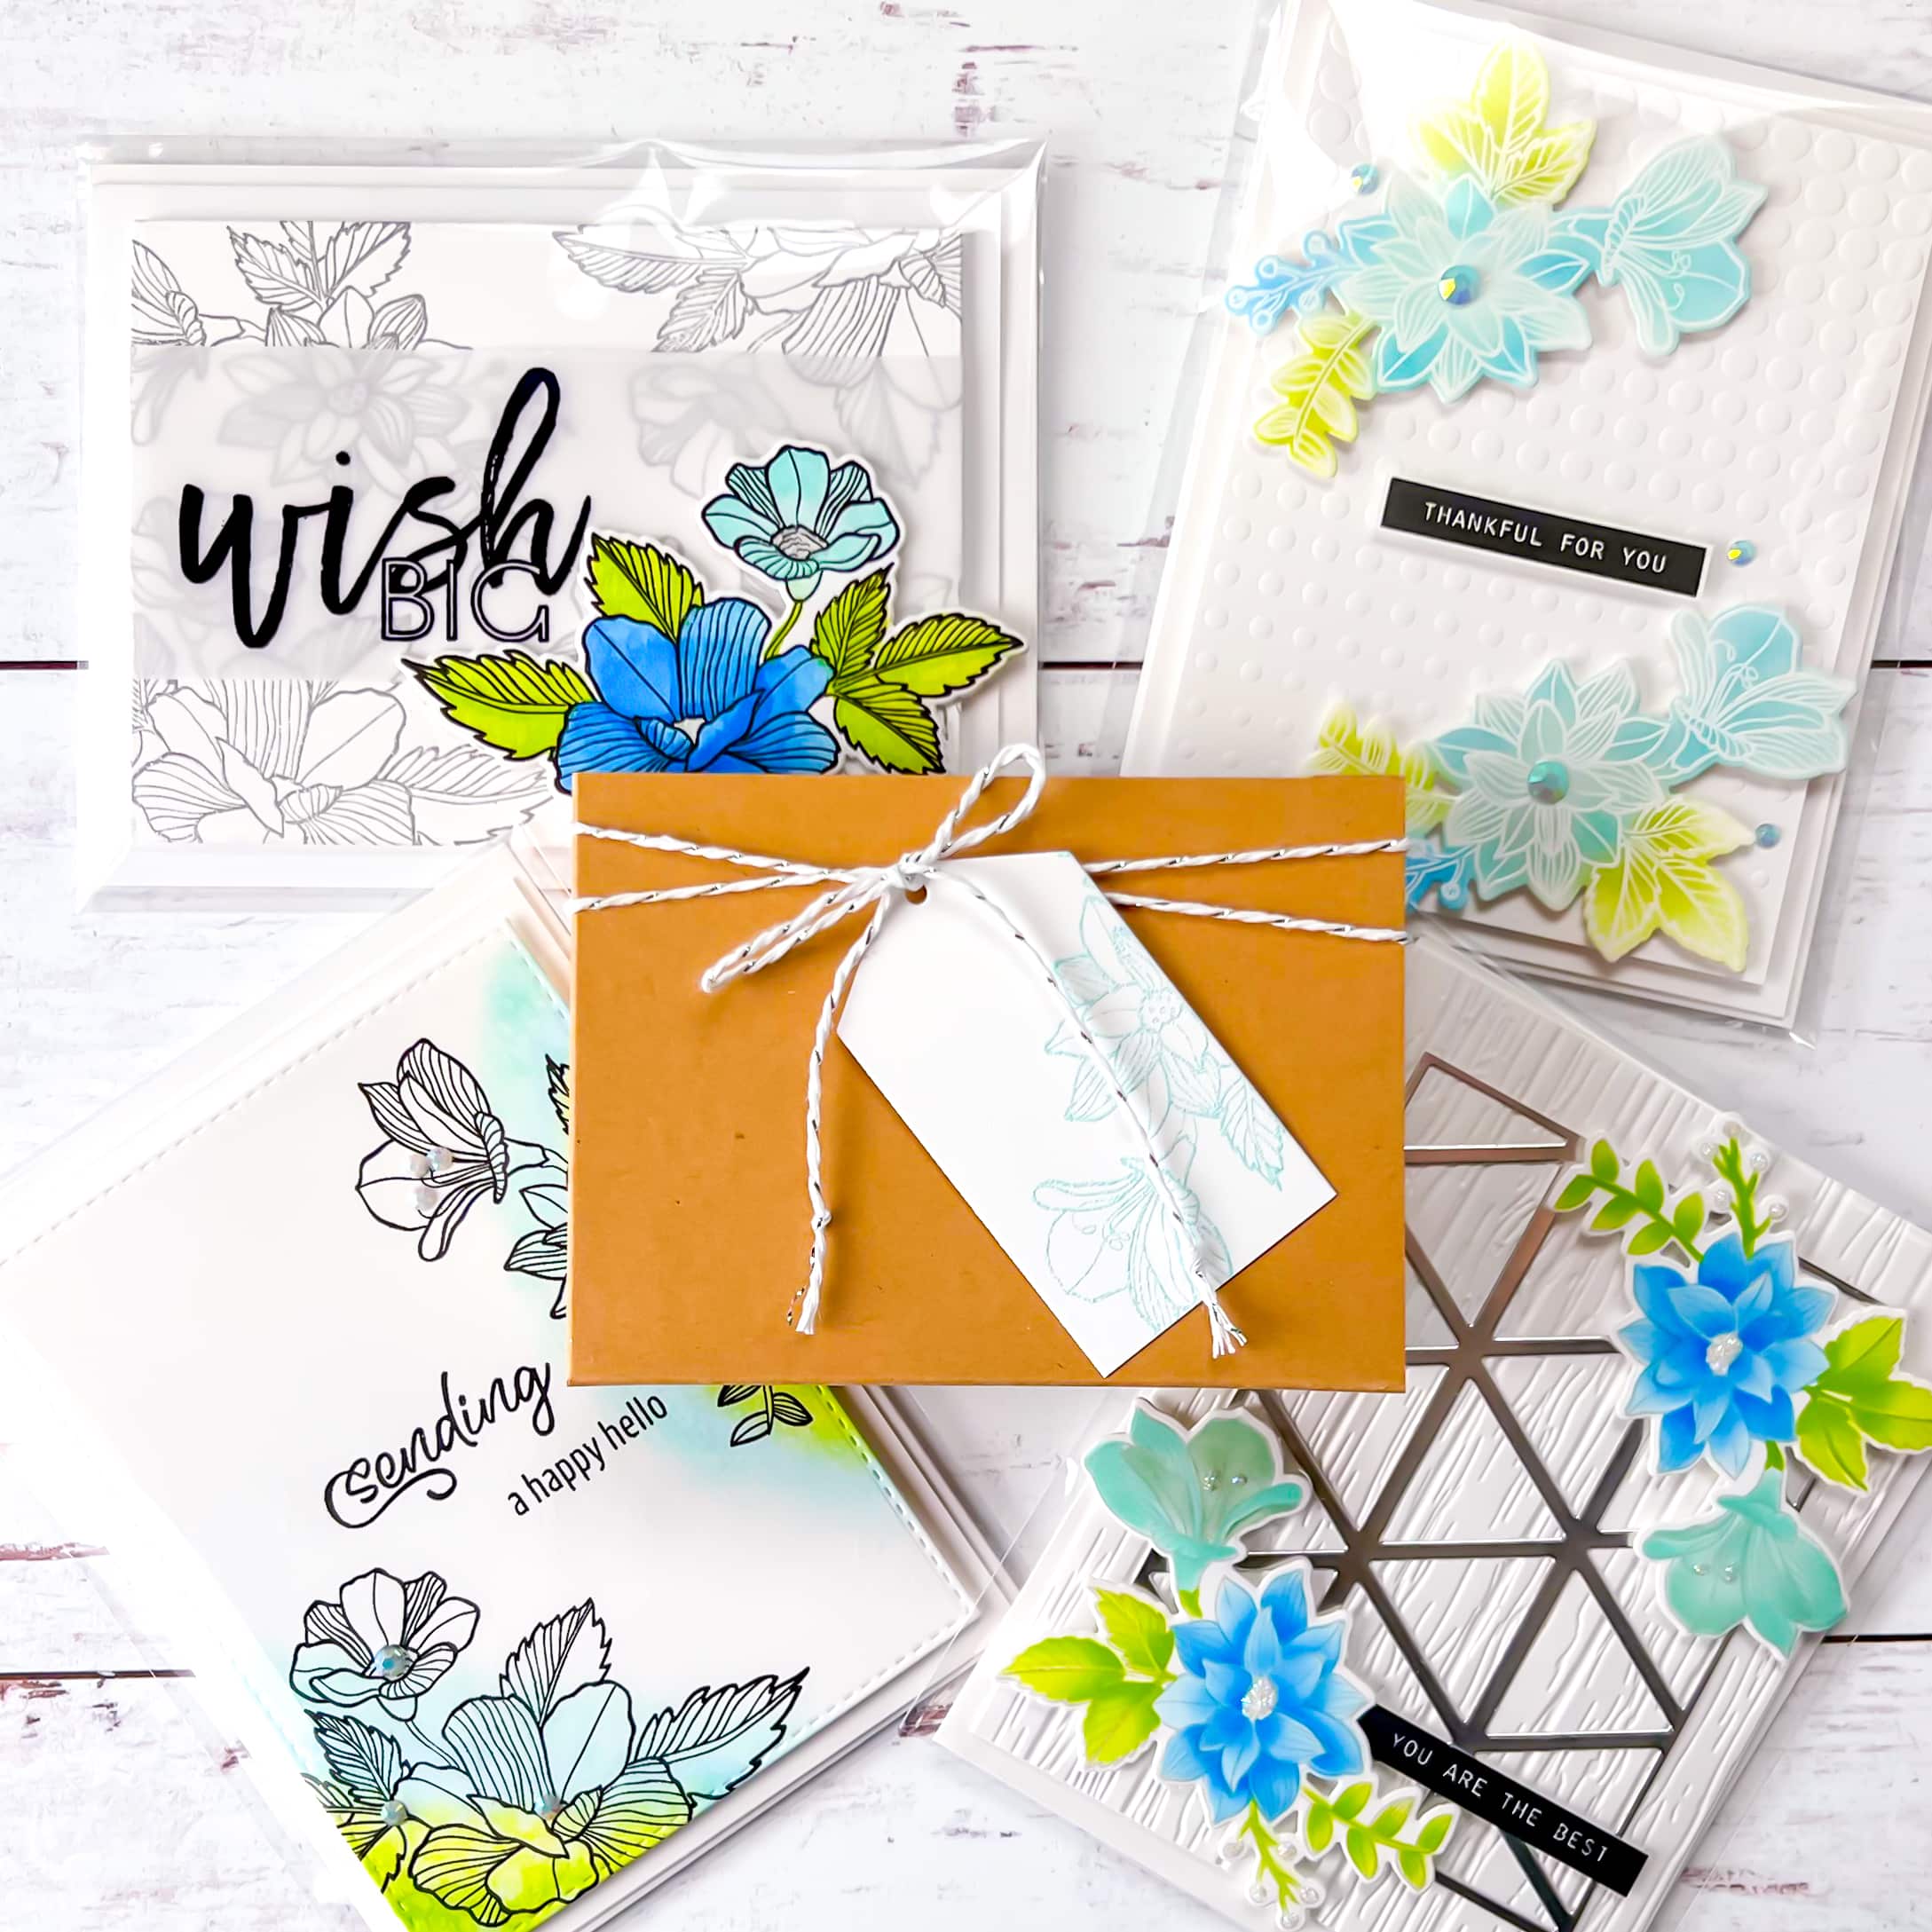
One Stamp Set Four Ways – How to Create the Perfect Gift Card Set!
Learn how to create FOUR cards using ONE stamp set!
For my final level one challenge of the Altenew Educator Certification Program, I created two gift card sets — one for her and one for him! I will post my gift card set for him in a separate post later this week, so be sure to check back. The sets I created highlight three components from the level one classes I have taken. I chose to highlight the following components:
- Metallic paper technique, Let It Shine Online Cardmaking Class
- Stamped background technique, Clean & Simple Boutique Cards Online Cardmaking Class
- Emboss resist and faux watercolor technique, Easy Ink Blending Techniques Online Cardmaking Class
Check out my video tutorial below and learn how to make this gorgeous gift card set for her!
Disclosure
Compensated affiliate links may be used in this post at no cost to you. I received some of the products at no cost. I will ONLY show you products from companies that I believe in and purchase from personally. Thank you for supporting me so that I can continue to bring you lots of fun crafting content!
Featured Products
- Altenew Craft Your Life Project Kit: Casual Bouquets
- Altenew Halftone Stencil
- Altenew Best Sentiments Stamp Set
- Altenew Wish Big Stamp Set
- Altenew Triangle Madness Die Set
- Altenew Deck Planks 3D Embossing Folder
- For the full supply list, scroll down to the thumbnails at the end of this post.
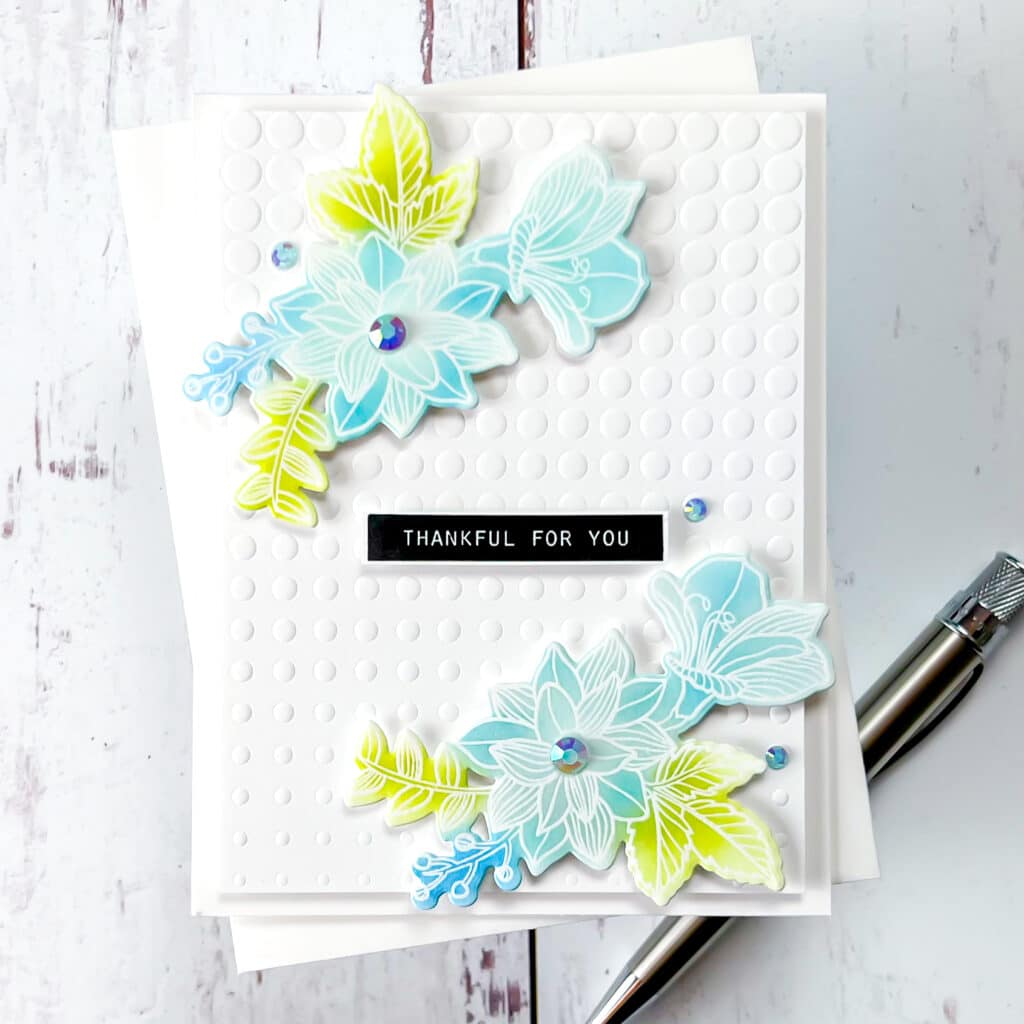
Card One
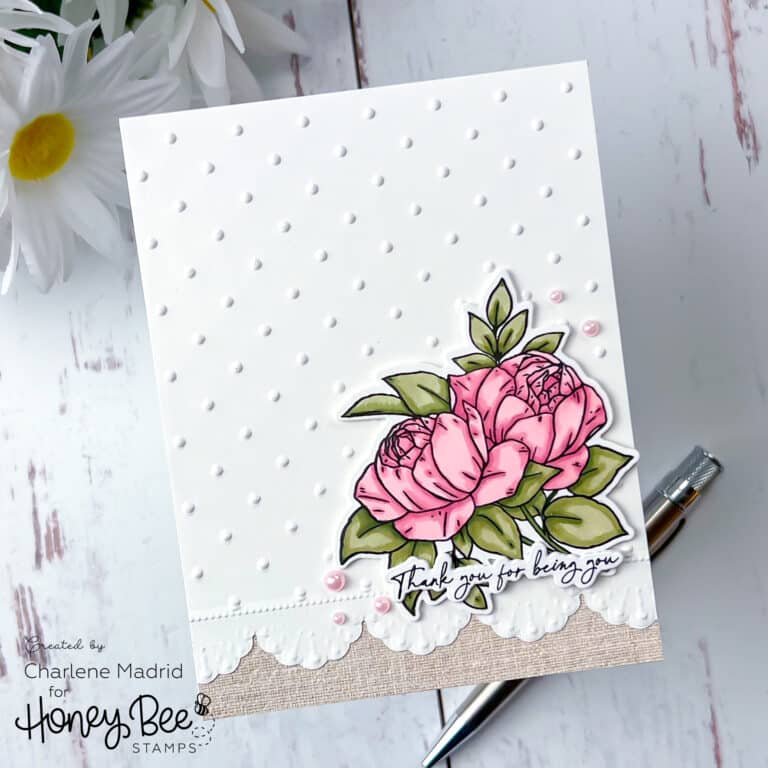
I used two mirror image floral stamps from the Craft Your Life Project Kit: Casual Bouquets for my first card. First, I heat embossed the images using clear embossing powder. Then, I used the emboss resist technique by ink blending over the embossed images with shades of blue, teal and green ink. I wiped off any excess ink that remained on the melted embossing powder using a microfiber cloth.
For my background, I dry embossed a piece of cardstock using the Halftone Stencil — such a pretty effect! I stamped out my sentiment from the Best Sentiments Stamp Set using pigment ink. Then, I put the card together using foam squares and craft foam to create dimension. To finish things off, I added some pretty iridescent jewels!
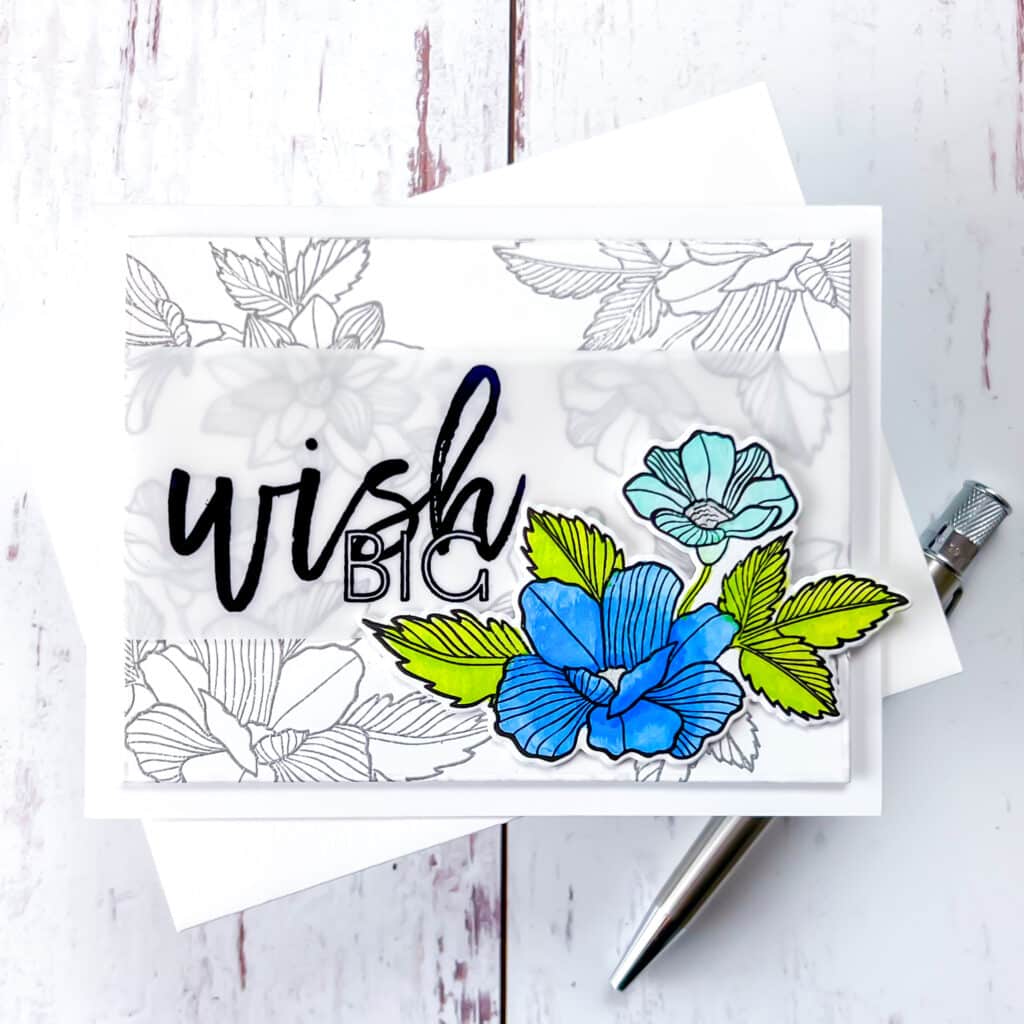
Card Two
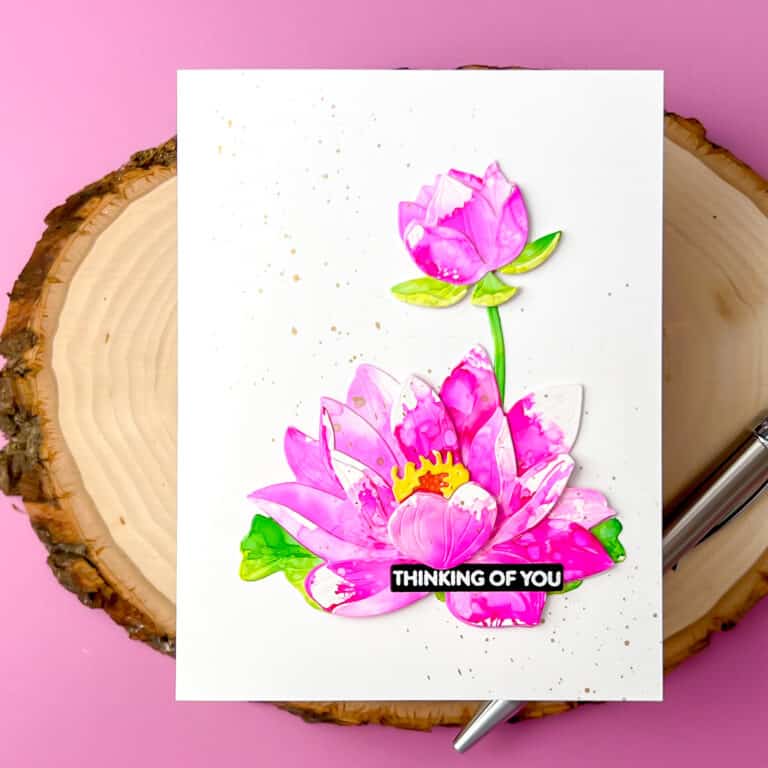
I used all four floral stamps from the Craft Your Life Project Kit: Casual Bouquets to create the background for my second card. First, I heat embossed the images using silver embossing powder. Then, I stamped out one of the floral images using watercolor safe ink onto a piece of watercolor cardstock. I used shades of blue, teal, green, and grey ink to faux watercolor my stamped image!
For my sentiment, I heat embossed the Wish Big Stamp Set using black embossing powder on heat resistant vellum. I love this gorgeous sentiment! Then, I put the card together using craft foam behind the panel and extra die cuts behind the floral image. I love the bright pop of color on this card!
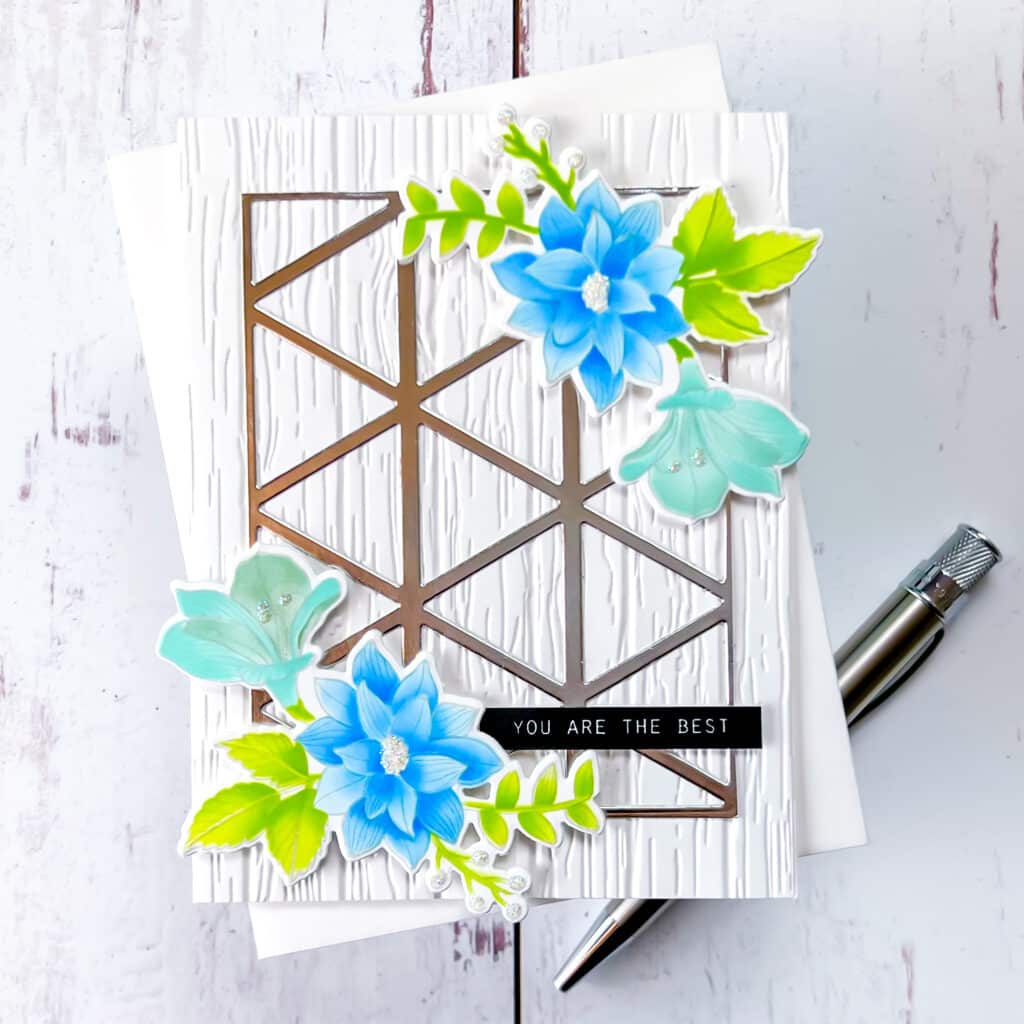
Card Three
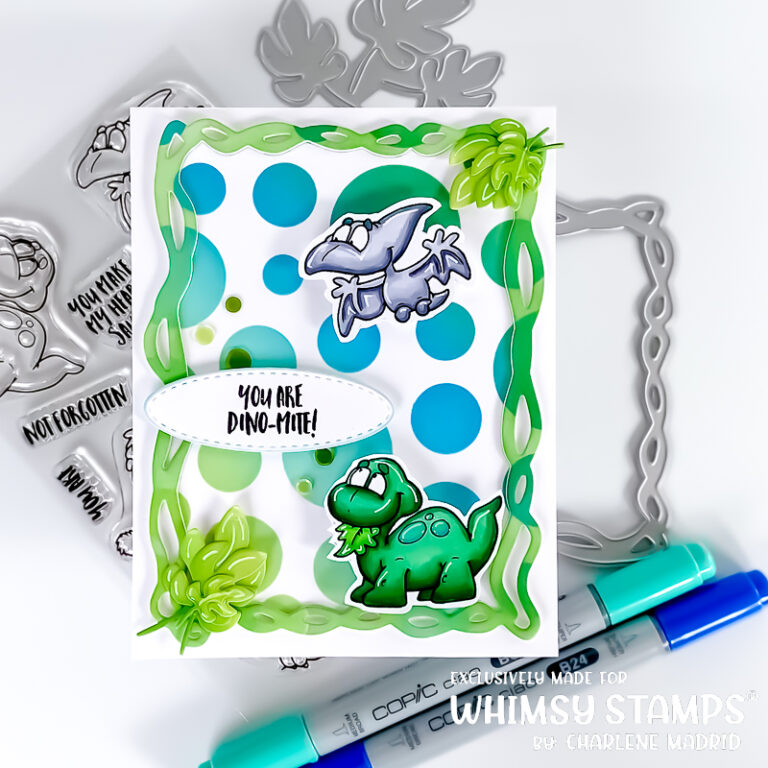
For my third card, I stamped out one of the floral images twice in grey ink. I then used the coordinating stencil from the Craft Your Life Project Kit: Casual Bouquets to color in the floral images using shades of blue, teal and green ink. I love the beautiful effect that the light grey ink creates behind the colored images.
To create shine, I cut one of the fun dies from the Triangle Madness Die Set from silver metallic cardstock. The result reminds me of a pretty garden flower lattice. I embossed the background using the Deck Planks 3D Embossing Folder and I stamped another sentiment from the Best Sentiments Stamp Set in black pigment ink. I put the card together using adhesive foam squares behind the floral images and the sentiment. Lastly, I added pops of glitter to both floral images using glitter glue. So pretty!
Card Four
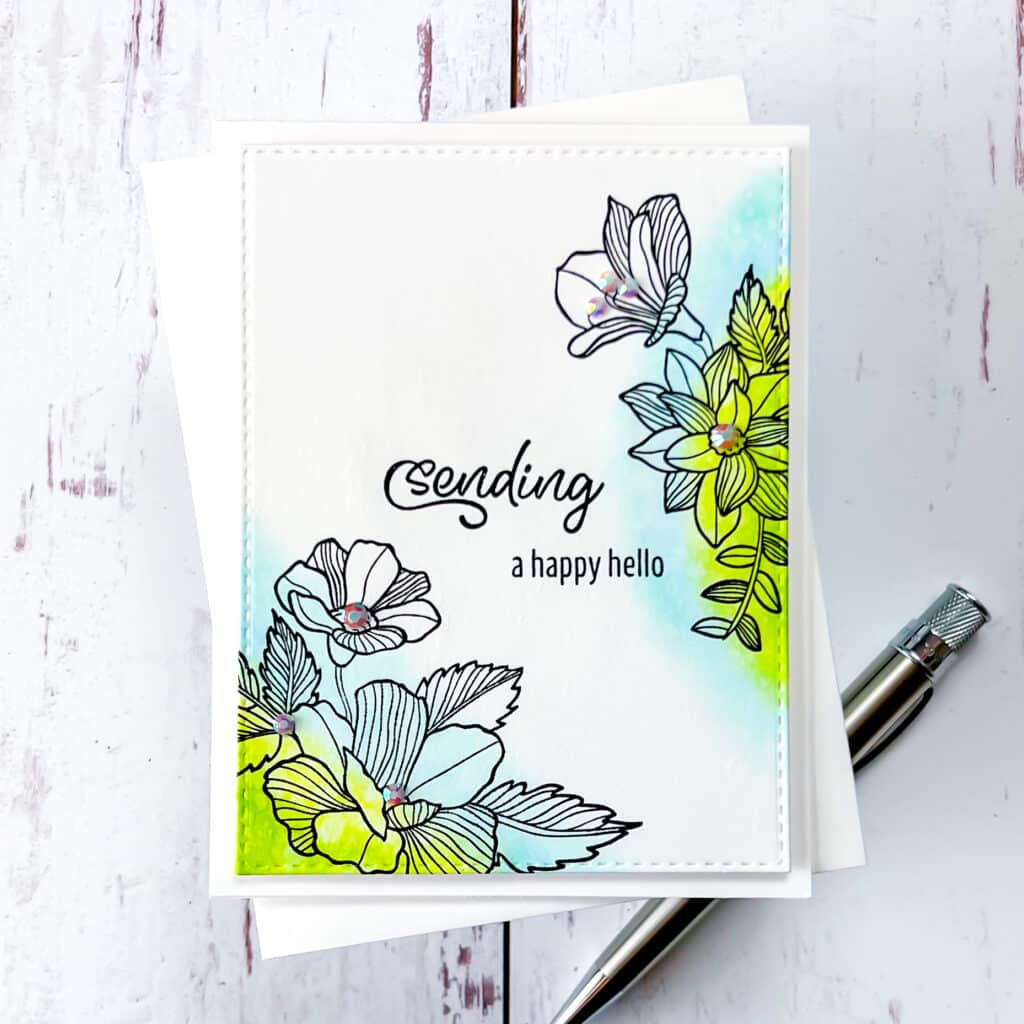
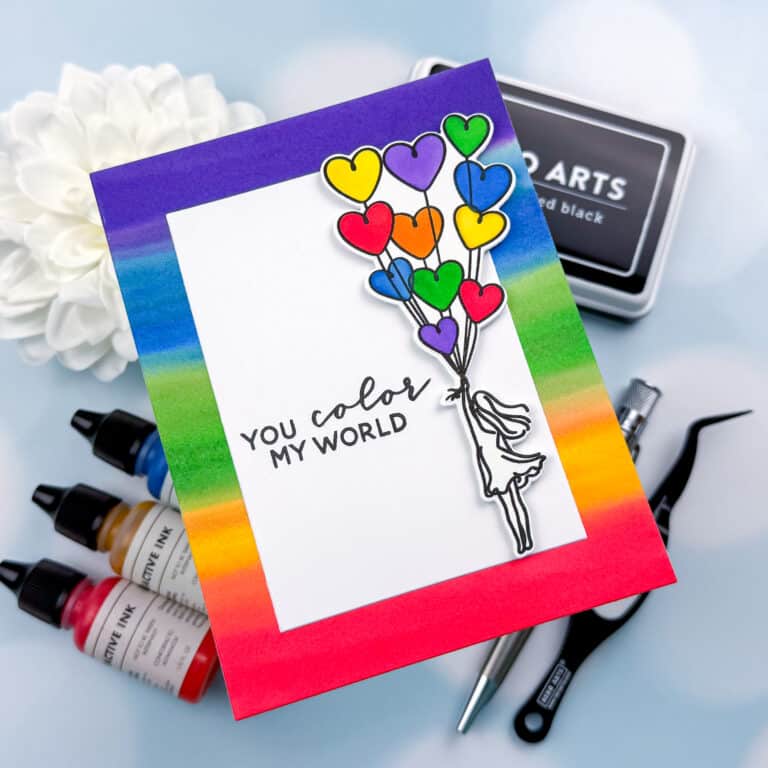
I used two different floral stamps and a sentiment from the Craft Your Life Project Kit: Casual Bouquets for my fourth card. First, I ink blended two different areas of an A2 card panel using shades of blue, teal, and green ink. To create a faux watercolor look, I sprayed the panel a few times with water.
Once the card panel was fully dry, I stamped my two floral images in black pigment ink directly over the colored areas. I also stamped a sentiment on the center of the card. I trimmed down the panel using a stitched rectangle die. I then put the card together using craft foam behind the panel to create dimension. I also added a few iridescent jewels because, well, why not?!
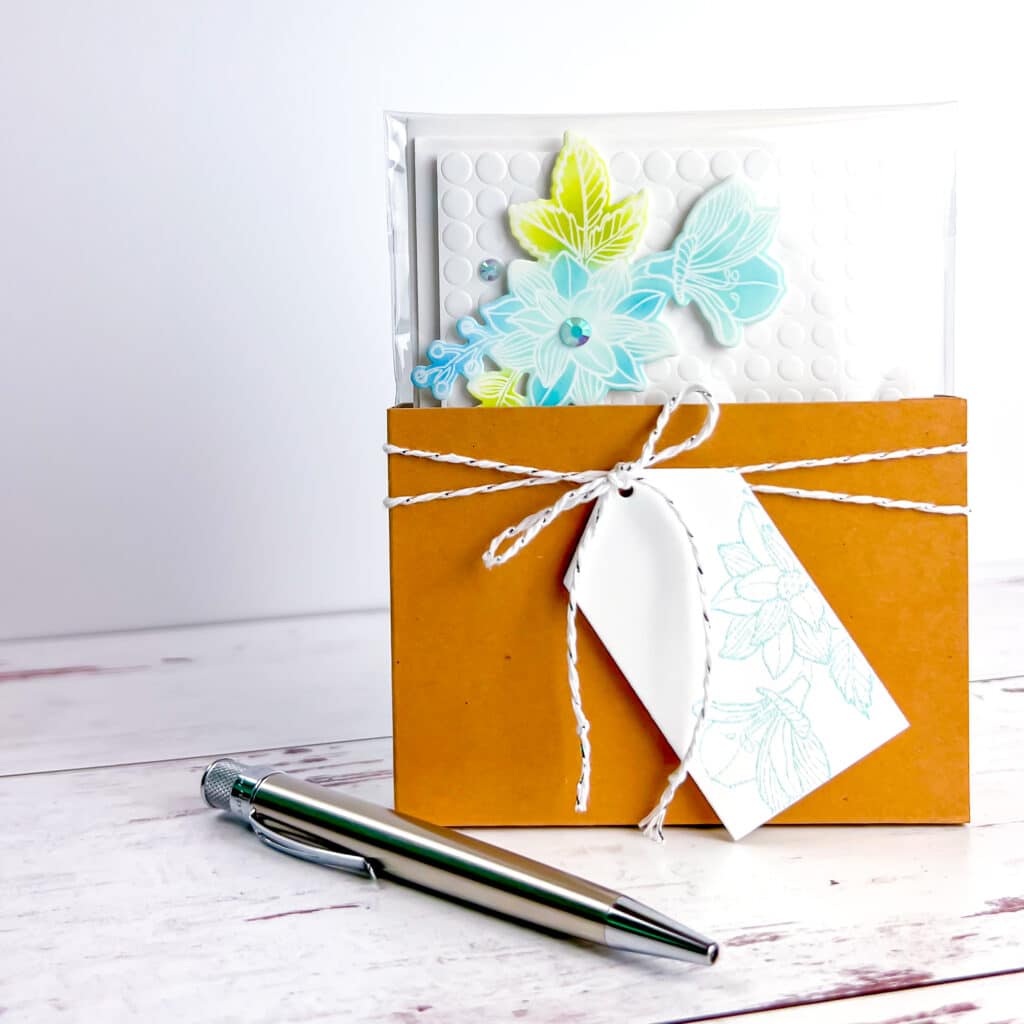
Gift Packaging
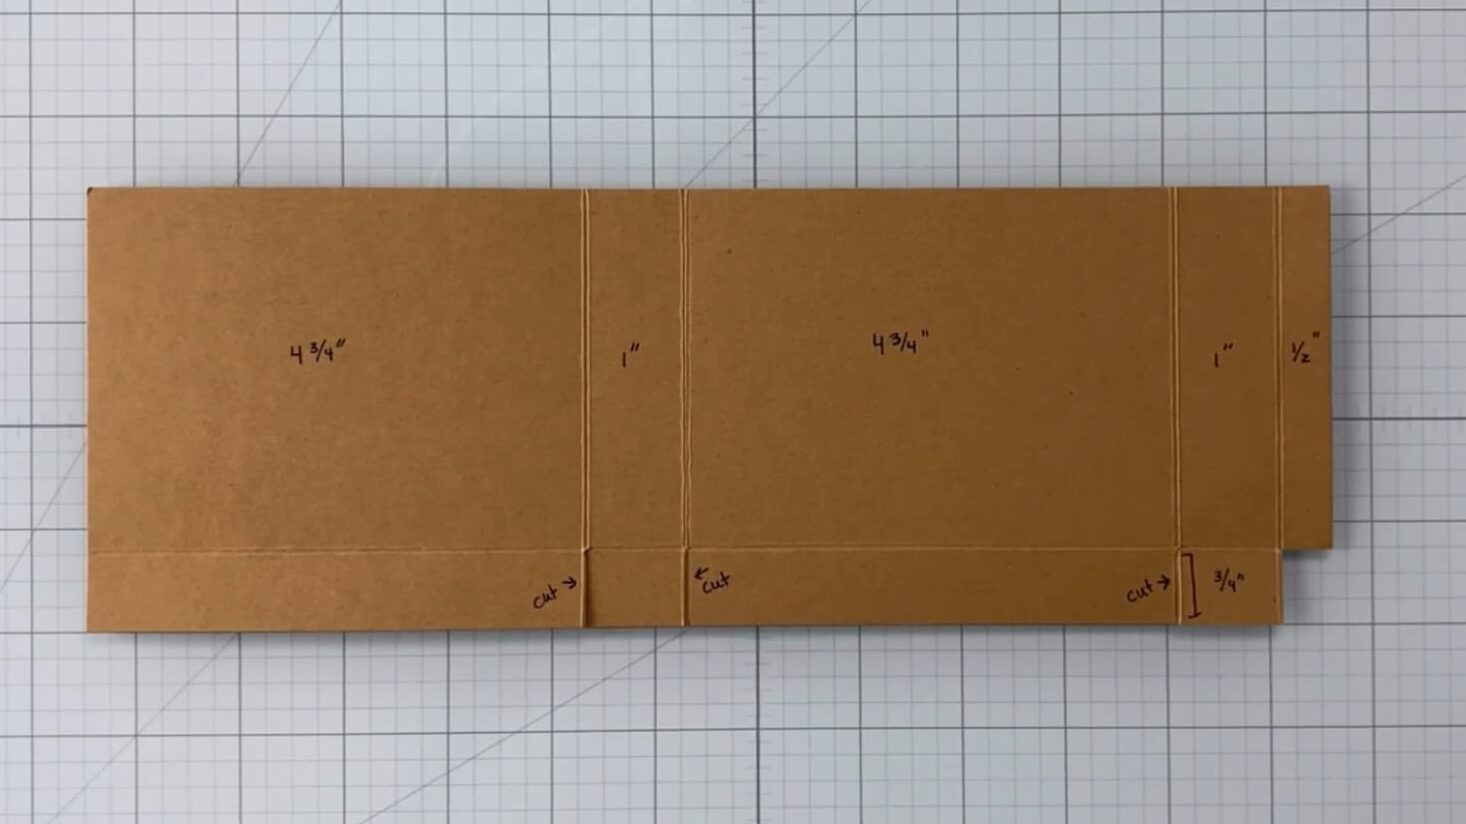
If you are anything like me, you receive a fair number of crafty goodies delivered to your home. I like to try and reuse parts of the packaging when I am crafting. So, to create packaging for my gift card set, I found a piece of heavy duty paper that I could cut down and create a box from. Here is an image with the measurements I used:
I put each of my cards in a resealable cello bag with a blank envelope. I then decorated my packaging using pretty twine. I also heat embossed one of the floral images onto a tag using sparkly blue embossing powder. Be sure to watch the video tutorial to see how I put the packaging together!
Supplies

Your cards look exquisite!! The set is perfection. I love that you used blues and green for a feminine set. Well done!
Thank you, Erum!