
How to Add Alcohol Marker Details to Layering Stencils
Take your stenciled florals from quick and pretty to detailed and dimensional with a few strategic alcohol marker shadows.
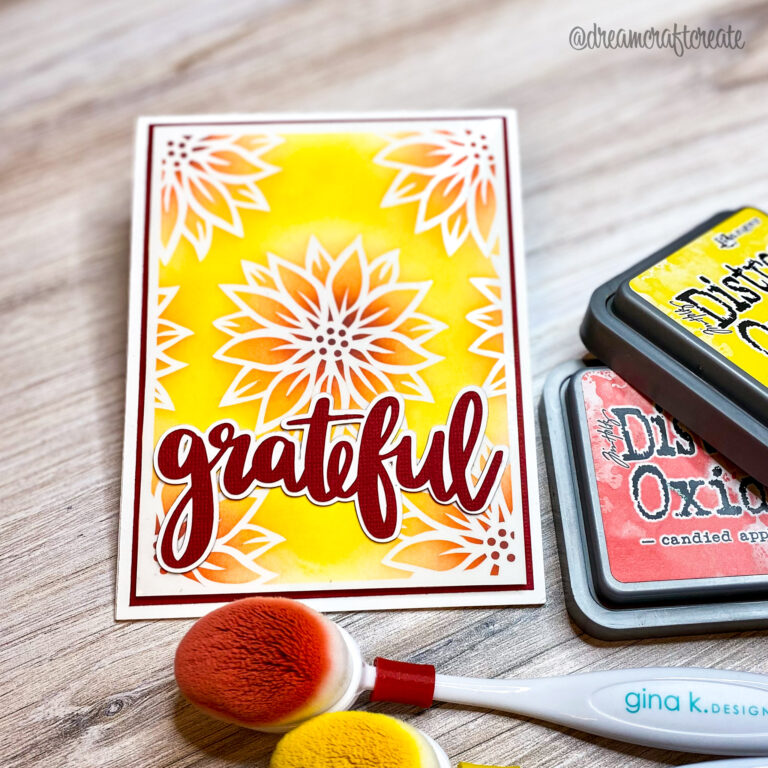
Hi crafty friends! Layering stencils make coloring florals incredibly fast, but sometimes I still want a little more depth and detail. In this video, I’m sharing how to add alcohol marker details to layering stencils using the Harvest Blooms stamps, dies, and stencils from Honey Bee Stamps for a bold autumn floral card.

Watch the full video tutorial on YouTube
Click here for the full supply list
Disclosure
Compensated affiliate links may be used in this post at no cost to you. I received some of the products in this post at no cost. I will ONLY show you products from companies that I believe in and purchase from personally. Thank you for supporting me so that I can continue to bring you lots of fun crafting content!
In the video, you’ll learn:
- How to use layering stencils for fast floral coloring
- Why water-based dye inks work well with alcohol marker details
- Why die cutting first can make stenciling easier
- How to build a warm autumn color palette
- Where to add marker shading for instant depth

I love this technique because it lets you decide how simple or detailed you want your stenciling to be. You can stop after the stencil layers for a quick card, or you can take a few extra minutes to add alcohol marker details to layering stencils for deeper shadows, petal definition, and more realistic dimension. It is such an easy way to stretch your layering stencils and make your finished florals feel more custom.
Have you ever added alcohol marker details over your layering stencils? I’d love to know what floral set you would try this with first.
Happy crafting!
Charlene
Supplies