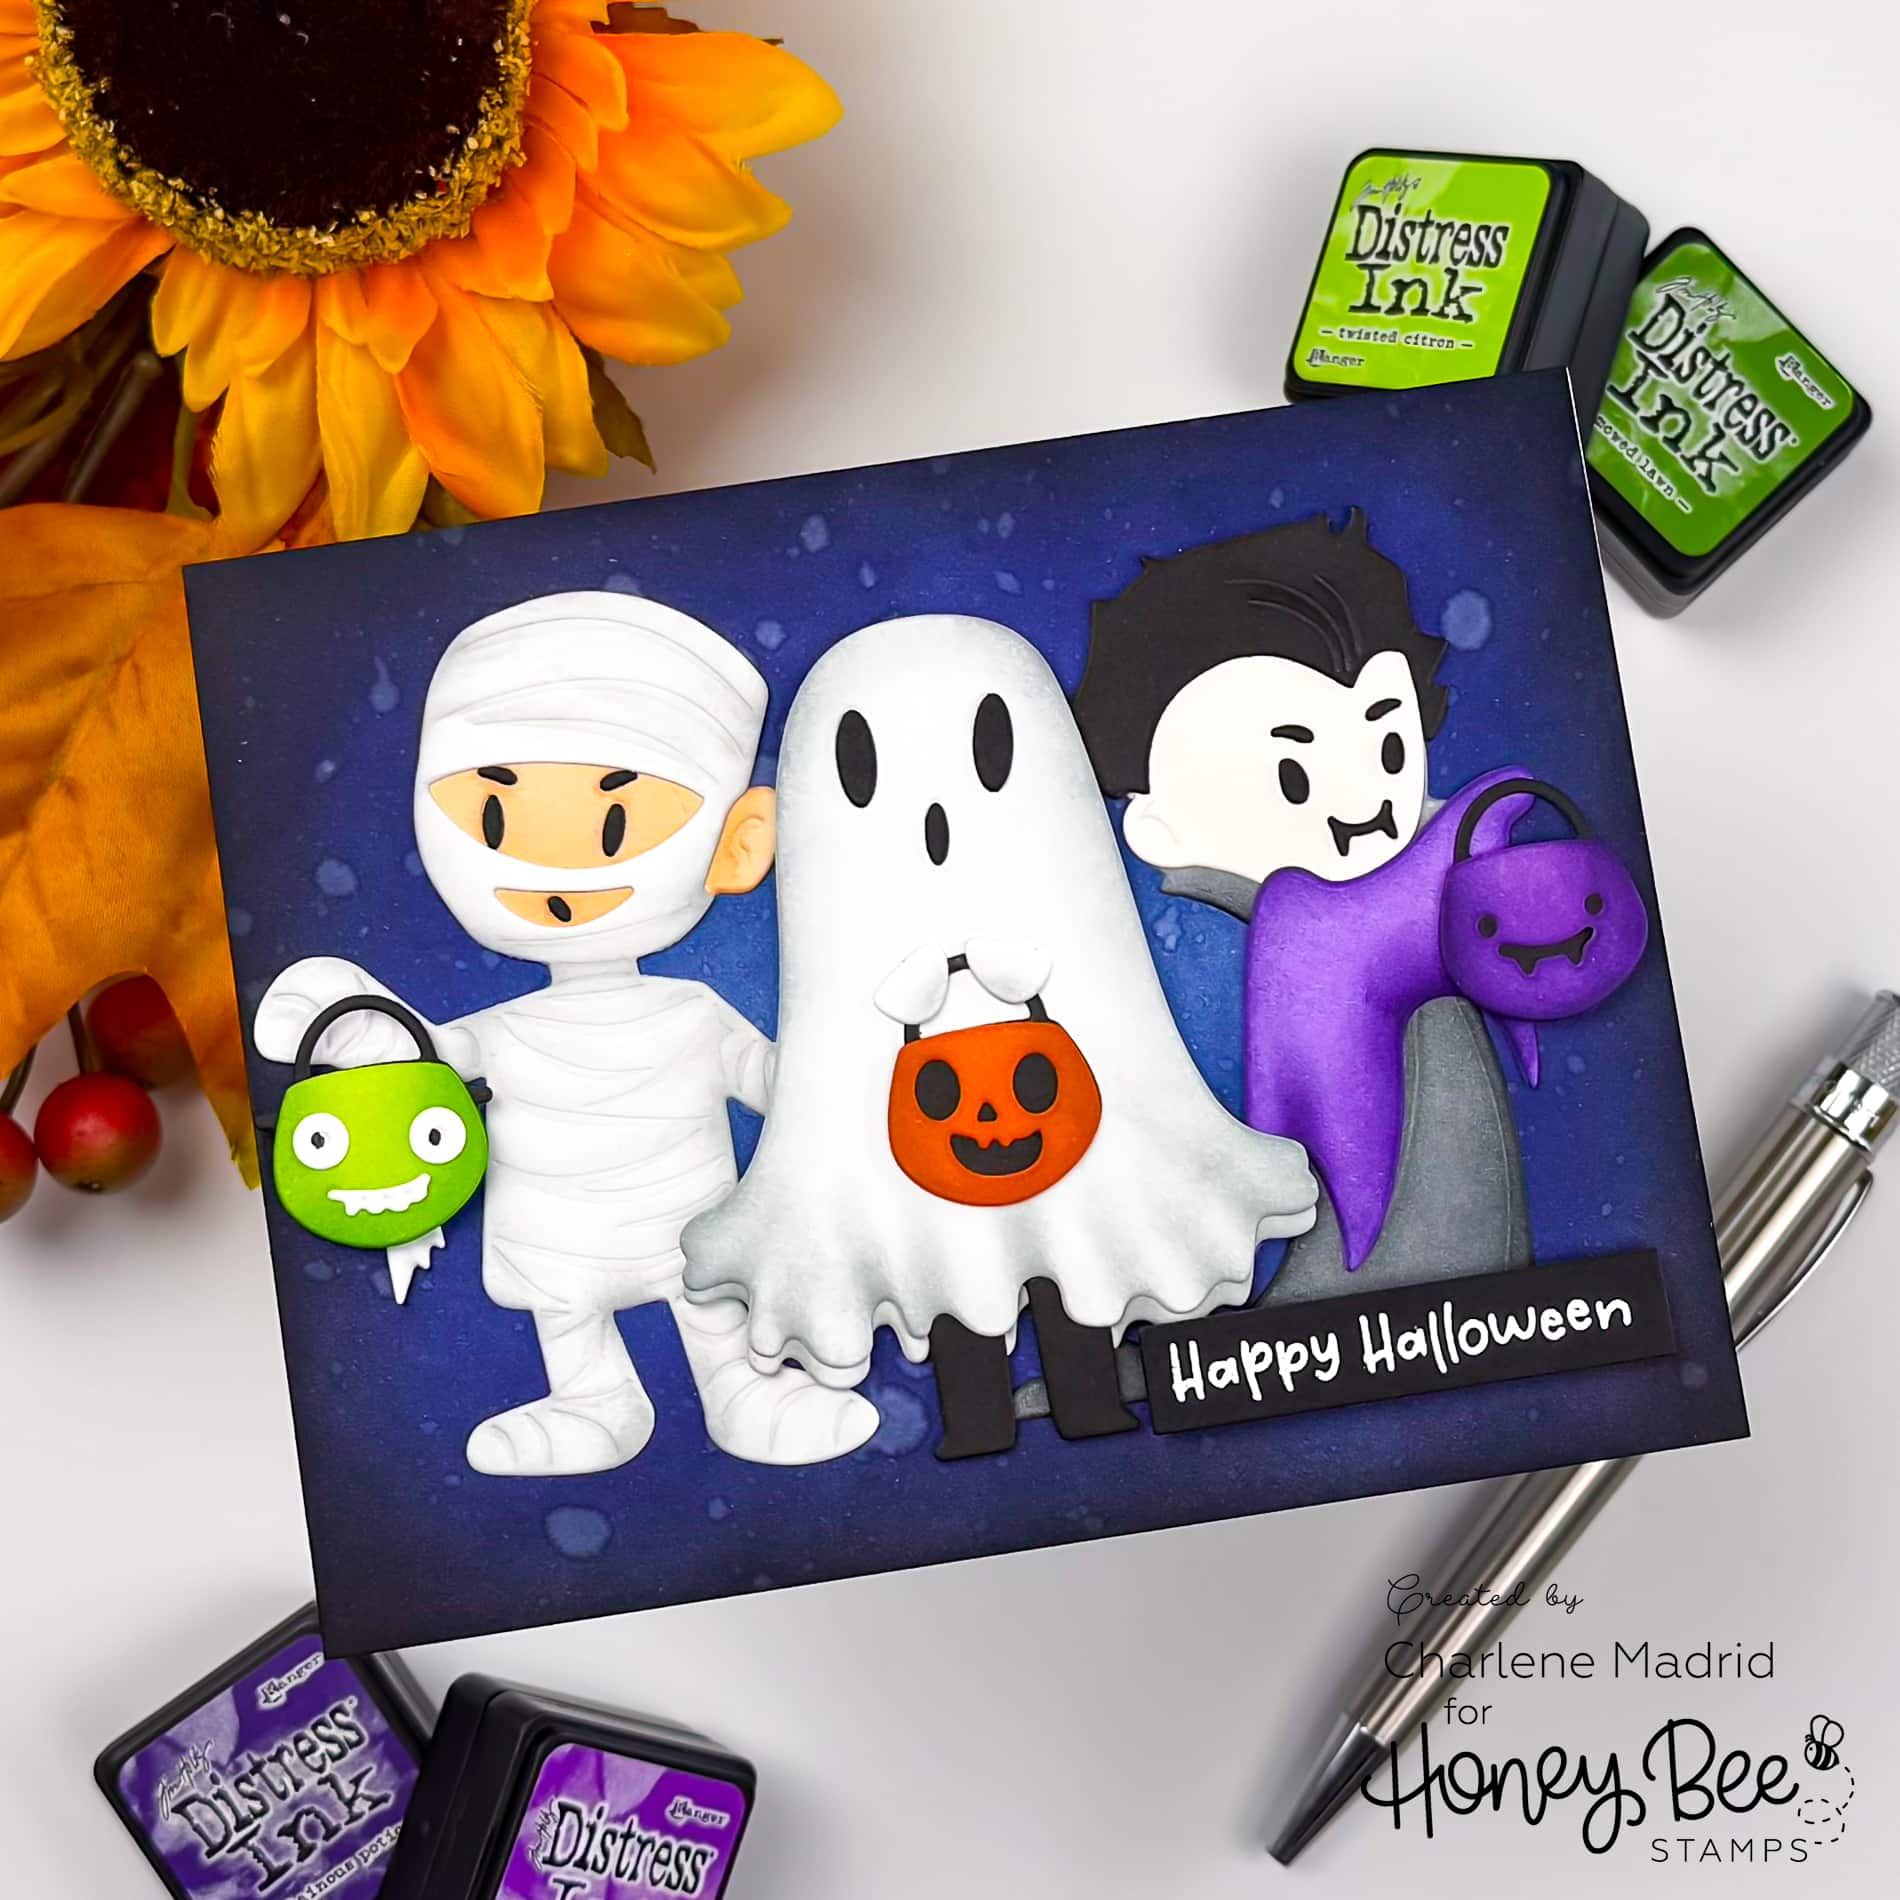
How to Add Dimension to Die Cuts
Easy ways to add dimension to die cuts with shading, texture, and small finishing details so cards look more polished.
Hi crafty friends! Before you assemble your next die cut card, try adding a little ink first. For this card, I used the Lovely Layers: Trick or Treat dies from Honey Bee Stamps to create a cute Halloween scene with a mummy, ghost, vampire, and bright trick-or-treat pails. A little shading around the edges, along embossed lines, and underneath layered pieces is what takes the die cuts from flat cardstock to dimensional characters.
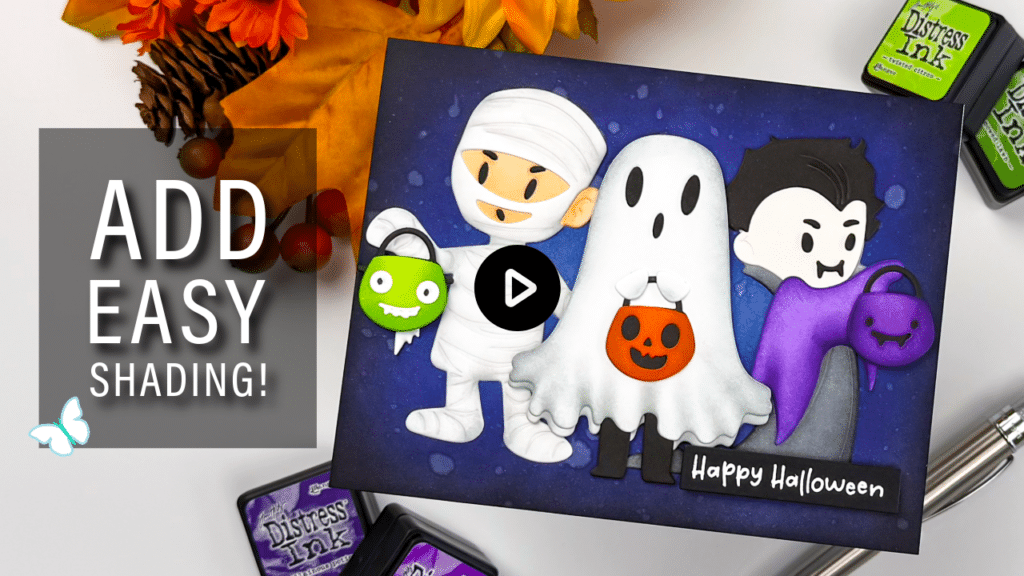
Watch the full video tutorial on YouTube
Click here for the full supply list
Disclosure
Compensated affiliate links may be used in this post at no cost to you. I received some of the products in this post at no cost. I will ONLY show you products from companies that I believe in and purchase from personally. Thank you for supporting me so that I can continue to bring you lots of fun crafting content!
In the video, you’ll learn:
- How to add dimension to die cuts with simple edge shading
- How to make embossed details stand out with ink
- How to shade items so they look rounded
- How to create a quick spooky night sky background
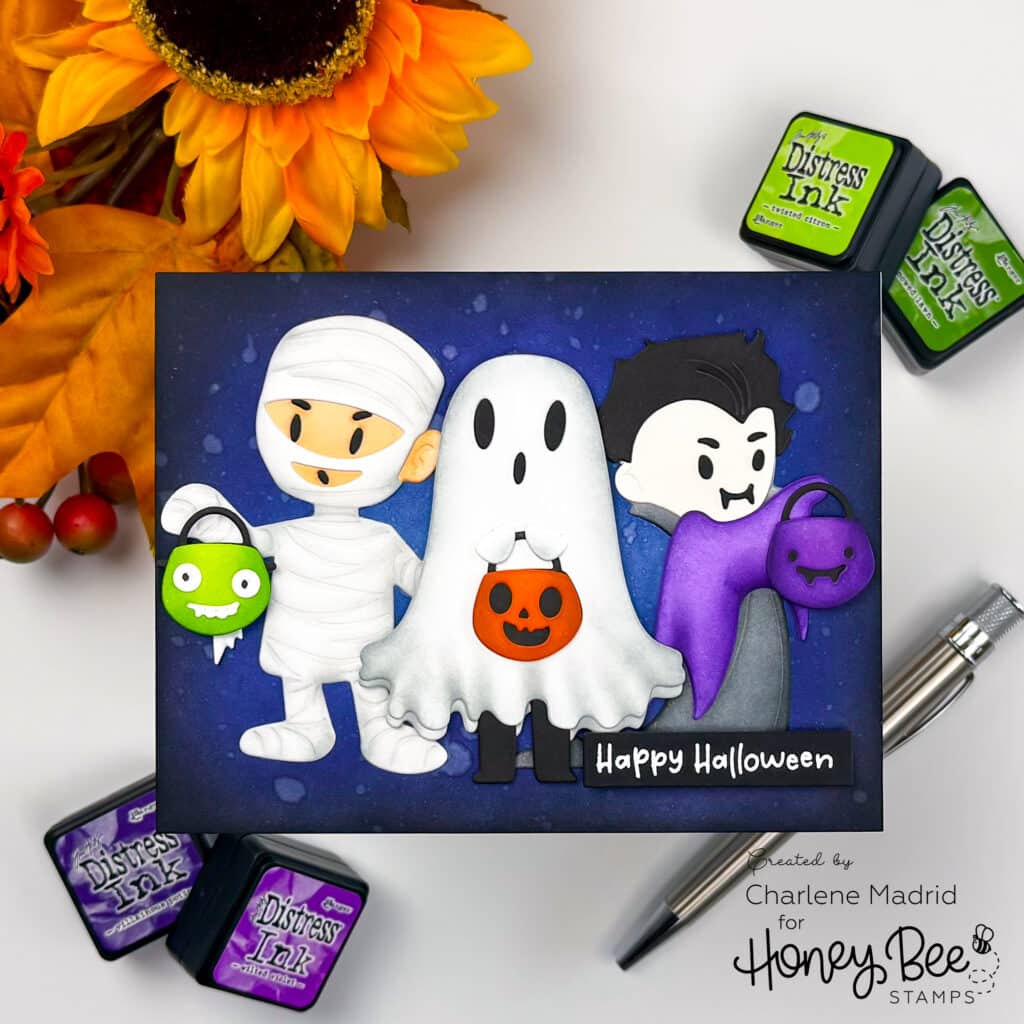
What I love about this card is that the shading is simple, but it makes a big impact. You do not need complicated coloring to add dimension to die cuts. Just think about where the edges should be darker, where the embossed details should show, and where one piece overlaps another. Those small choices make the finished card feel so much more polished.
Do you usually add shading to your die cuts, or do you leave them as-is?
Happy crafting!
Charlene
Supplies