3 Ways to Stretch One Craft Kit
Modern, Romantic, and Antiqued Cards
In this tutorial, I’m showing how to make three completely different cards using the same supplies, just by changing your color palette, frame shape, and finishing details.
If you love getting the most out of a kit, this one’s for you. I’m using the Altenew Craft Your Life Project Kit: Frozen Moments and creating a modern card, a romantic card, and an antiqued card. Each card starts the same way: layered stenciling first, then a bold (or delicate) silhouette-style stamp over the top.

Watch the full video tutorial on YouTube
Click here for the full supply list
In the video, you’ll learn:
- How to shift the style of a card by changing your color palette
- How frame shape (rectangle vs. oval) instantly changes the vibe
- How to get crisp silhouette stamping (and when to double-stamp)
- How to layer vellum for a soft, romantic finish
- How to create an antiqued look with inked edges + gilded highlights
Disclosure
Compensated affiliate links may be used in this post at no cost to you. I received some of the products in this post at no cost. I will ONLY show you products from companies that I believe in and purchase from personally. Thank you for supporting me so that I can continue to bring you lots of fun crafting content!
Modern card (crisp + bright)

For the modern look, I used vibrant blue-greens for the florals and kept the stenciling simple—smooth coverage, no fancy shading. I also shared a quick “save the mistake” tip: if you ink an area you didn’t mean to, look for a stencil element you can tuck in so it looks intentional.
To reinforce the modern vibe, I chose the rectangle frame, embossed it with the coordinating folder for white-on-white texture, then popped it up with foam tape. One extra trick that makes a big difference here: trimming a little off two sides of the panel creates a clean “double-frame” look that feels fresh and graphic.
Romantic card (soft + airy)

For card two, the goal was softness. I used lighter pressure while blending, warmer tones, and a more delicate silhouette stamp. Instead of black ink, I used a bronze pigment ink for a gentle glow, and I recommended heat-setting it right away to prevent smudging.
To change the mood even more, I switched to the oval frame, cut it from white and vellum, and offset the layers so the vellum creates a dreamy border. I also lightly inked the white oval edges in a soft pink so the frame stands out just enough without going stark.
Antiqued card (vintage depth + gilded detail)

For the third card, I leaned into contrast and texture. This stencil grouping is created with only one stencil, so I added extra interest by shading with deeper tones. Bringing random areas of darker ink into the flowers and leaves to create variation without overthinking it.
Then I heat embossed the silhouette stamp in antique gold embossing powder (anti-static first, and make sure your ink is fully dry so stray powder doesn’t stick).
For the frame, I cut it from kraft cardstock, embossed it, then antiqued the edges with a darker brown ink. To finish, I added a little gilded highlight to the raised details with a metallic paste. One smart final step: after gilding, running the frame through the embossing folder again brings back any detail that got softened during the antiquing process.
One of my favorite parts of this tutorial is seeing the three cards together—same supplies, completely different results. If you’re trying to shop your stash (or stretch a kit), this is a great way to do it: change the colors, change the frame shape, and change the finish.
Which one is your style? Modern, romantic, or antiqued? Let me know in the comments.
Happy crafting, and I’ll see you in the next video!
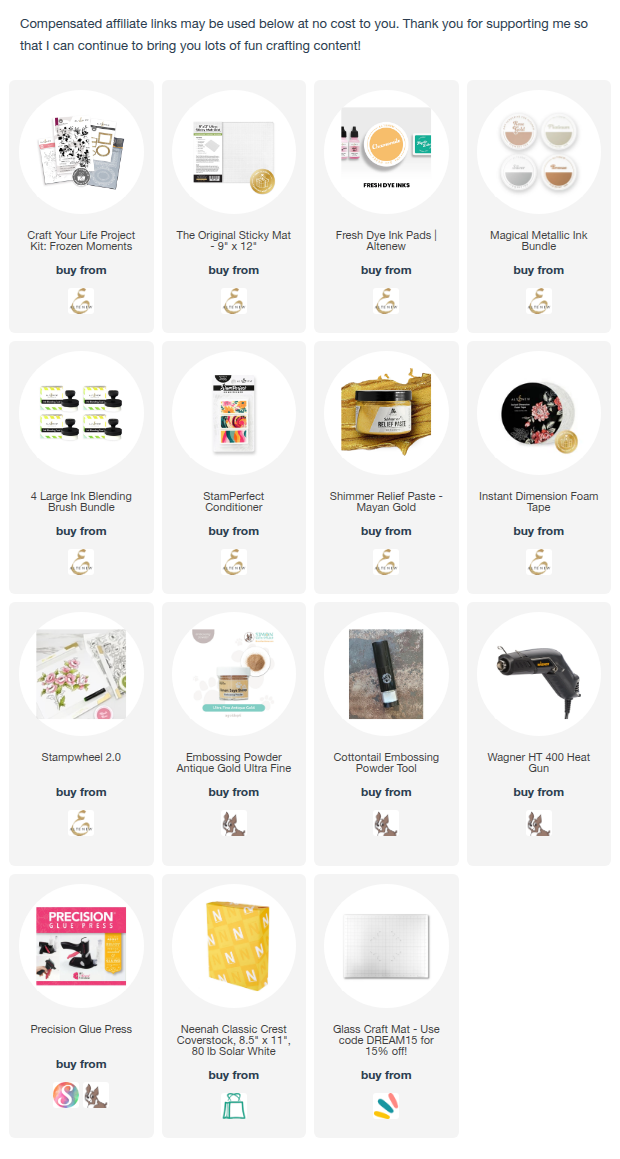
Supplies