Altenew Online Workshop: Beyond Basic Backgrounds
Die cut inlay — the easy way!
Do you ever feel like your backgrounds are boring? Then you have to check out the Beyond Basic Backgrounds online workshop by Altenew. It has tons of fun background ideas. One is die cut inlay! I love die cut inlay. Especially since I discovered Press’n Seal. Wow! What a game changer!
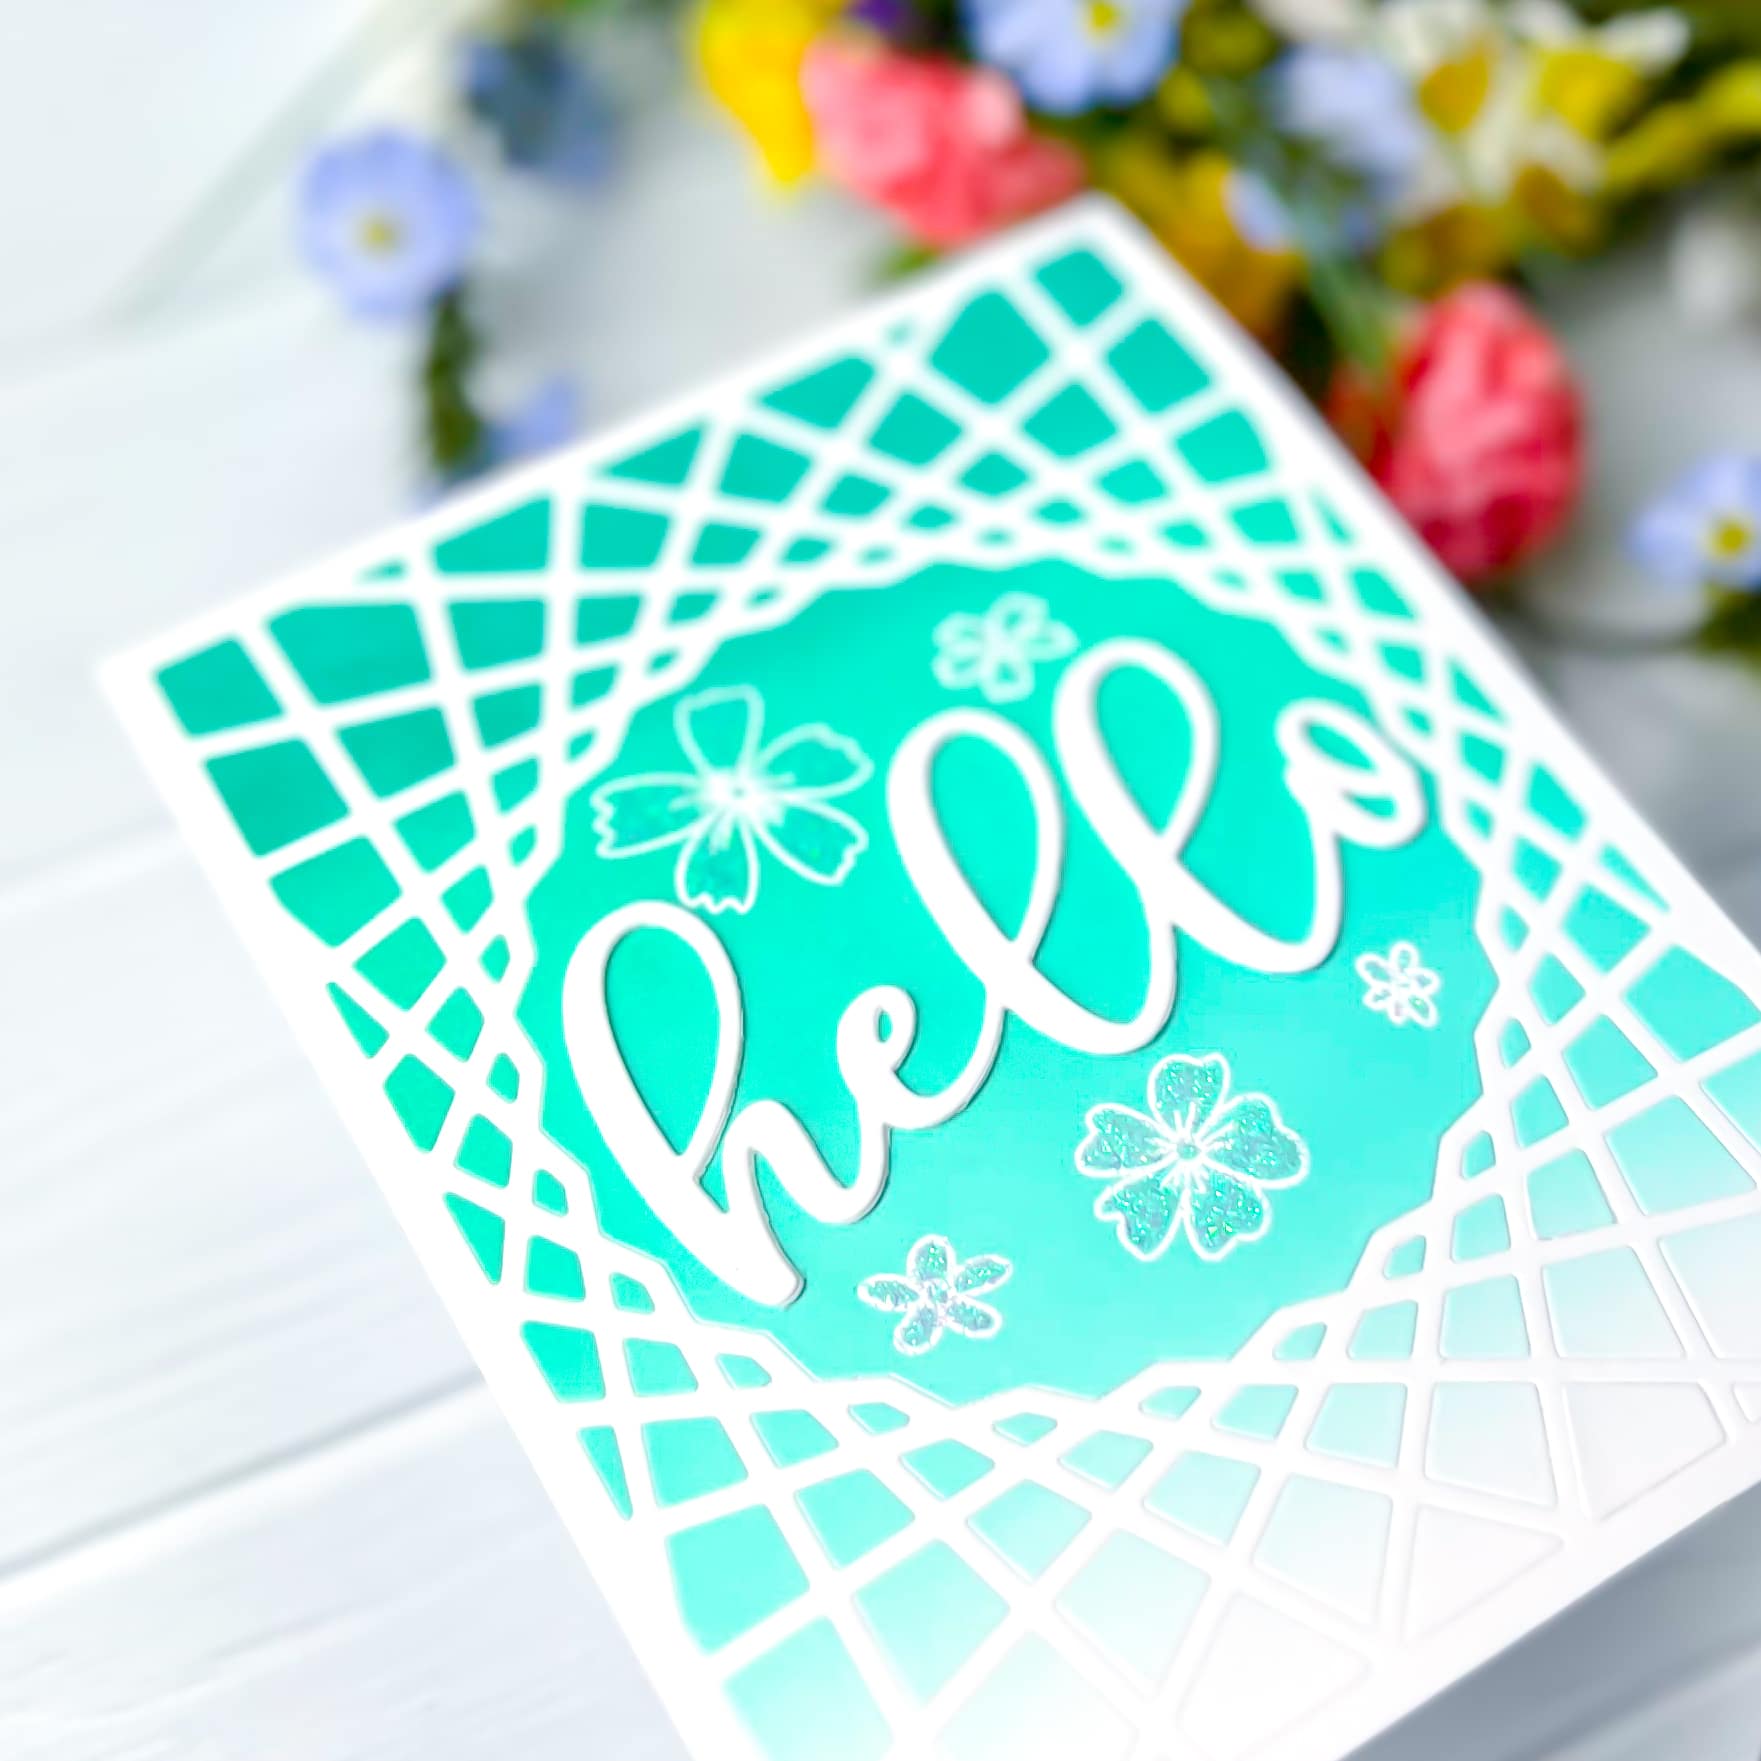
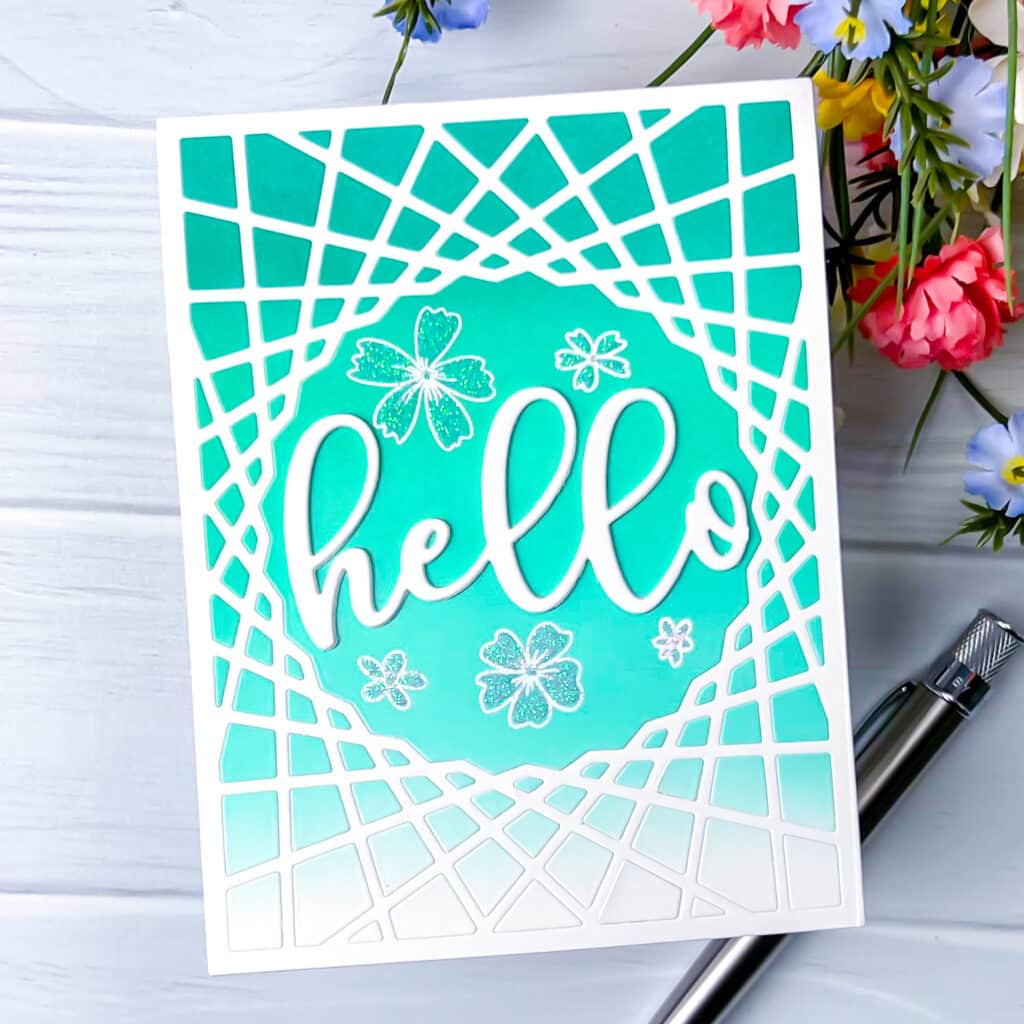
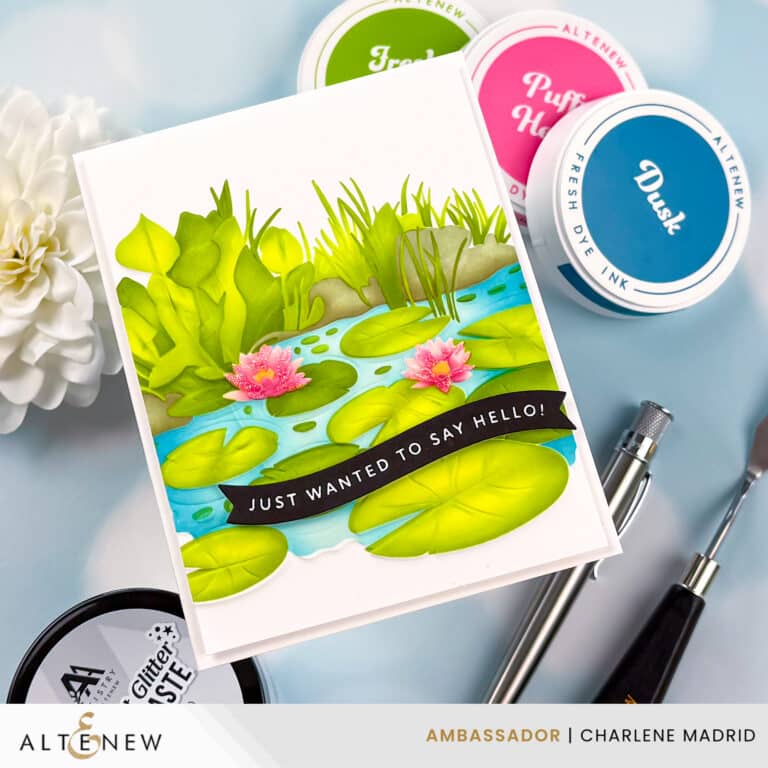
For my class project I was inspired to create an inlaid ombre background. I really love how it turned out.

I took this workshop as part of the Altenew Educator Certification Program. A great program to try if you ever find yourself in a crafting funk! The classes are full of fun ideas to try!
Technique
First, I ink-blended a piece of cardstock using three shades of teal. I decided to go from darkest at the top to lightest at the bottom.
Once my background was completely dry, I die cut it using the Layered Geo Cover Die A. I made sure to poke all of the little die cut pieces down onto my cutting plate before I removed the die from the paper. Then I applied a piece of Press’n Seal to the top of the cut background.
I made sure the Press’n Seal was nice and secure before flipping over the entire piece. Then I carefully removed the main die cut, being sure to poke any little inset pieces down that tried to run away. When I was finished I had all of the inset pieces stuck to the Press’n Seal.
Next, I applied some double-sided adhesive to my card front. I also die cut another Layered Geo Cover Die — this time from white cardstock. Using the corner of my scoring board, I secured the white die cut onto my card front.
Now the fun part. I positioned the Press’n Seal directly over the card front so that all of the little inlay pieces matched up perfectly to their coordinating spots. Then I pressed everything down so that the inlay pieces stuck to the remaining exposed adhesive. Once everything was nice and secure, I peeled off the Press’n Seal. Yay!
I decided at the last minute that my card needed a little something extra. To add something fun, I stamped a few of the small flowers from the Wild & Free stamp set onto the front of the card with embossing ink and heat embossed them in white.
For my sentiment, I die cut three of the Circled Greetings: Hello Die and trimmed off the hellos. I used liquid glue to layer up the three hellos to give my sentiment some dimension.
For some bling, I used my glue pen on the inside of the flowers and sprinkled on extra fine glitter. So sparkly!
Tip
Be sure your inked background is completely dry before you die cut and use the Press’n Seal. If the ink on your background is still wet, you risk tearing your beautiful background. Eek!
Bonus
Want to see how I made this card? Check out my YouTube short and learn how!
Disclosure
Compensated affiliate links may be used on this page at no cost to you. Thank you for supporting me so that I can continue to bring you lots of fun crafting content!
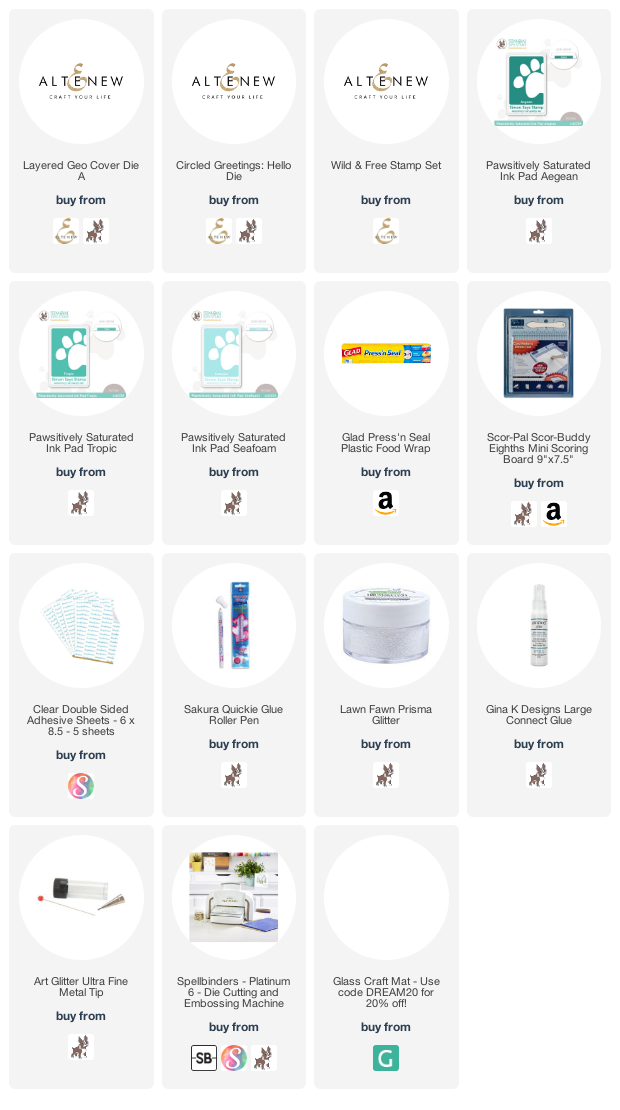
Supplies


This is FAB!!! Love!
Thanks, Erum! ❤️