5 Easy Ways to Add Depth and Detail to Die Cuts
Use color variation, ink blending, texture, selective shine, and a few finishing details to make layered die cuts look more dimensional!
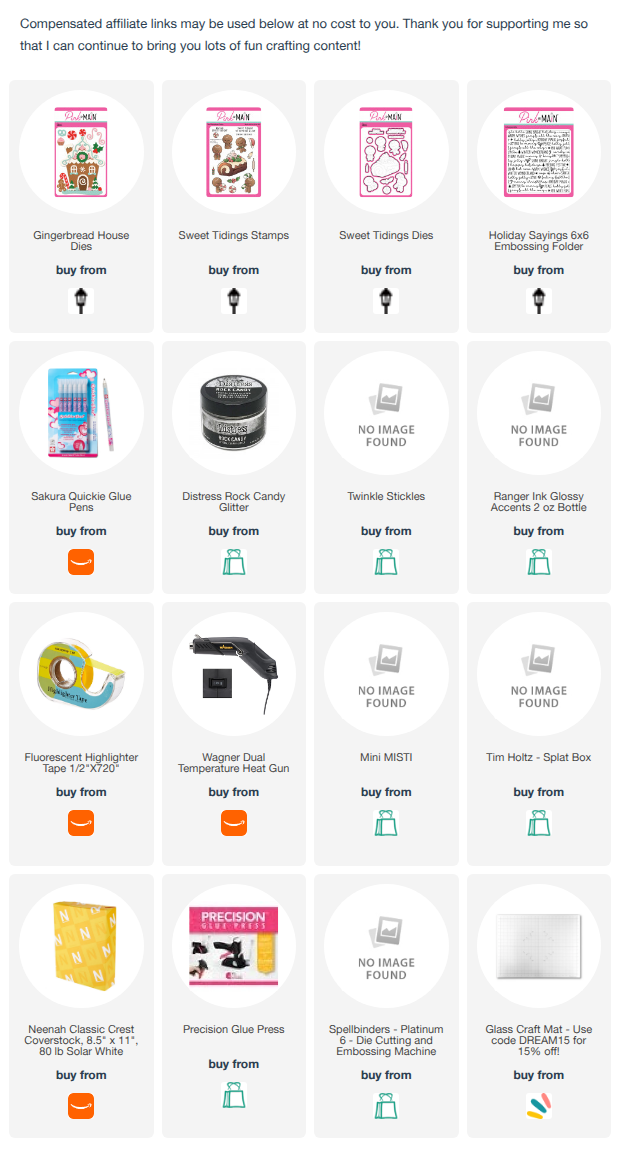
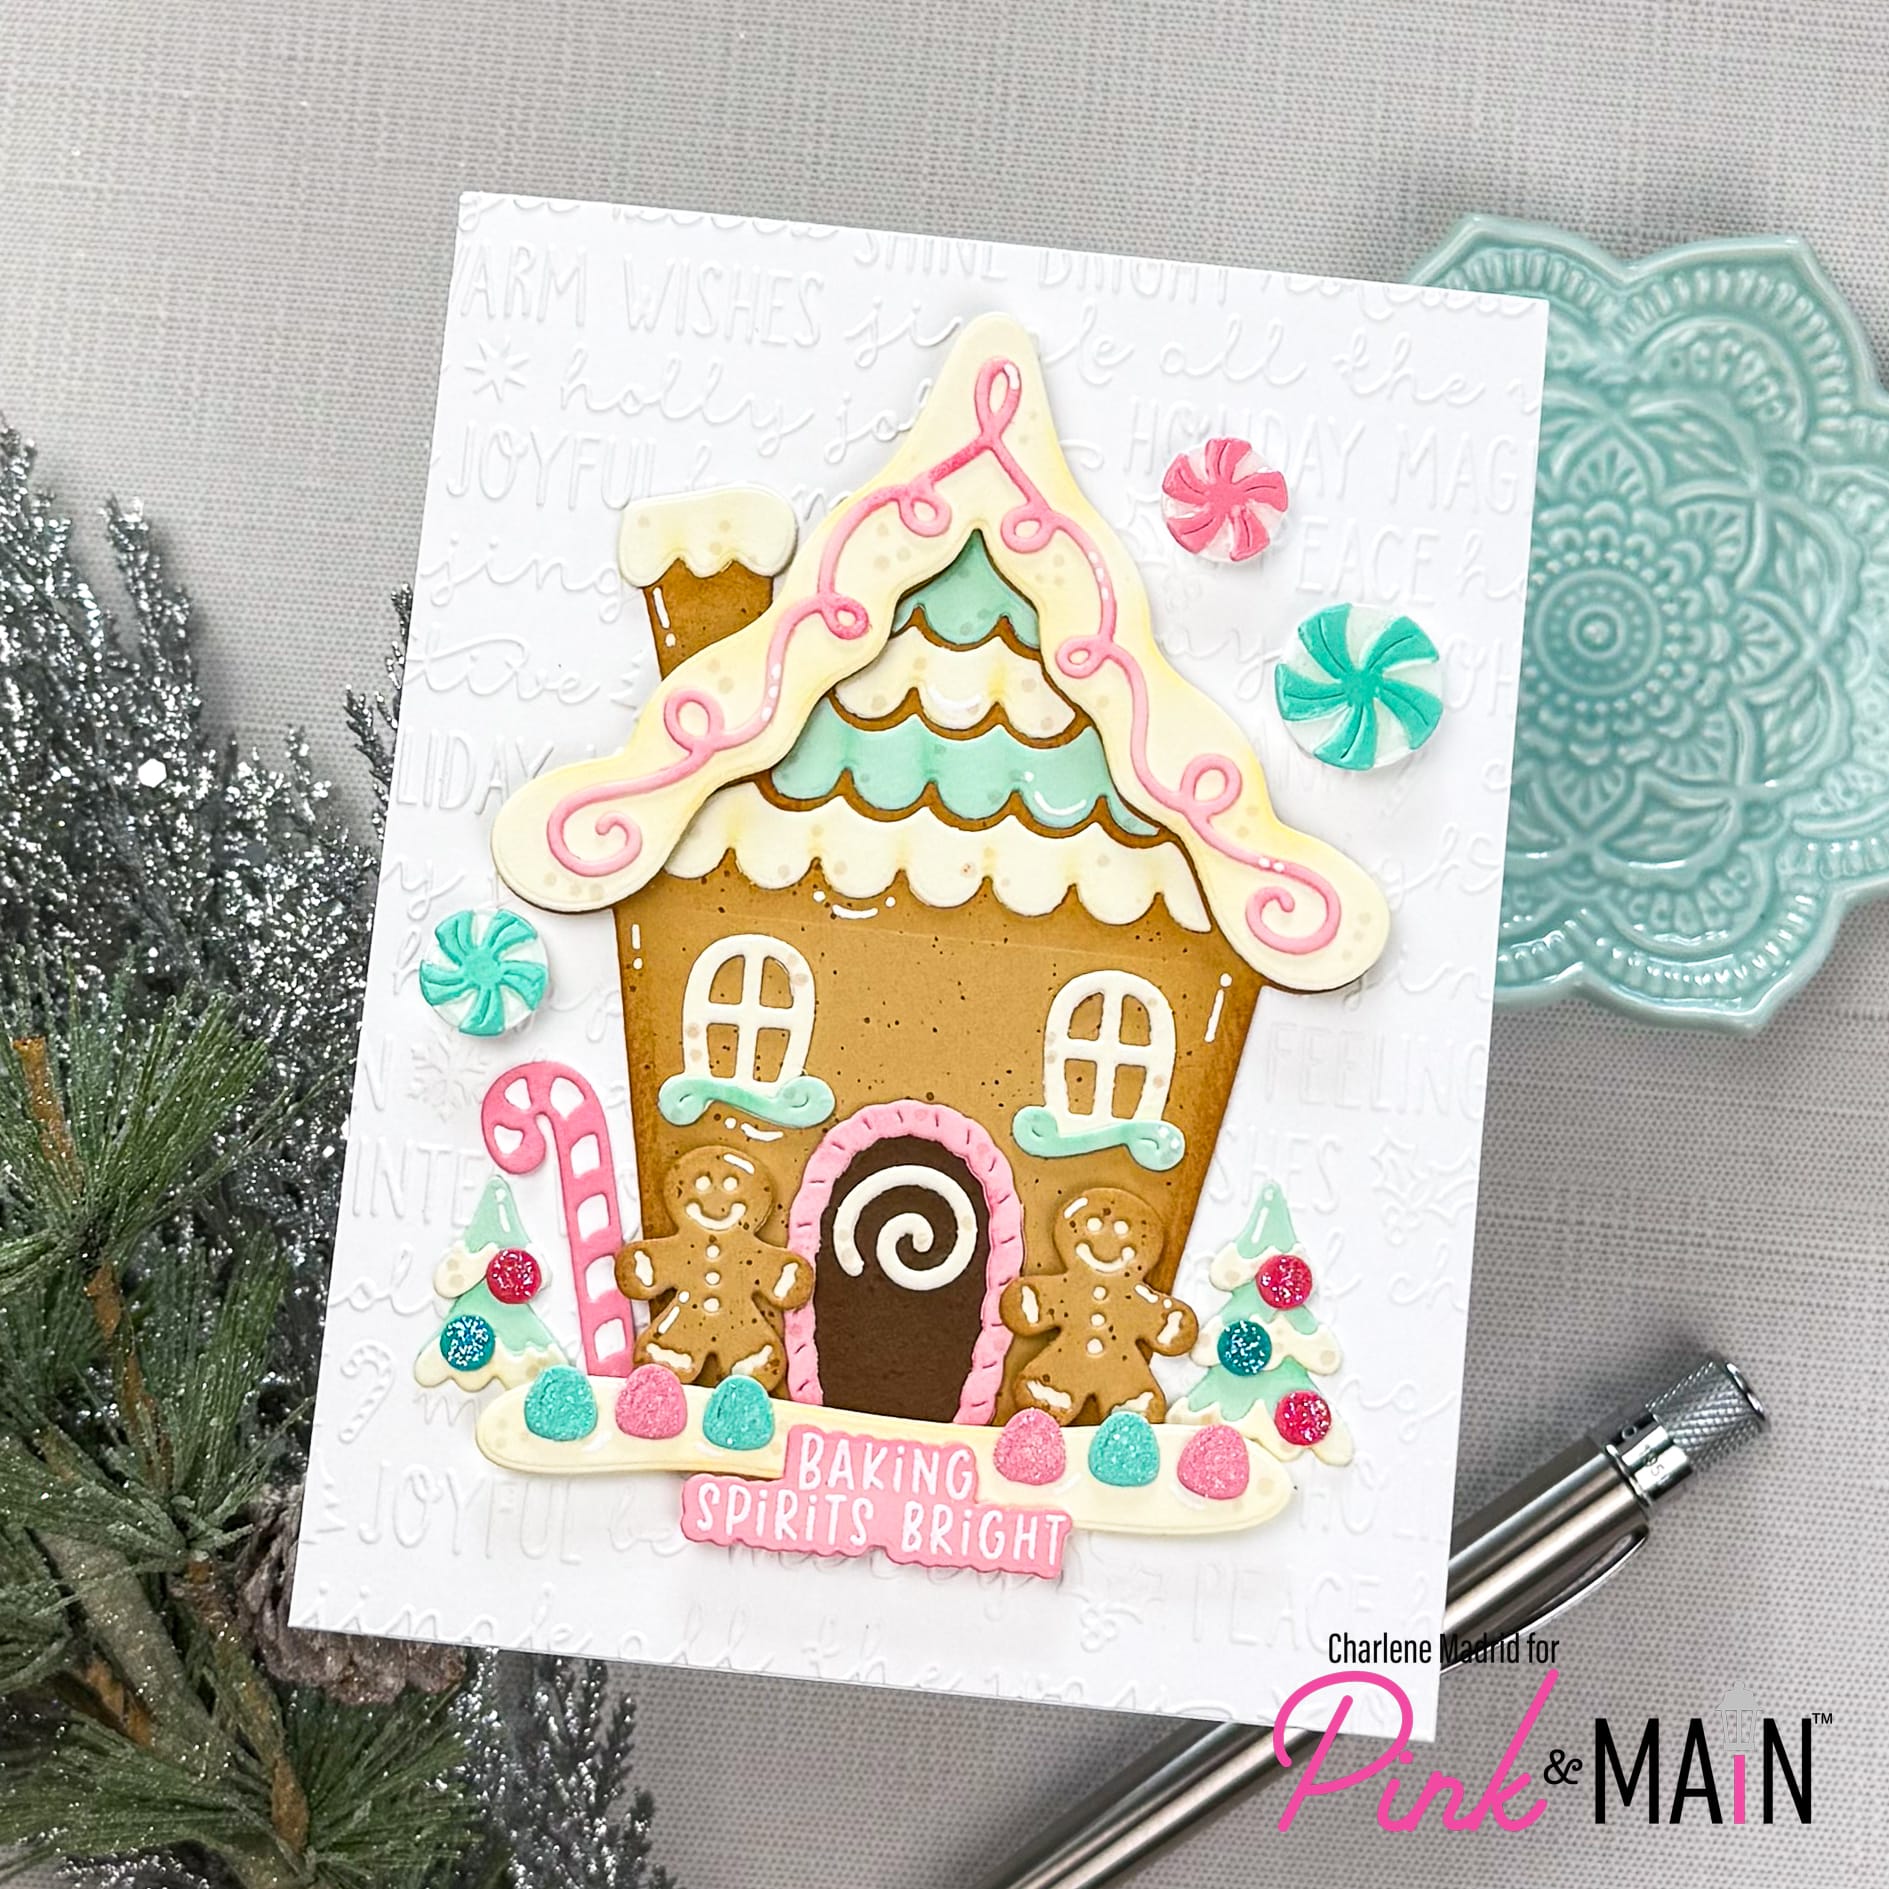
Hi crafty friends! Layered die cuts are adorable on their own, but a few simple details can make them look so much more finished. In this tutorial, I’m using the Gingerbread House Dies from Pink & Main to share five easy ways to add depth and detail to gingerbread die cuts, from creating baked edges to adding realistic texture and shine.
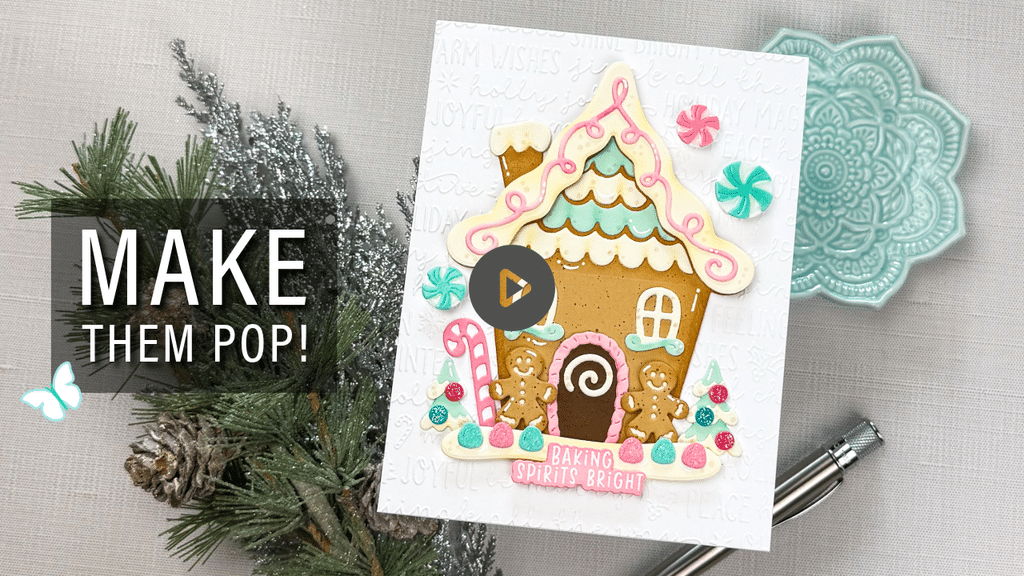
Watch the full video tutorial on YouTube
Click here for the full supply list
Disclosure
Compensated affiliate links may be used in this post at no cost to you. I received some of the products in this post at no cost. I will ONLY show you products from companies that I believe in and purchase from personally. Thank you for supporting me so that I can continue to bring you lots of fun crafting content!
In the video, you’ll learn:
- How multiple shades of cardstock create instant depth
- How to ink blend realistic baked edges
- Easy ways to add texture to gingerbread and icing
- Why selective shine makes candy details stand out
- How highlights and strategic dimension finish the look
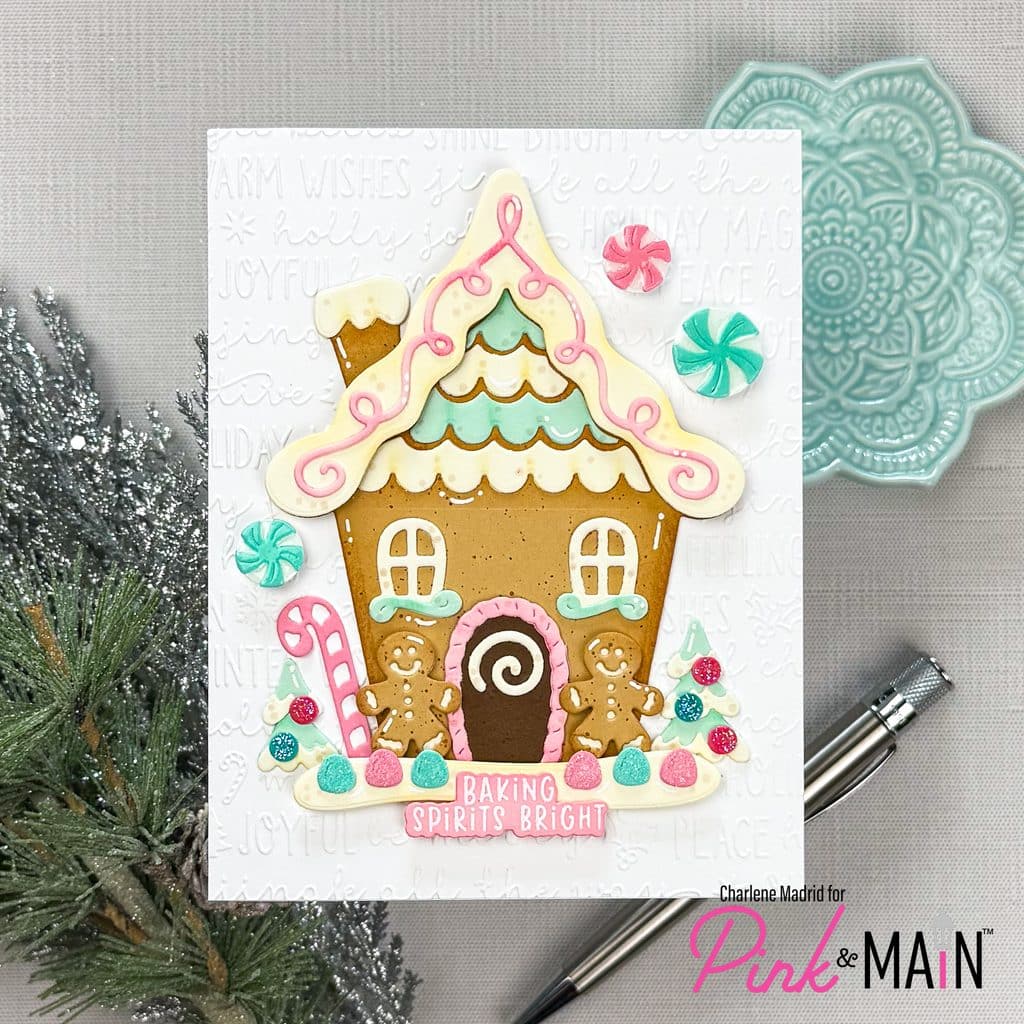
I love how all five techniques work together on this card. You do not need complicated coloring or a huge list of supplies to make gingerbread die cuts feel more dimensional. Start with color variation, add a little ink blending and texture, choose a few places for shine, then finish with strategic foam and highlights. Those small details make a huge difference in the finished card.
Which technique would you try first: baked-edge ink blending, added texture, or selective shine?
Happy crafting, and I’ll see you in the next video!
Charlene
Supplies