How to Give Die Cuts a Vintage Look: 5 Easy Techniques
Use color, ink, texture, and specialty materials to turn fresh cardstock into die cuts with a beautifully aged, vintage feel.
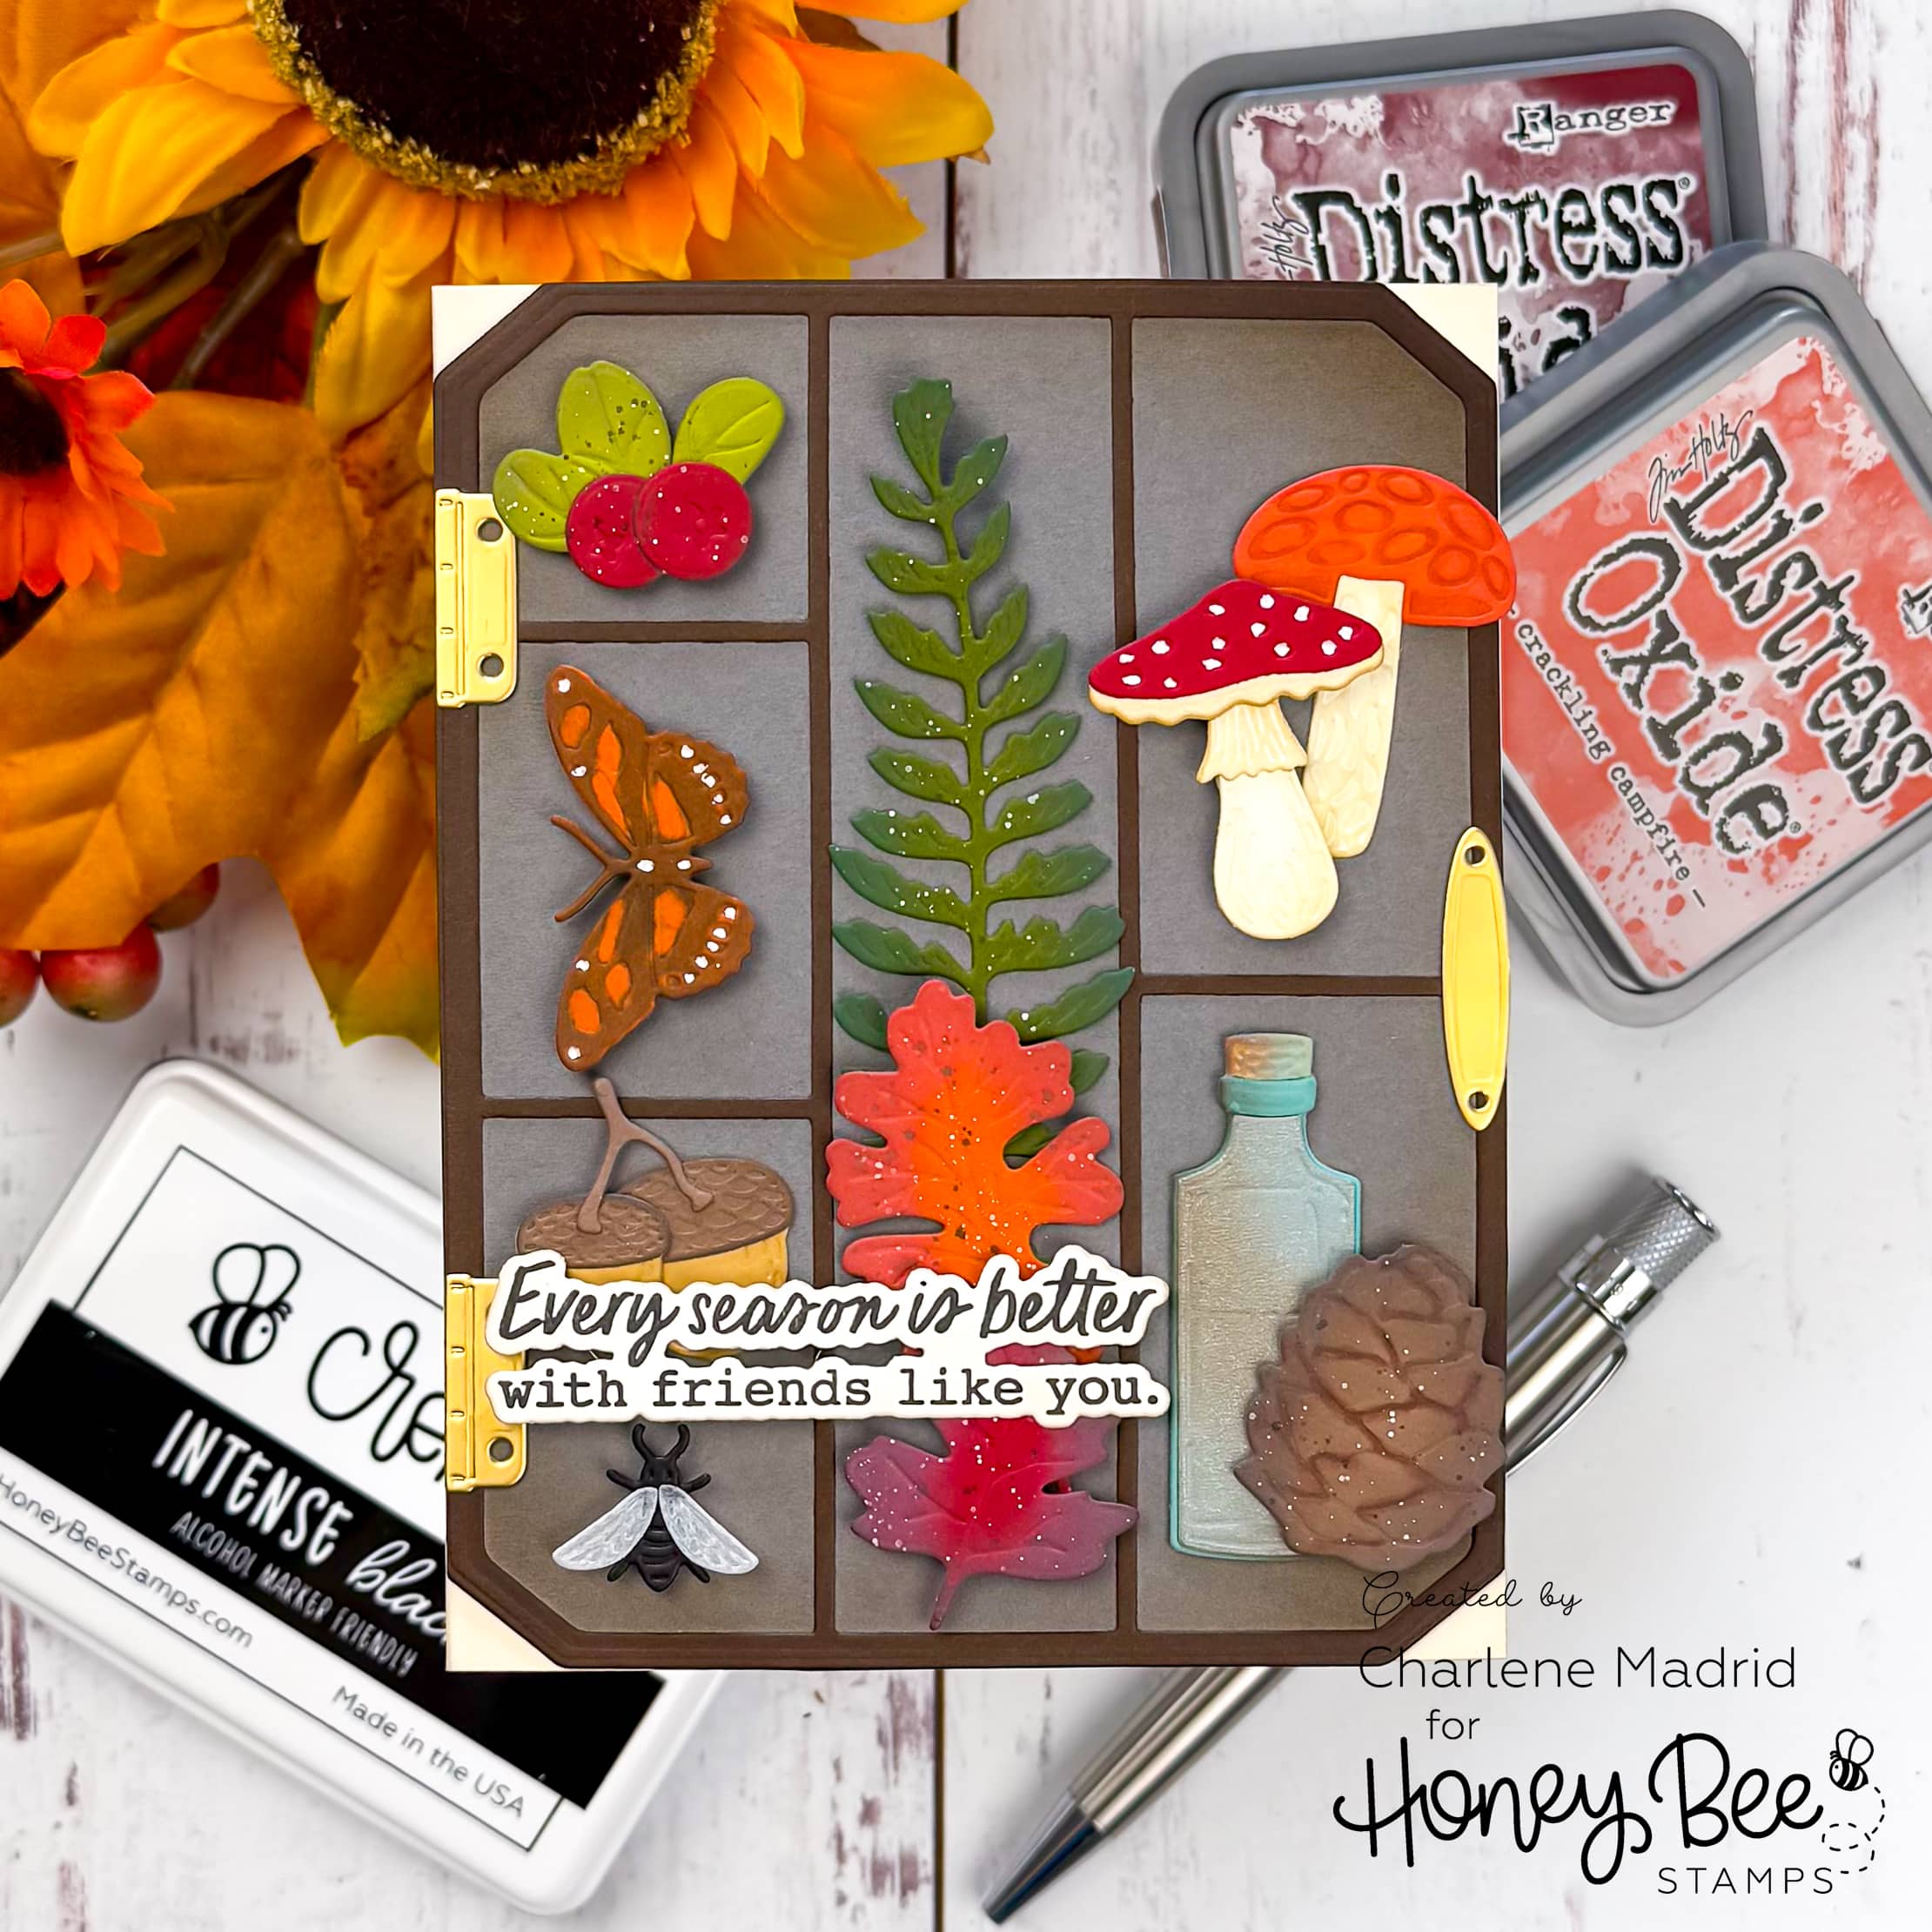
Hey crafty friends! Fresh cardstock can sometimes look a little too fresh. In this tutorial, I’m sharing five easy ways to give die cuts a vintage look using the Display Box: Fall Add-On and Display Box A2 Cover Plate from Honey Bee Stamps. A muted color palette, imperfect texture, aged edges, mixed materials, and repeated colors completely transform these little fall pieces into something that feels collected over time.
Disclosure
Compensated affiliate links may be used in this post at no cost to you. I received some of the products in this post at no cost. I will ONLY show you products from companies that I believe in and purchase from personally. Thank you for supporting me so that I can continue to bring you lots of fun crafting content!

Watch the full video tutorial on YouTube
Click here for the full supply list
In this video, you’ll learn:
- How a muted color palette instantly creates a vintage feel
- Easy ways to add imperfect texture with markers and gel pens
- How to age the edges of your die cuts with ink
- How specialty materials can mimic glass and metal
- How repeating colors keeps a detailed vintage design cohesive

I love how all five techniques work together on this card. You do not need special vintage-themed dies to get this look. Start with muted colors, add some imperfect texture, darken the edges, mix in a few interesting materials, and repeat your colors throughout the design. Those simple changes can make almost any die cut feel aged, collected, and full of character.
Which vintage technique would you try first: aged edges, imperfect texture, or specialty materials?
Happy crafting!
Charlene
Supplies