How to Ink Blend Die Cuts for a 3D Look
Learn how to use ink blending to add realistic dimension to die cuts!
Do you wish your flat die cuts had more depth and realism? Then this tutorial is for you! In today’s video, I’m sharing my favorite tips for ink blending die cuts to look 3D, using the adorable Lovely Layers: Coffee Cup and Coffee Cup Swirls Add-On dies from Honey Bee Stamps.

This oversized coffee cup is the star of the show—and it gets even better: the whipped topping lifts up to reveal a hidden gift card inside! It’s the perfect interactive design for coffee lovers, fall birthdays, or just a little “treat yourself” happy mail.
In the video, you’ll learn:
- How to ink blend your die cuts for smooth gradients and dimensional shading
- Tips for making a 3D-looking coffee cup with a latte swirl that really pops
- How to assemble the hidden gift card holder using just die cuts and adhesive
- Ideas for pairing bold color with warm neutrals for cozy fall vibes

This card is such a fun way to send a little caffeine love—and the 3D effect really makes it pop off the page. Whether you’re creating for fall or just love shaped cards with a surprise inside, this one is worth trying!
Have you tried ink blending your die cuts before? Let me know in the comments or tag me @dreamcraftcreate if you give this one a go. I’d love to see what you’re sipping on!
Happy crafting, and I’ll see you in the next video!
Charlene
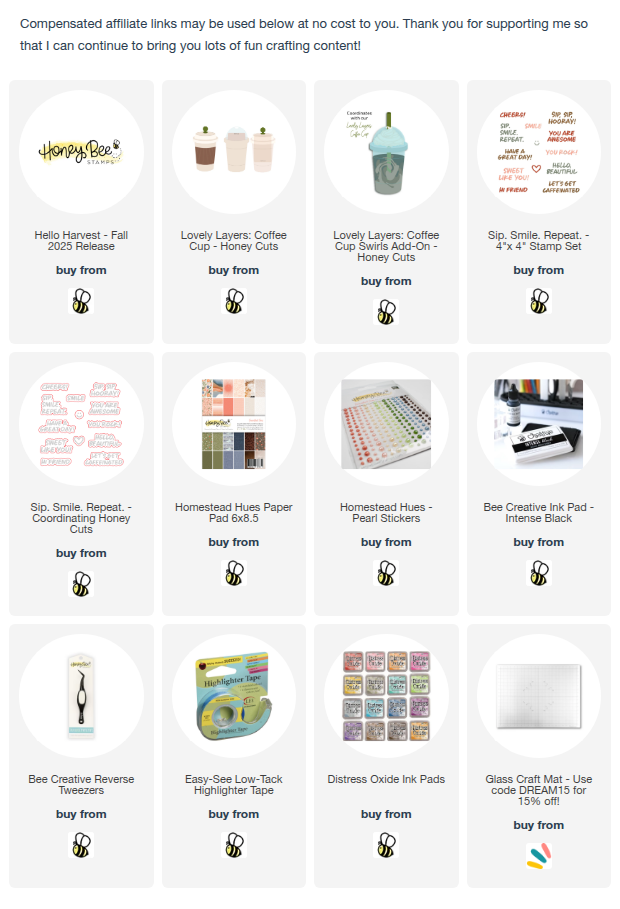
Supplies