How to Create a Vintage-Inspired Die Cut Bell Card
Tips for inking, layering, and adding realistic shading to create a beautifully dimensional sleigh bell card for the holidays.
If you’re a fan of warm tones, nostalgic textures, and cozy seasonal touches, this project is for you! In today’s video, I’m using the Lovely Layers: Sleigh Bell dies from Honey Bee Stamps to create a vintage-inspired bell card complete with pine branches, holly leaves, and a big layered bow.

Watch the full video tutorial on YouTube
Click here for the complete supply list
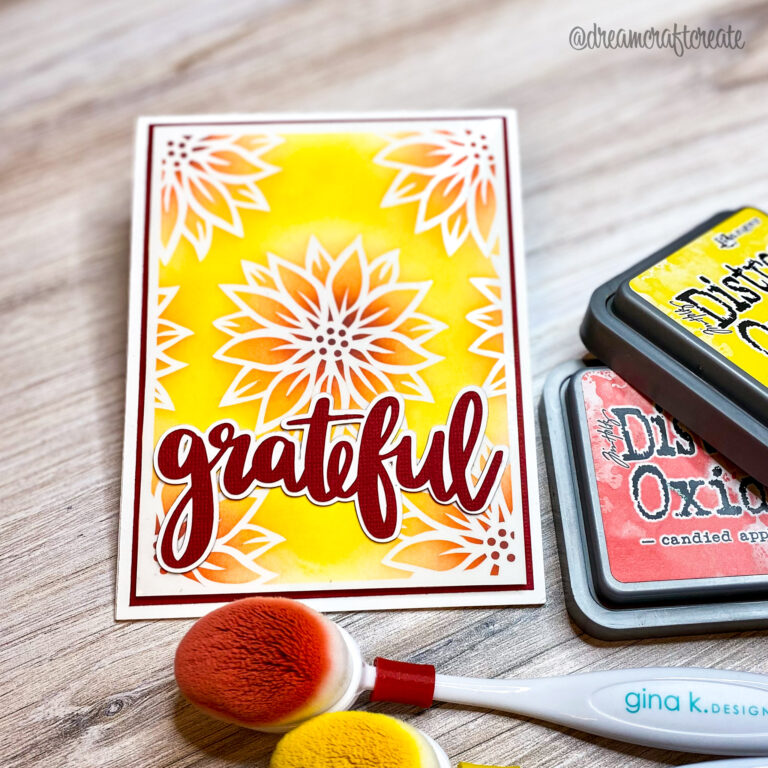
The secret? Subtle ink blending with Distress Oxides, a little spritzing for texture, and thoughtful color layering to build dimension without overwhelming the card.
In the video, you’ll learn:
- How to shade die cuts with Distress Oxides for vintage-style depth
- Tips for layering detailed foliage pieces like pinecones, holly, and greenery
- When to spritz vs. blend for texture
- How to build the bell + bow cluster as a focal element

This card is packed with texture and nostalgic charm—perfect for mass-producing in different color schemes or using as a statement card for someone special. And if you’ve never tried shading die cuts with ink before, this is a great beginner-friendly project to try it out!
Have you ever used Distress Oxides to create a vintage look? Let me know in the comments, or tag me @dreamcraftcreate so I can see your take on this festive bell!
Happy crafting, and I’ll see you in the next video!
Charlene
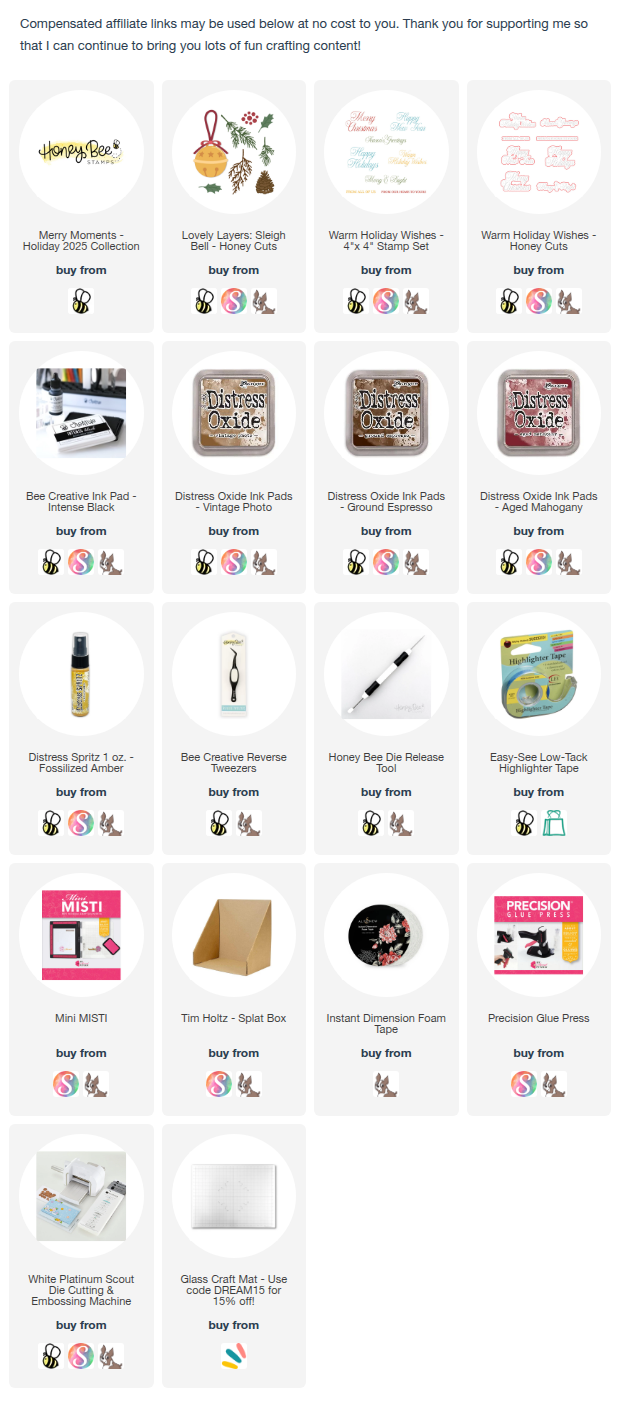
Supplies