Use Your Dies as Masks for Bold Color!
How to use a coordinating die to create a negative mask for bold, controlled ink blending.
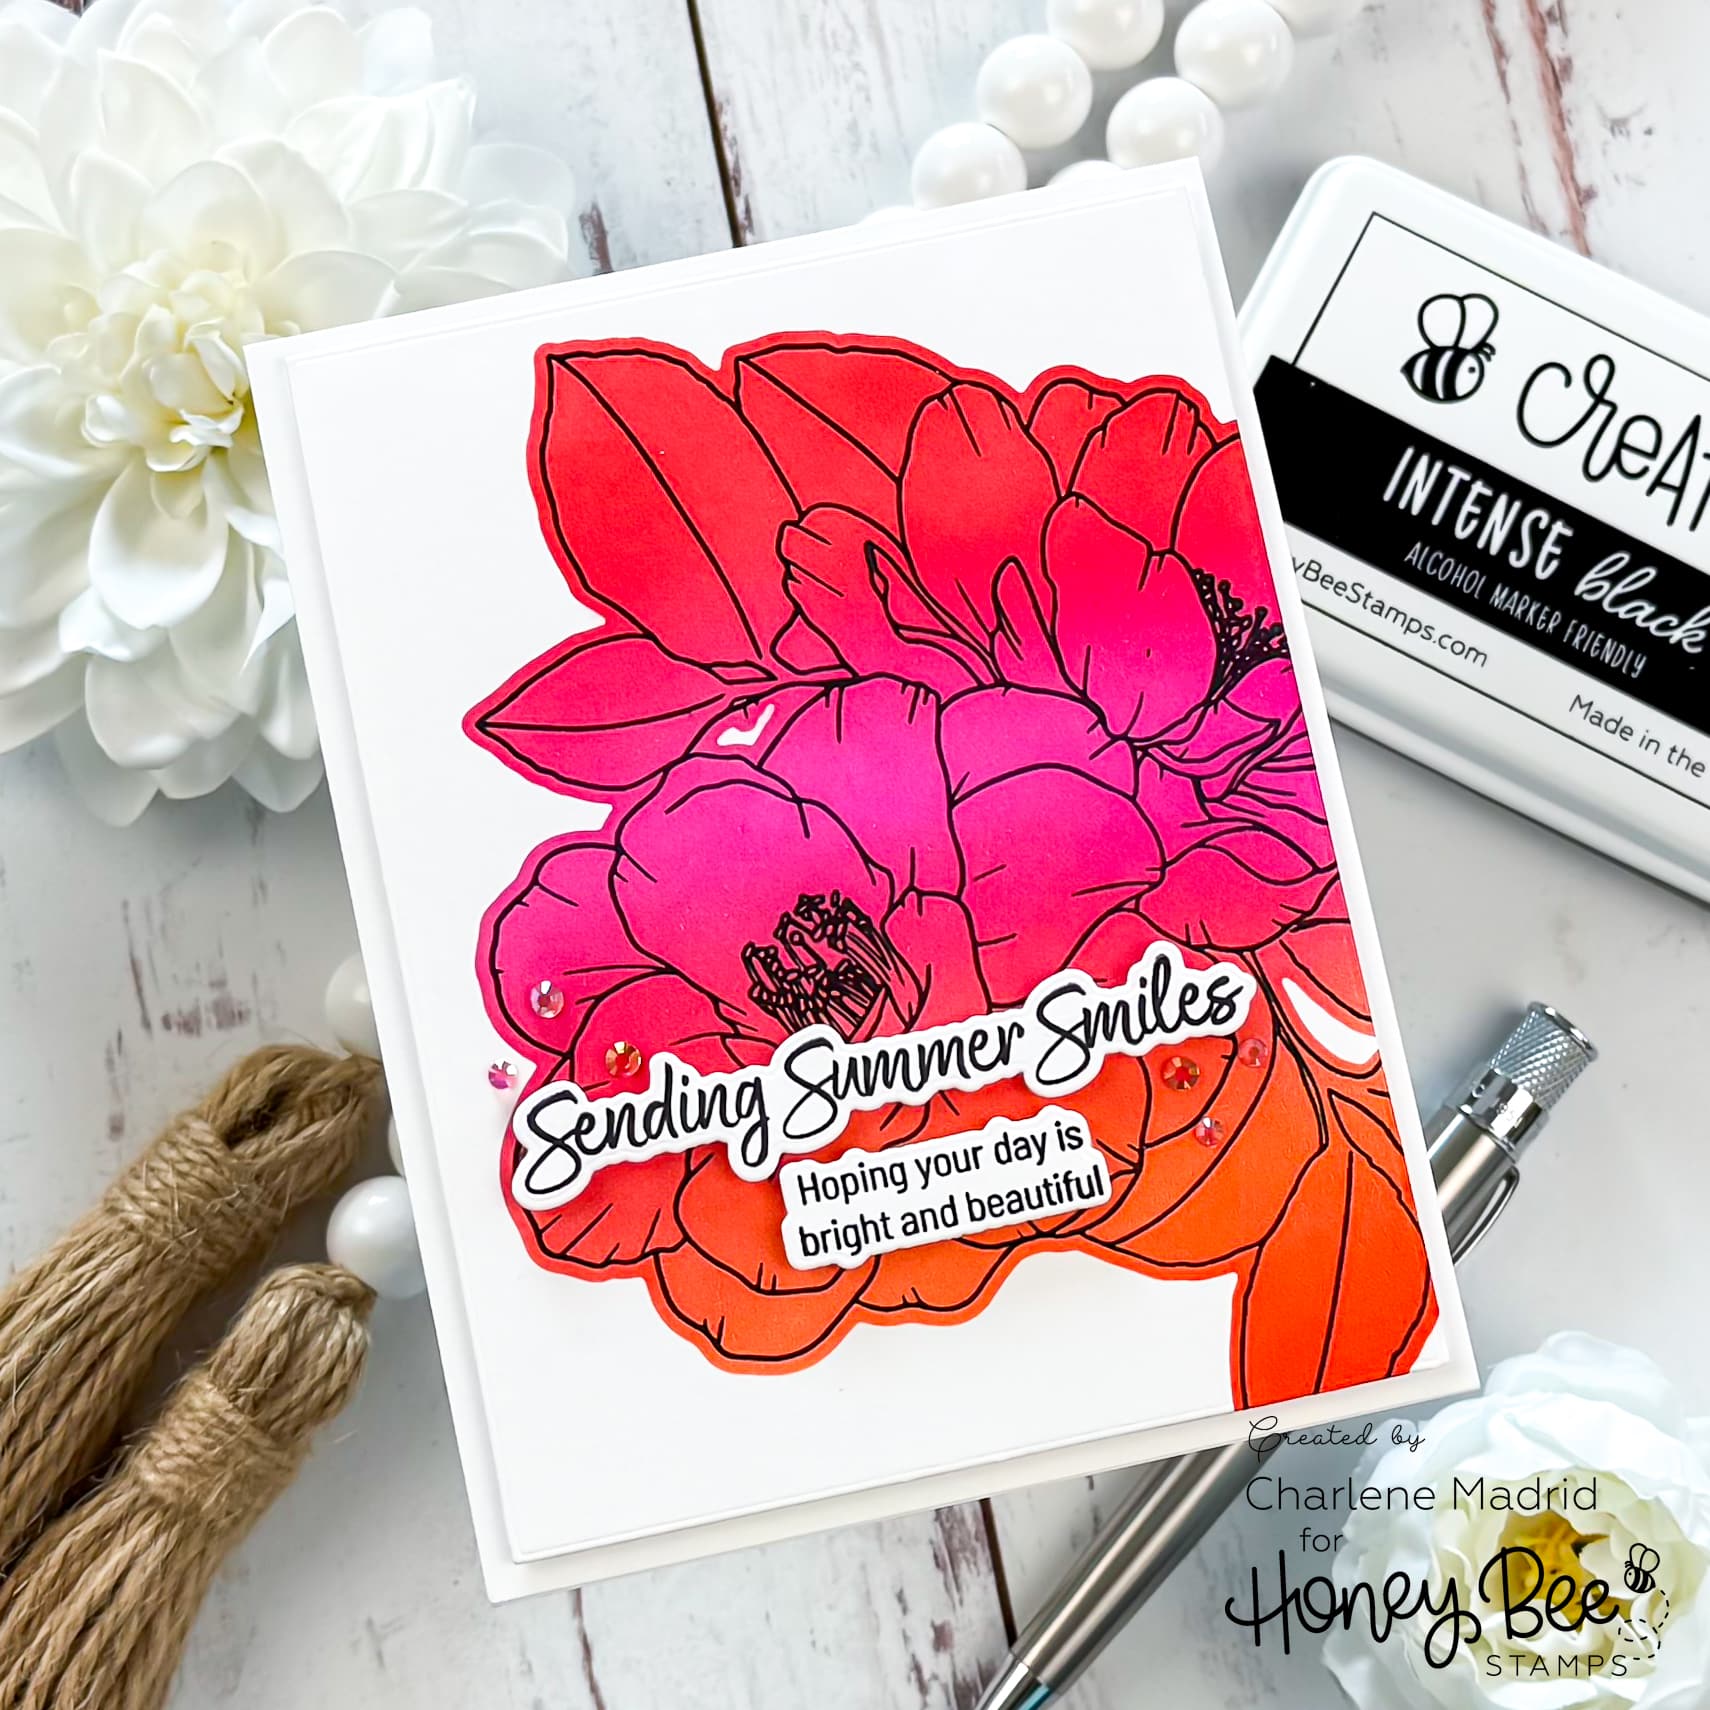
Hi crafty friends! Before you die cut your next stamped image, try using the coordinating die to create a mask instead. For this card, I used the Summer Smiles stamps and dies from Honey Bee Stamps to create a bright floral spotlight with bold ink blending, crisp black stamping, and a clean white layout.
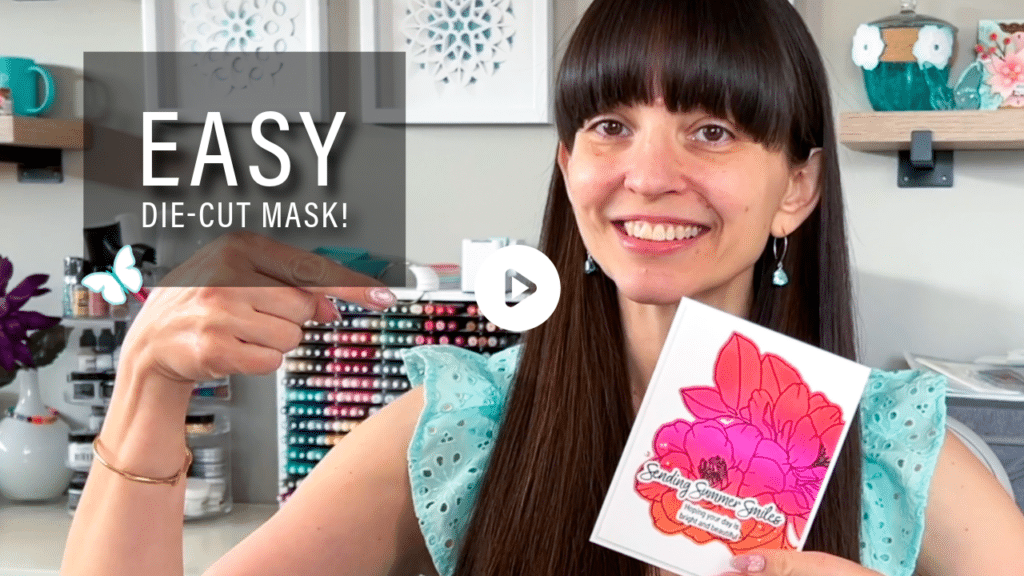
Watch the full video tutorial on YouTube
Click here for the full supply list
Disclosure
Compensated affiliate links may be used in this post at no cost to you. I received some of the products in this post at no cost. I will ONLY show you products from companies that I believe in and purchase from personally. Thank you for supporting me so that I can continue to bring you lots of fun crafting content!
In the video, you’ll learn:
- How to use a coordinating die to create a negative mask
- How to blend bold color exactly where you want it
- How to get a crisp stamped outline over bright ink blending
- Why white space keeps bold color feeling clean and polished
- How to place your sentiment using the bottom third of the card
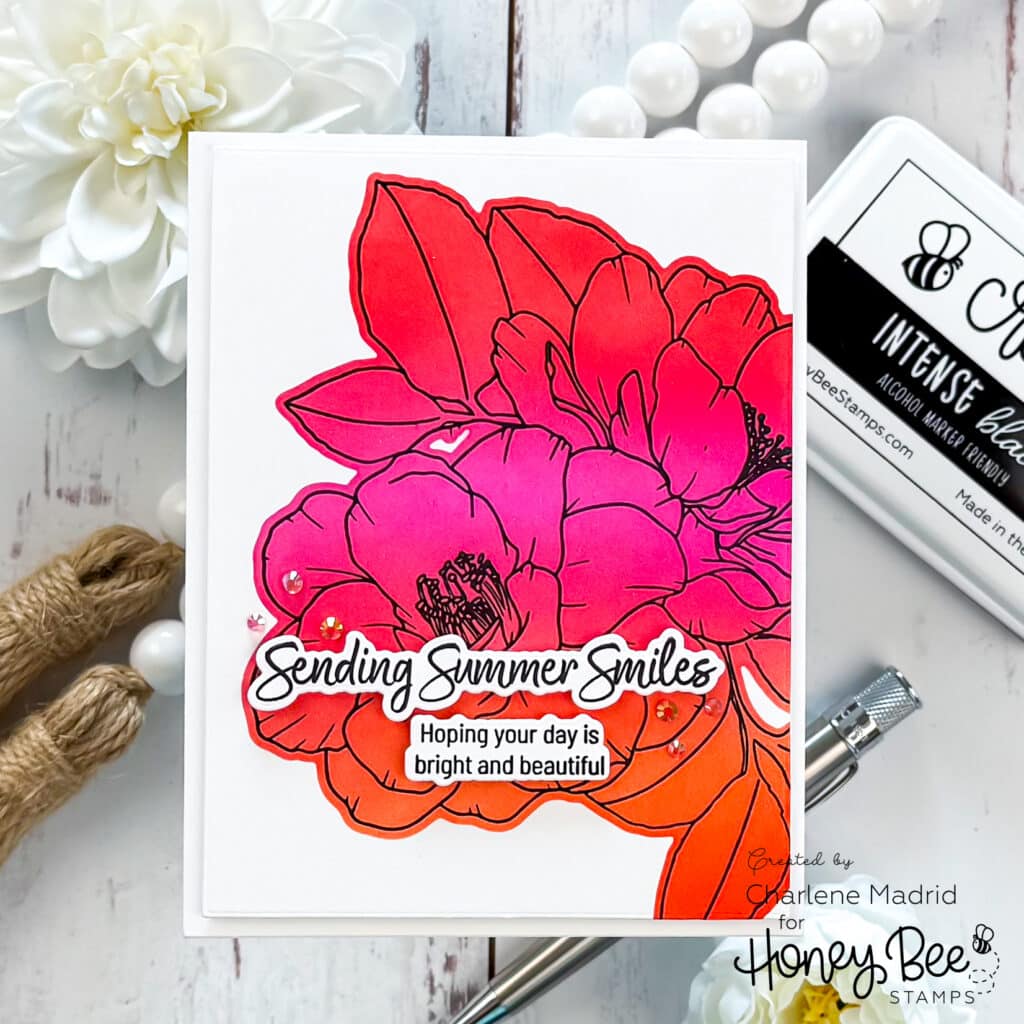
I love this technique because it gives you a big punch of color while still keeping the card clean and simple. Use the coordinating die to create the mask, blend your color exactly where you want it, then stamp the detail on top. It is such an easy way to turn a simple floral image into a bold focal point.
Have you tried using your coordinating dies as masks before? I’d love to know what stamp set you would try this with first.
Happy crafting!
Charlene
Supplies