New and Unique Ways to Use Vellum with Altenew!
See the new Build-A-Garden Blossoming Freesia kit from Altenew!
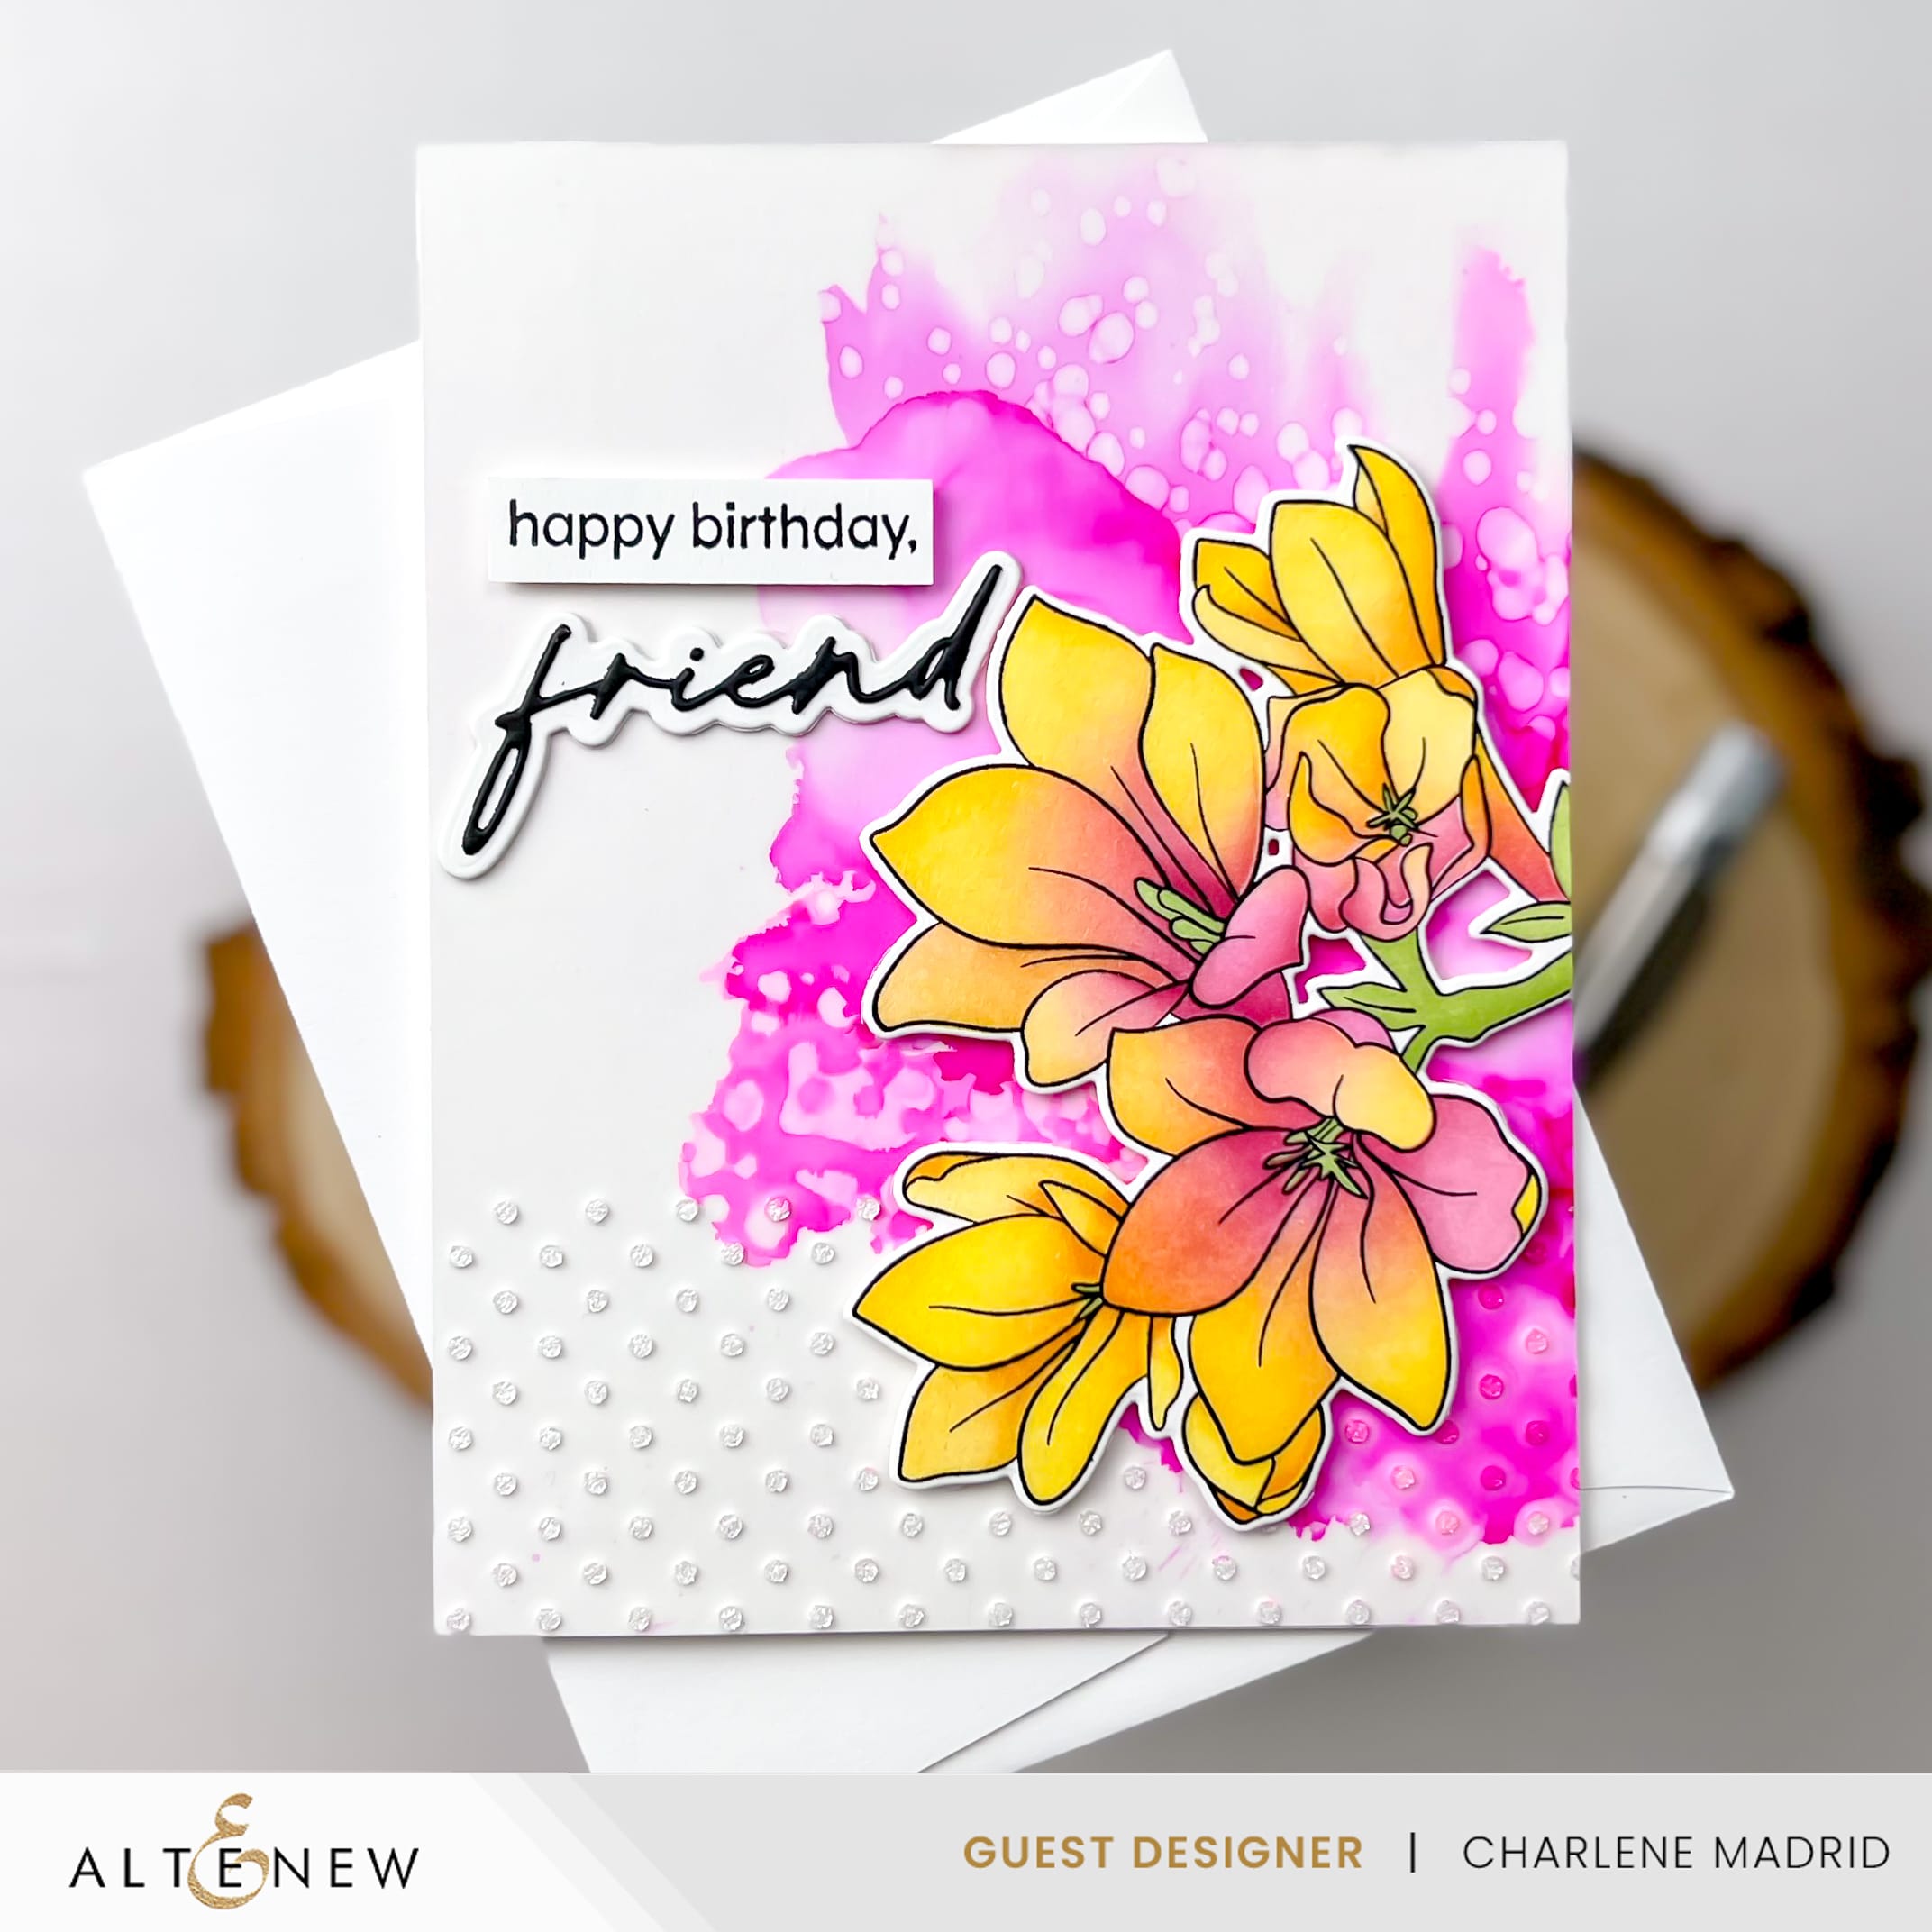
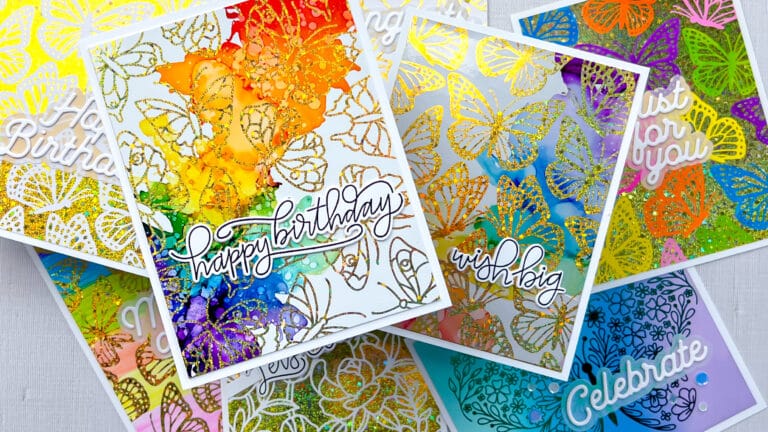
Embarking on a journey of mixed media and enchanting vellum, I dove into the artistic realm, fashioning a mesmerizing card using Altenew’s latest Build-A-Garden kit, Blossoming Freesia. The combination of these two favorites resulted in a card that not only captures attention but also beckons with its unique charm.
Don’t miss out on the details; make sure to follow along in the video tutorial linked below for a step-by-step guide.
Disclosure
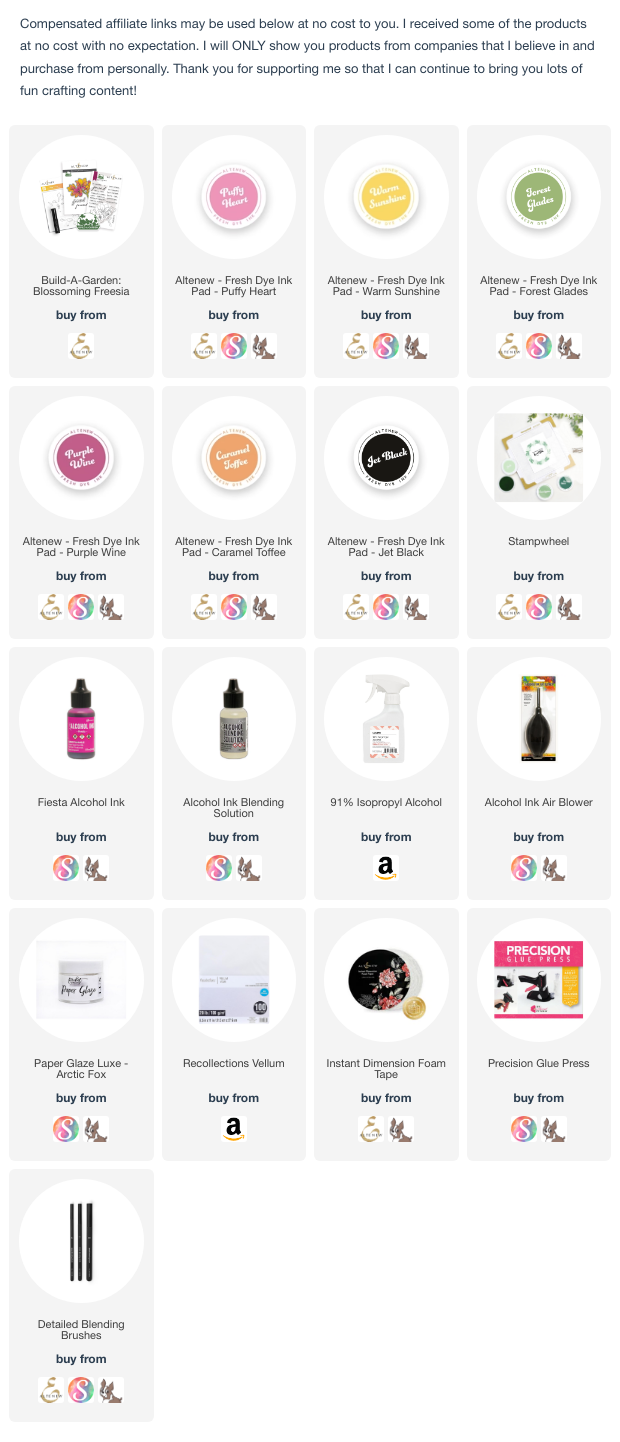
Compensated affiliate links may be used in this post at no cost to you. I received some of the products in this post at no cost. I will ONLY show you products from companies that I believe in and purchase from personally. Thank you for supporting me so that I can continue to bring you lots of fun crafting content!
Featured Products
- Build-A-Garden Blossoming Freesia Kit
- For the full supply list, scroll down to the thumbnails at the end of this post.
1. Textured Elegance with Dot Stencils: Beginning with the Blossoming Freesia kit’s dot stencil, I introduced a touch of glamour by applying glittery texture paste onto vellum. The ethereal effect of the paste on the translucent vellum creates beautiful texture.
2. Blending Hues of Nature: Next, I ink blended the Blossoming Freesia image using the coordinating stencils with an array of Fresh Dye Inks. The result? A breathtaking blend of pink, orange, and yellow florals.
3. Fluid Burst of Pink: Returning to the now dried vellum, I added the vibrant charm of pink alcohol ink. Blending the alcohol ink using blending solution and isopropyl alcohol, I created a dynamic burst of pink, infusing the vellum with a lively energy.
4. No-show Adhesive: To keep any adhesive from showing behind the vellum, I added a double-sided adhesive sheet to a white A2 card panel. I then affixed the vellum onto the adhesive-covered panel, trimming the edges with scissors for a seamless presentation.
5. Sentiments That Speak: A heartfelt ‘happy birthday,’ stamped in Jet Black Fresh Dye Ink on white cardstock, was the perfect sentiment. The word ‘friend,’ die-cut from black, found its place just beneath the sentiment, mounted on a white shadow layer.
6. Blossoming Heights: To finish things off I layered the vibrantly blended floral piece atop the vellum panel with foam tape, bringing the card to life. The ‘happy birthday’ sentiment and the subtle ‘friend’ die cut added the finishing touches.
I hold a special affection for Build-A-Garden kits, and this creation is no exception. These kits truly embody the essence of convenience, offering all the elements needed to craft a myriad of stunning cards. Be sure to watch the magic happen in my video tutorial above!
Supplies


Absolutely in love with this technique! Your video was so amazing – and I love the blending of the leaves “as if they are turning over!” GORGEOUS!