Must Try Technique for 3D Glossy Sentiments
Learn how to create a bold, glossy sentiment using sentiment word dies!
Hi crafty friends! Today I’m sharing how to create this bold Valentine’s Day card using the Lovely Layers: Playing Cards dies from Honey Bee Stamps. I’ll walk you through the layered die cutting, how to get perfectly placed sentiment letters, and my go-to method for making a glossy, dimensional word die that really pops off the card.

Watch the full video tutorial on YouTube
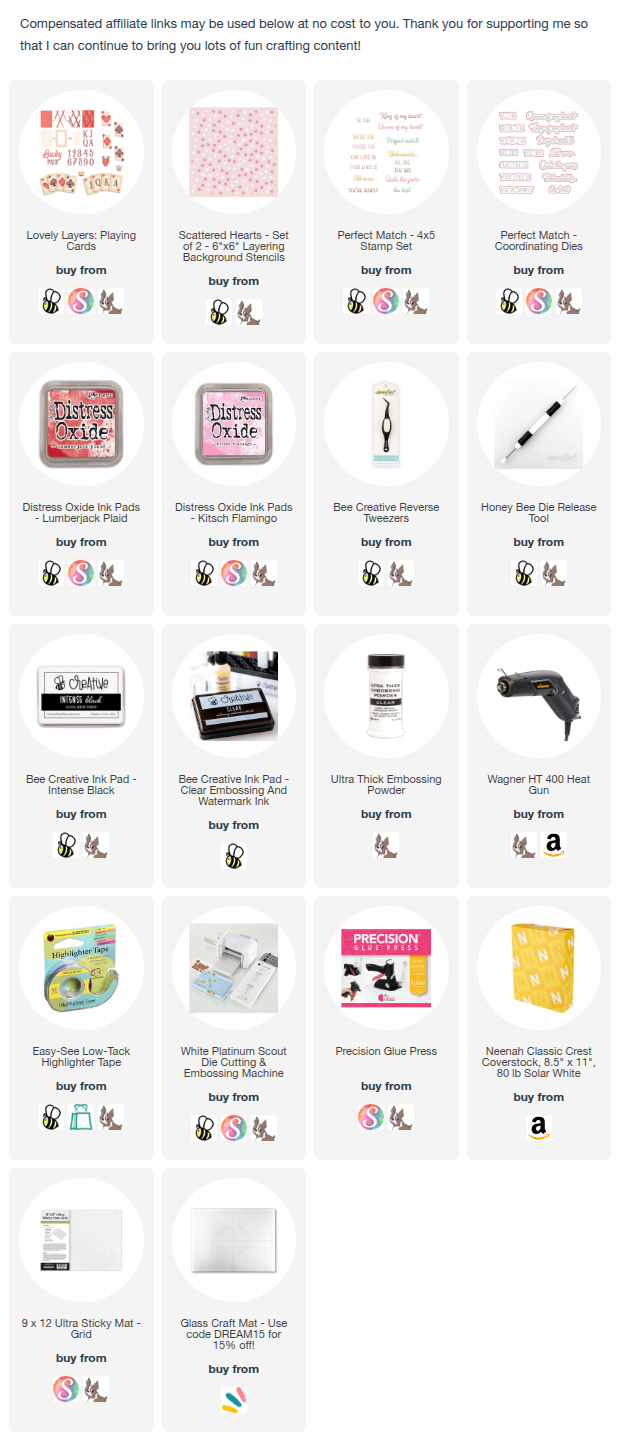
Click here for the full supply list
Disclosure
Compensated affiliate links may be used in this post at no cost to you. I received some of the products in this post at no cost. I will ONLY show you products from companies that I believe in and purchase from personally. Thank you for supporting me so that I can continue to bring you lots of fun crafting content!
In the video, you’ll learn:
- How to build a dimensional sentiment with die cuts and ultra thick embossing powder
- A simple way to perfectly place individual letters using the negative die cut as a guide
- Tips for combining layered stencils with soft ink blending for the background
- How to add depth behind your focal point

This bold and playful card is perfect for Valentine’s Day, anniversaries, or even just a sweet note to a friend. You could easily swap out the sentiment or background for a different look, or try a pastel version for something softer.
Let me know in the comments if you have tried this technique before!
Thanks so much for stopping by today, and happy crafting!
Charlene
Supplies