2 Easy Layouts for Quick & Cute Die Cut Cards
Short on time but still want to make something fun? In this tutorial, I’m sharing two quick layouts you can use again and again!
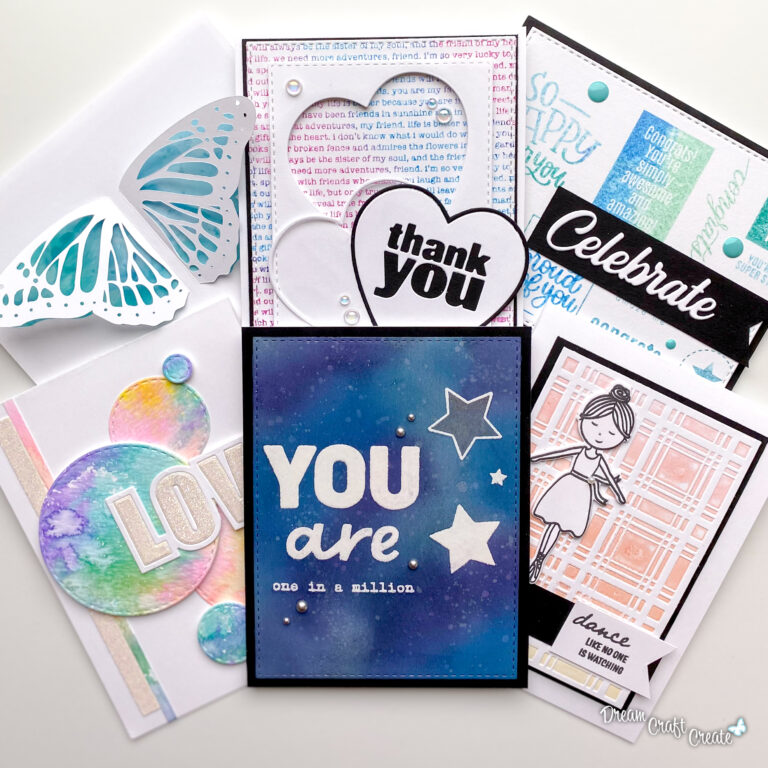
When you’re working with small die cut characters, figuring out how to place them on a card can sometimes slow you down. In this video, I’m sharing my two go-to layouts for clean and simple card designs that let your die cuts shine. Plus a few bonus tips for assembling tiny pieces without the mess!

I used the Pasta Friends and Ingredient Buddies dies from the Buon Appetito collection to create these colorful, personality-packed cards—and I walk you through every step from die cutting and organizing to layering and finishing.
Disclosure
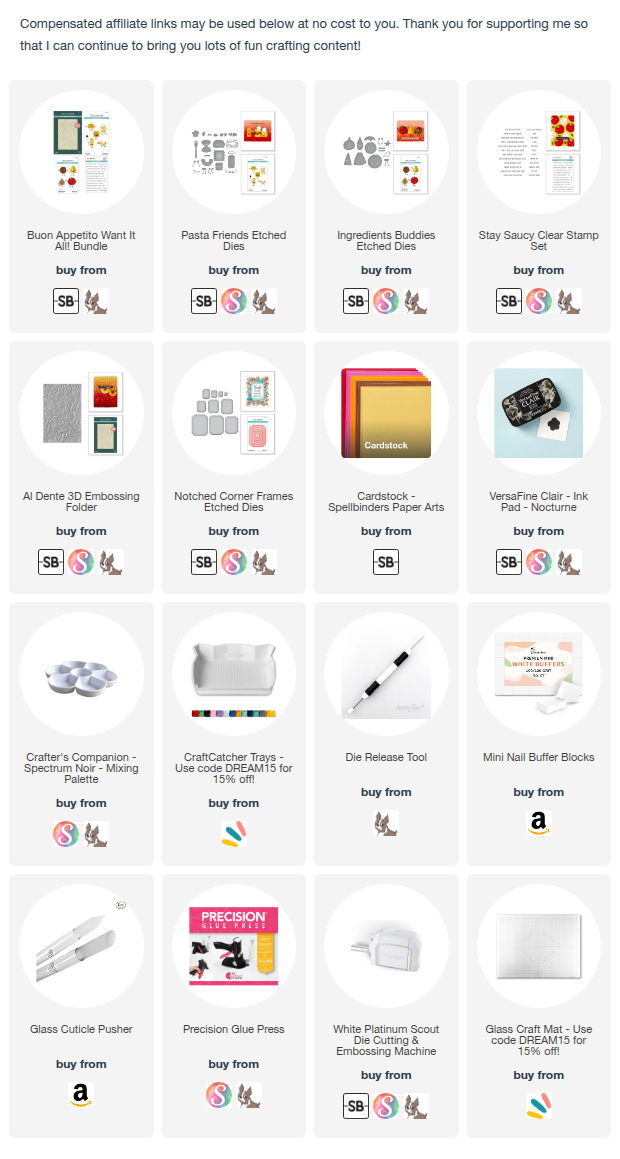
Compensated affiliate links may be used in this post at no cost to you. I received some of the products in this post at no cost. I will ONLY show you products from companies that I believe in and purchase from personally. Thank you for supporting me so that I can continue to bring you lots of fun crafting content!
In the video, you’ll learn:
- My 2 favorite layouts for small die cuts: a 4-square grid and a horizontal row
- How to prep your pieces for cleaner, faster assembly (no paper fuzzies here!)
- Tips for layering die cuts and building dimension without bulk
- How to get consistent sentiment placement across designs
Watch the full video tutorial on YouTube
Shop the full supply list here
Whether you’re creating a birthday card, food-themed note, or just a smile-worthy design, these layouts are fast, flexible, and super fun with any die cut collection. Once you try these formats, you’ll keep coming back to them!
Which layout do you prefer—grid or row? Let me know in the comments, or tag me @dreamcraftcreate if you give this a try. I’d love to see your pasta pals in action!
Happy crafting, and I’ll see you in the next video!
Supplies