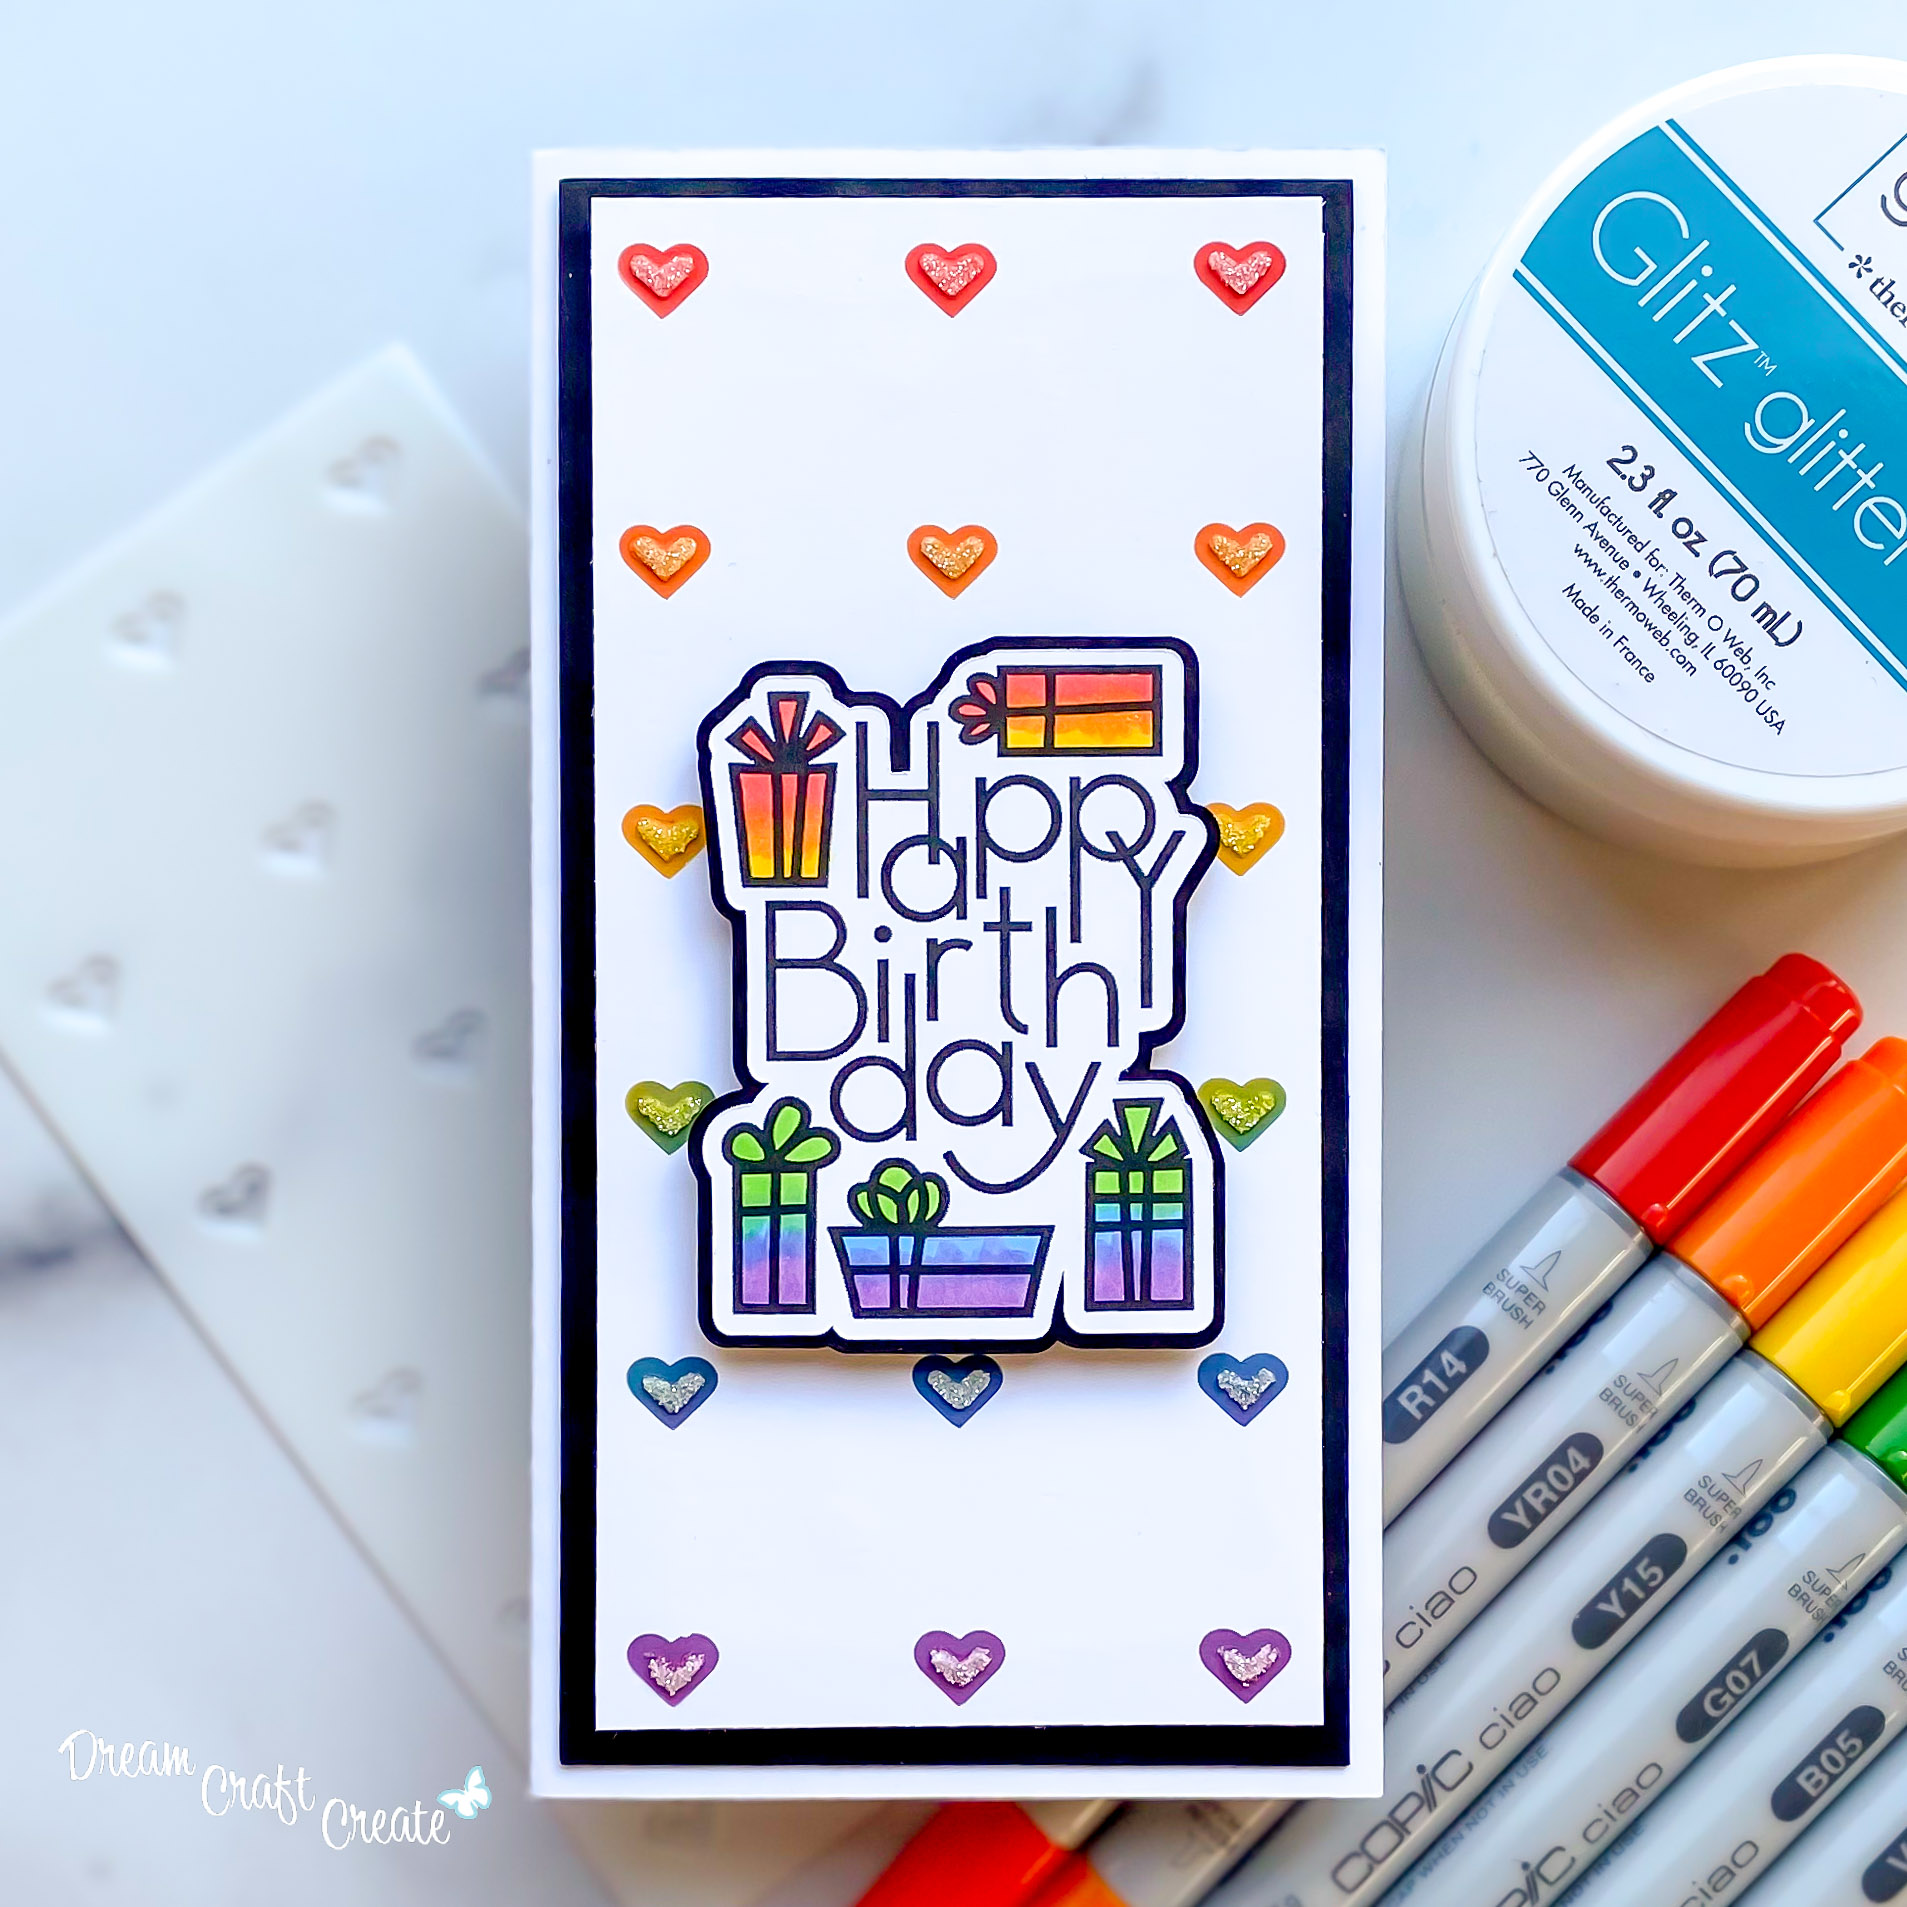
Stenciled Heart Mini Slimline Card
Do you have a Cricut machine? Get my FREE Layered Hearts Stencil SVG and Design Space project link to make this awesome stenciled heart mini slimline card!
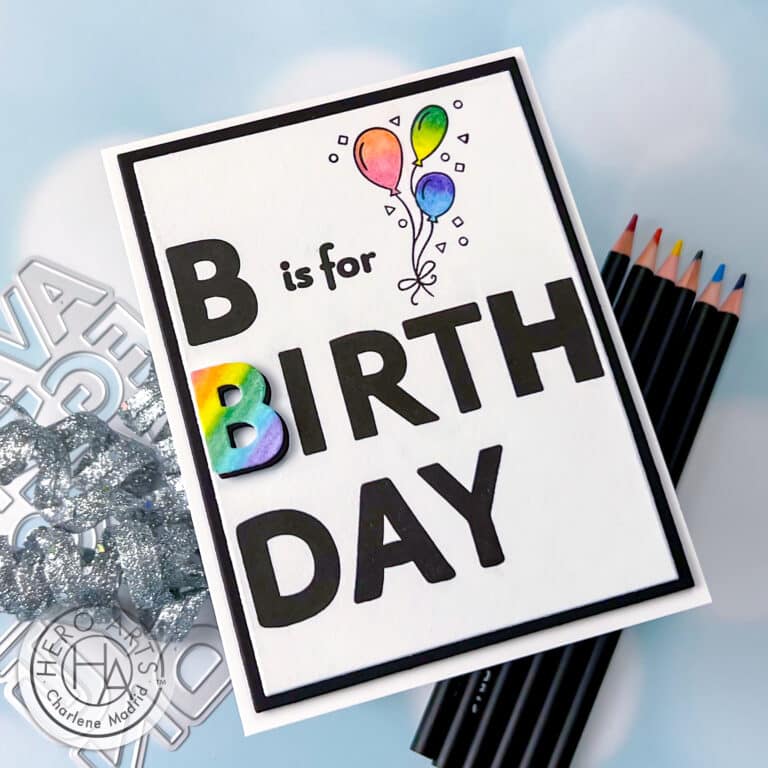
I love stencils. They are so fun and versatile. I wanted to make a birthday slimline card, so I decided to make a layered stencil to share with everyone! I also created a mini slimline card template in Cricut Design Space. It is made with free images so you do not need Cricut Access to access the file. Check out my YouTube video below and learn how to make these stencils and cute card using your Cricut!
You can access my Layered Hearts Stencil SVG and Mini Slimline Card Project Link (and every other SVG and project link I release) for free by signing up for my newsletter at the bottom of this page. Once subscribed you will receive the password to access my project links and files. I also will periodically send you a newsletter with updates on new tutorials, free SVG cut files, Cricut project links, and other printables.
Materials to Make Stenciled Heart Mini Slimline Card
- 6 or 10 Mil Mylar Sheets for Stencils.
- Cardstock. You can use any weight, brand or color of cardstock. I used Neenah 110lb Classic Crest Cardstock for my card base and background, and Hero Art Hues Pitch Black Cardstock for my framing layer. I also used Crafter’s Companion Spectrum Noir Ultra Smooth Premium Cardstock for the copic marker sentiment layer. I find it works really well for blending copic markers. You can mix and match whatever style of paper you would like for the desired effect.
- Cricut StandardGrip Mat.
- Cricut Deep-Point Blade. I prefer to use the deep-point blade when cutting mylar and cardstock.
- Cricut Scoring Stylus or Cricut Scoring Wheel. Note that the scoring wheel is only compatible with the Cricut Maker.
- Cricut Maker, Cricut Explore Air 2, or a similar cutting machine.
- Art Glitter Glue, Gina K Connect Glue, Double-Sided Crafting Tape, or a similar adhesive.
- Foam Sheets, Double-Sided Adhesive Foam Squares or something similar. In this project I used foam sheets and adhesive foam squares.
- Inks and tools to blend. In this project I used Distress Oxide Inks in Candy Apple, Carved Pumpkin, Squeezed Lemonade, Salty Ocean, and Seedless Preserves. I also used Gina K blending brushes.
- Something to color your stamp with. You can use alcohol ink markers, colored pencils, or watercolors. In this project I used copic markers in the colors listed below.
- Red: R14
- Orange: YR04
- Yellow: Y15
- Green: YG06, G07
- Blue: B02, B05
- Purple: V15, V17
- My Layered Hearts Stencil SVG and Mini Slimline Card Project Link. You can access this SVG and project link (and every other SVG and project link I release) for free by signing up for my free newsletter at the bottom of this page. Once subscribed you will receive the password to access my files. I also will periodically send you a newsletter with updates on new tutorials, printables, project links, and other free SVG cut files.

Hi! Enjoyed your video on cutting layered stencils & subscribed & it said it was successful, but have not seen anything in my inbox from you. Can you add me?
Thanks,
m
Hi, M. I do not see on my end that the subscription request came through. Please try entering your information in the form again. If you still have issues, send me an email at contact@dreamcraftcreate.com. Thanks!
Love the card! What design # is the happy birthday. I don’t see it is cricut and I have access. Thanks. Great ideas and info.
Thanks, Teresa! The design is #M8BB9833.🙂
Hi there, I did sign up but never got the email with the password. Now I can’t go any further. I don’t see the place to try signing up again?
Thanks, Annette
Hi Annette, I just sent you an email reply. Let me know if have any issues. Thanks!