New Lovely Layers Apple Barrel from Honey Bee Stamps! 🍎
Elevate your die cutting with these tips and tricks!
Hi crafty friends! Today, I’m thrilled to take you on a creative journey into the heart of autumn with a cardmaking project featuring the delightful Lovely Layers: Apple Barrel dies from Honey Bee Stamps. This set of dies allows you to craft a charming scene with a barrel, apples, and apple blossoms, bringing the essence of fall to life. Join me as I share the step-by-step process of creating this heartwarming card, and don’t forget to check out the video tutorial for a closer look at each crafting step!
Disclosure
Compensated affiliate links may be used in this post at no cost to you. I received some of the products in this post at no cost. I will ONLY show you products from companies that I believe in and purchase from personally. Thank you for supporting me so that I can continue to bring you lots of fun crafting content!
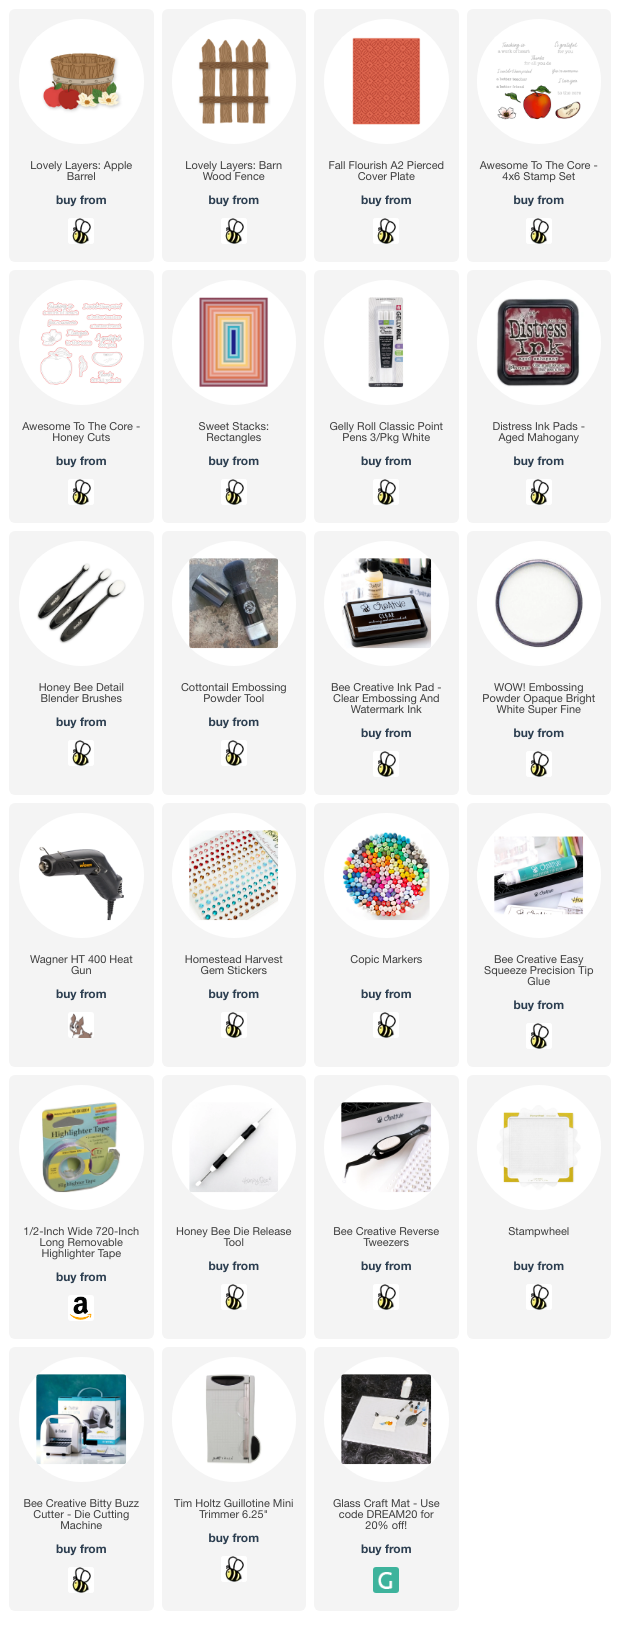
Featured Products
- See the FULL Heartfelt Harvest Release
- Lovely Layers: Apple Barrel
- Lovely Layers: Barn Wood Fence
- Fall Flourish Cover Plate
- Awesome to the Core Stamps and Dies
- Homestead Harvest Gem Stickers
- For the full supply list, scroll down to the thumbnails at the end of this post.

Our crafting adventure begins with the Lovely Layers: Apple Barrel dies—a set of intricately designed dies that let you create a scene straight from an orchard. This set includes dies for a barrel, apples, and delicate apple blossoms.
I started by cutting out the apple shapes from red cardstock. To add a touch of whimsy and dimension, I dotted the apples with a white gel pen. This creates the illusion of speckled, shiny apple skins. To give them a warm, rustic look, I used Aged Mahogany Distress Ink to ink blend around the edges. The finishing touch was adding the stems.
To bring the barrel to life, I began by coloring all the embossed details with a dark brown Copic marker. This adds depth and dimension to the barrel’s texture. Next, I colored over the entire barrel with a light brown Copic marker, blending out the dark brown details for a realistic woodgrain effect. The barrel band piece was die-cut from gray cardstock, and I used the same dark and light Copic marker technique to give it depth.
For the leaves, I used a combination of dark and light green Copic markers to add shading and dimension. The white blossoms were accented with a light warm gray to highlight the delicate details and make them pop against the background.
The background of the card features a stunning floral pierced pattern created with the Fall Flourish Cover Plate. This adds an elegant touch to the scene. To complete the look, I die-cut a charming picket fence using the Lovely Layers: Barn Wood Fence and adhered it to the background using foam tape, giving the card depth and a country feel.
With all the elements ready, I carefully arranged the barrel, apples, leaves, and blossoms on the card, creating a scene that captured the essence of a bountiful fall harvest.
No card is complete without a heartfelt message. For this card, I used the Awesome to the Core Stamps and Dies. I heat-embossed the sentiment in white on black cardstock and then cut it out using the corresponding dies, adding a warm and welcoming touch to the card.
For a final touch of elegance and sparkle, I adorned the card with small dark red gems from the Homestead Harvest Gem Stickers. These gems beautifully complement the apples and add a touch of autumnal opulence.

Crafting with Honey Bee Stamps‘ Lovely Layers: Apple Barrel dies allowed me to create a card that celebrates the essence of fall and the joy of harvest. From the charming apple barrel to the delicate blossoms and the heartfelt sentiment, this card embodies the warmth and beauty of the season.
As you embark on your own crafting adventures, may you find inspiration in the changing leaves and the crisp autumn air. Don’t forget to watch the video tutorial for a detailed look at each crafting step. Happy crafting!
Supplies
Copic Colors
- Apple: R59
- Leaves: G85, G00/YG23, YG00
- Barrel: E47, E37, C-5, C-0
- Flowers: W-1, Y35