My Best Cardmaking Tips for Coloring Florals!
Exploring Honey Bee Stamps’ Vintage Love Release
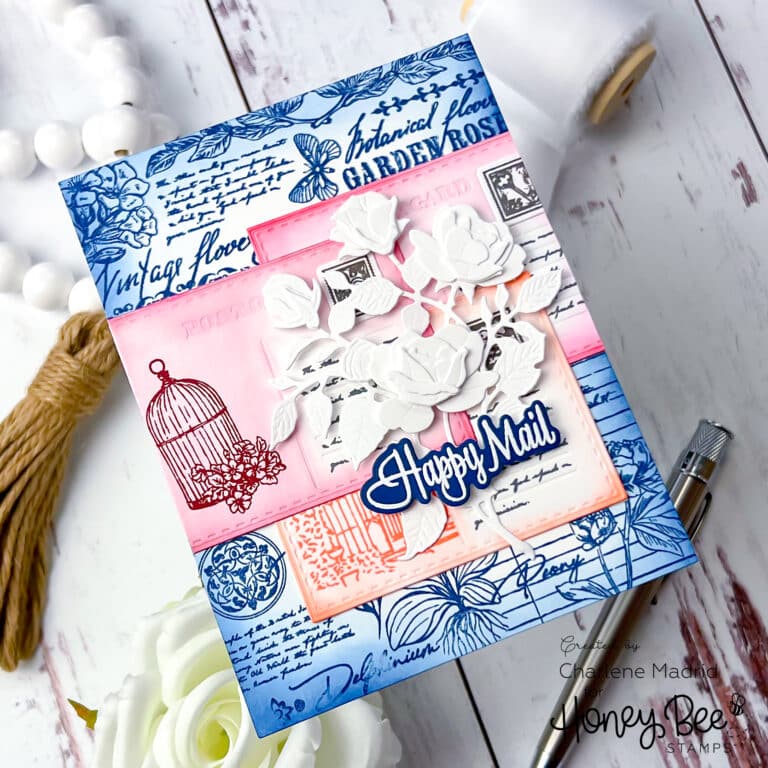
Step into a world of timeless elegance with the enchanting Vintage Love release from Honey Bee Stamps. In this blog post, we’ll dive into the creation process of a stunning card featuring elements from this exquisite collection.
Disclosure
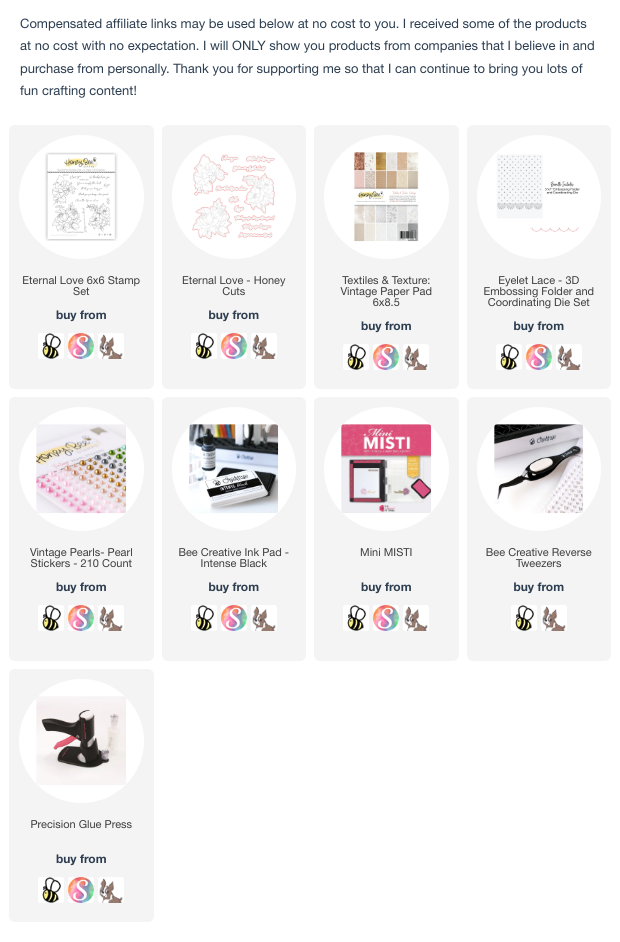
Compensated affiliate links may be used in this post at no cost to you. I received some of the products in this post at no cost. I will ONLY show you products from companies that I believe in and purchase from personally. Thank you for supporting me so that I can continue to bring you lots of fun crafting content!
Featured Products
- See the FULL Vintage Love Release
- Eternal Love 6×6 Stamp Set
- Eternal Love – Honey Cuts
- Textiles & Texture: Vintage Paper Pad 6×8.5
- Vintage Pearls- Pearl Stickers
- Eyelet Lace – 3D Embossing Folder and Coordinating Die Set
- For the full supply list, scroll down to the thumbnails at the end of this post.
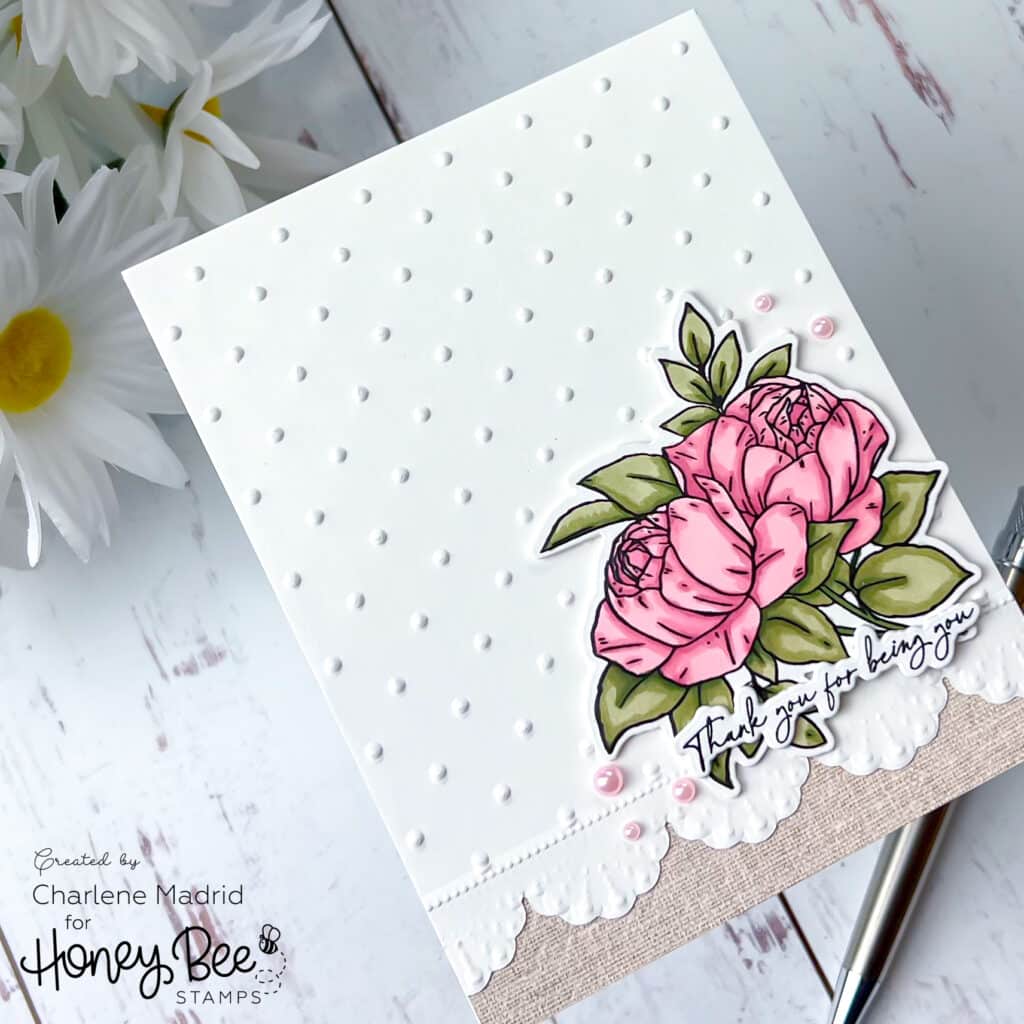
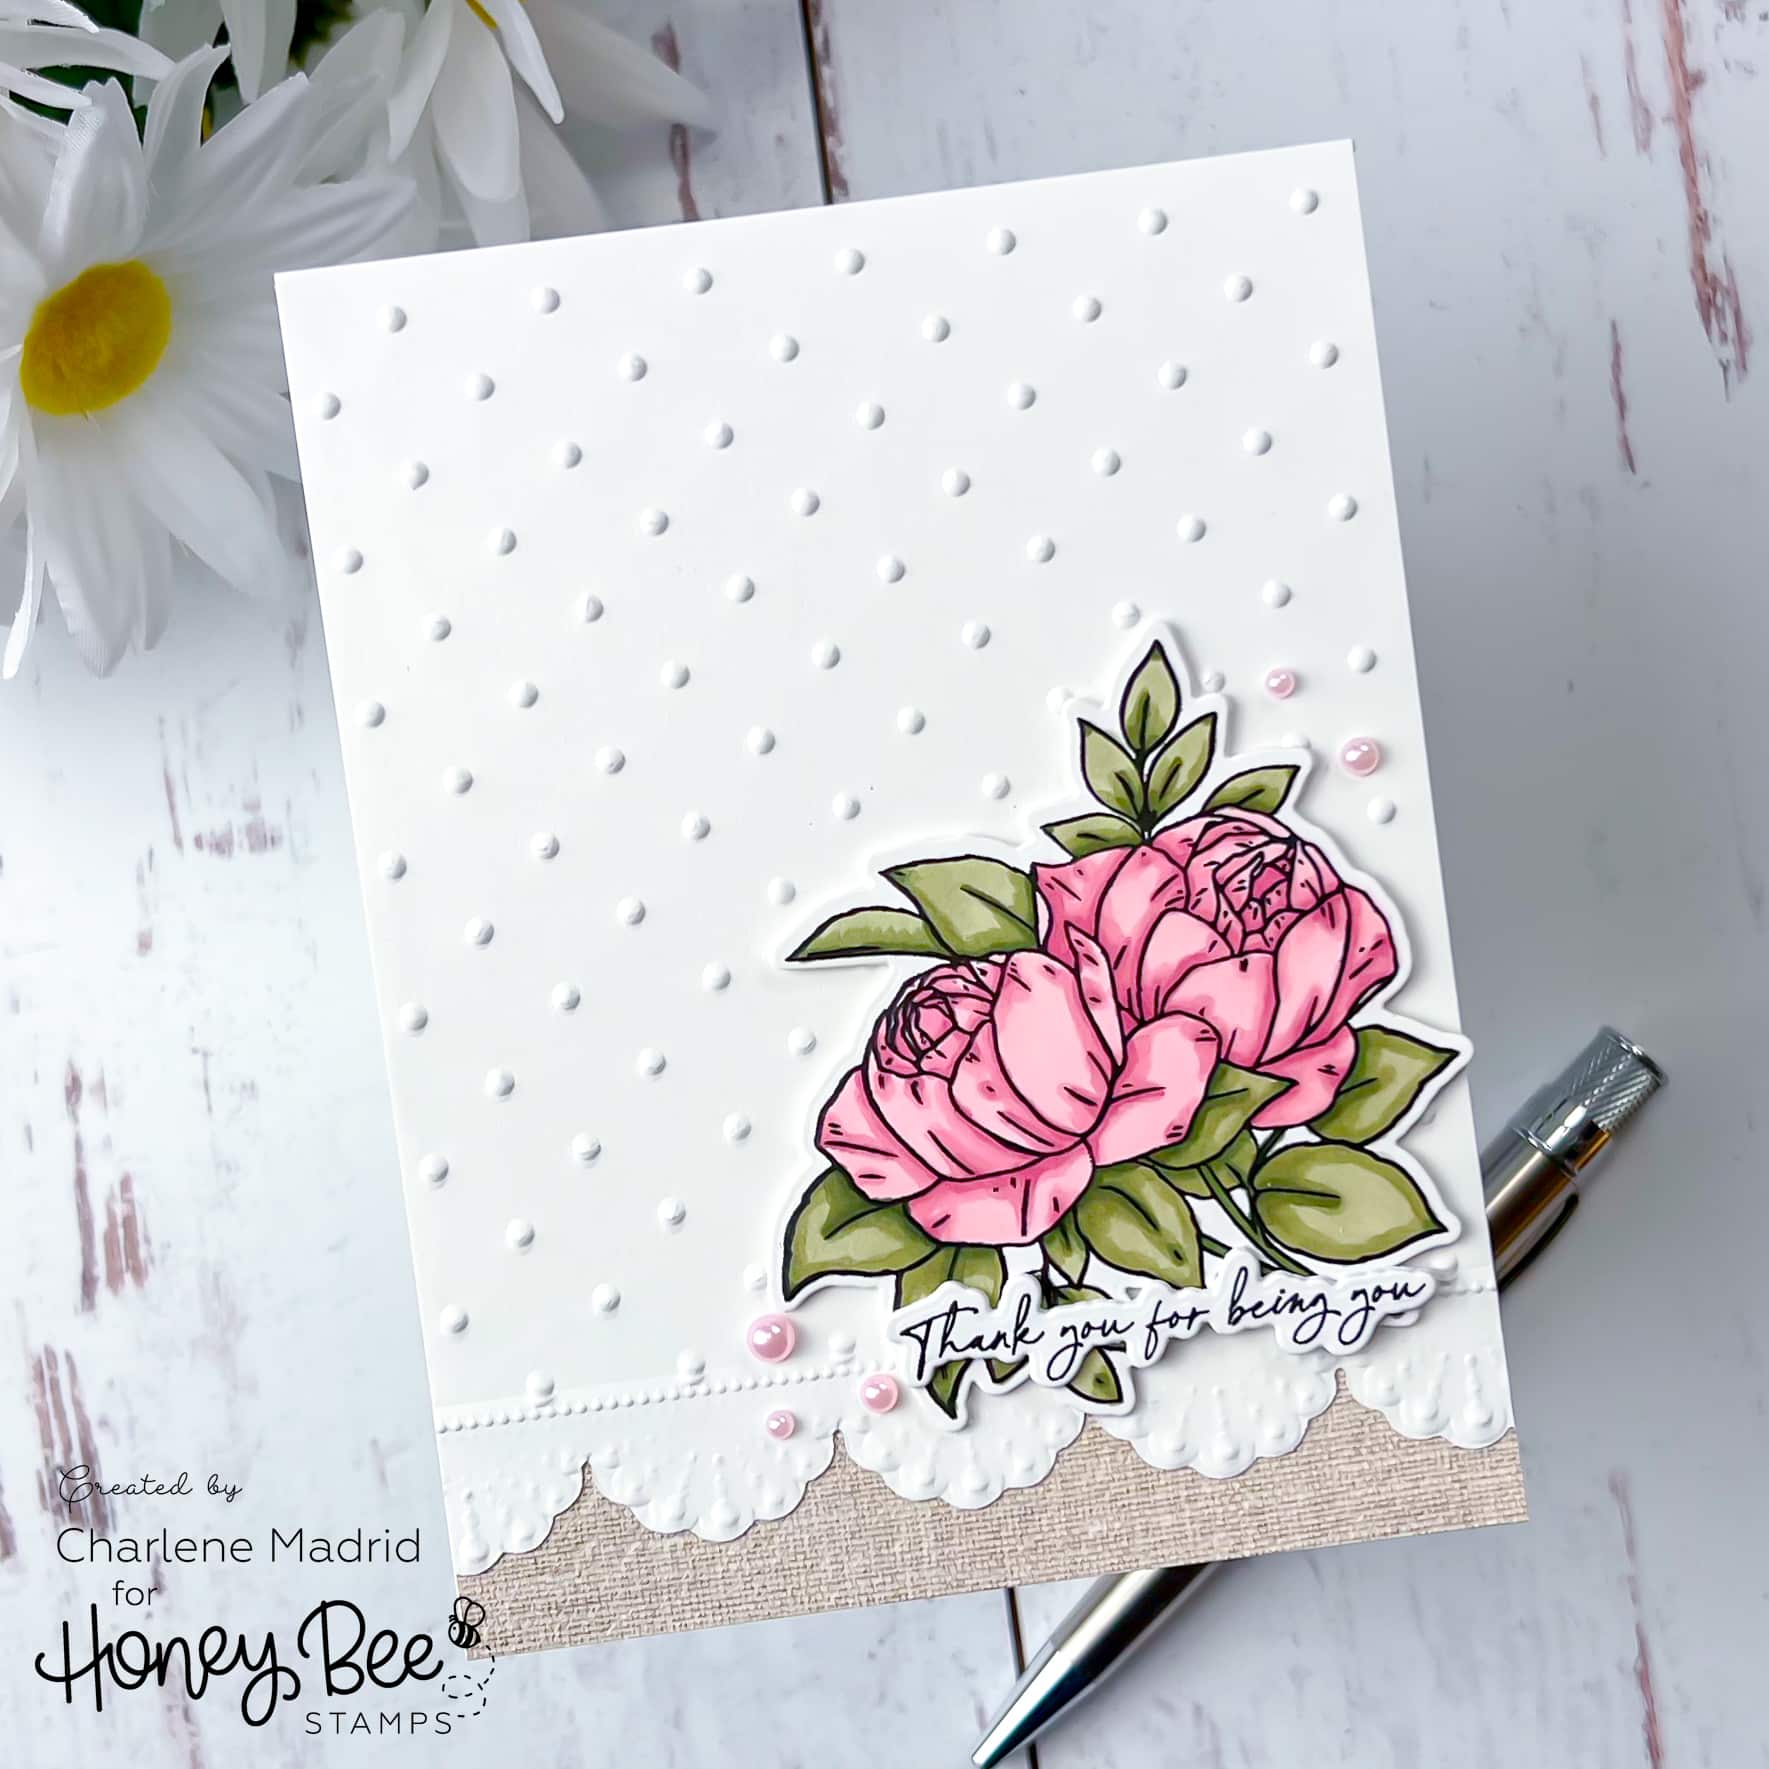
To begin, I reached for the Eternal Love 6×6 Stamp Set, featuring several charming floral designs. Using Intense Black Ink, I stamped the image onto high-quality cardstock. With Olo Markers in hand, I brought the floral illustration to life with a palette of rich pinks and greens. Once satisfied with the coloring, I carefully re-stamped the image to ensure crisp, defined lines.
Next, I introduced a touch of texture and sophistication using the Eyelet Lace 3D Embossing Folder and Coordinating Die Set. After cutting a piece of A2-sized cardstock with the coordinating die, I placed it into the embossing folder to create exquisite lace-like detailing along the bottom edge.
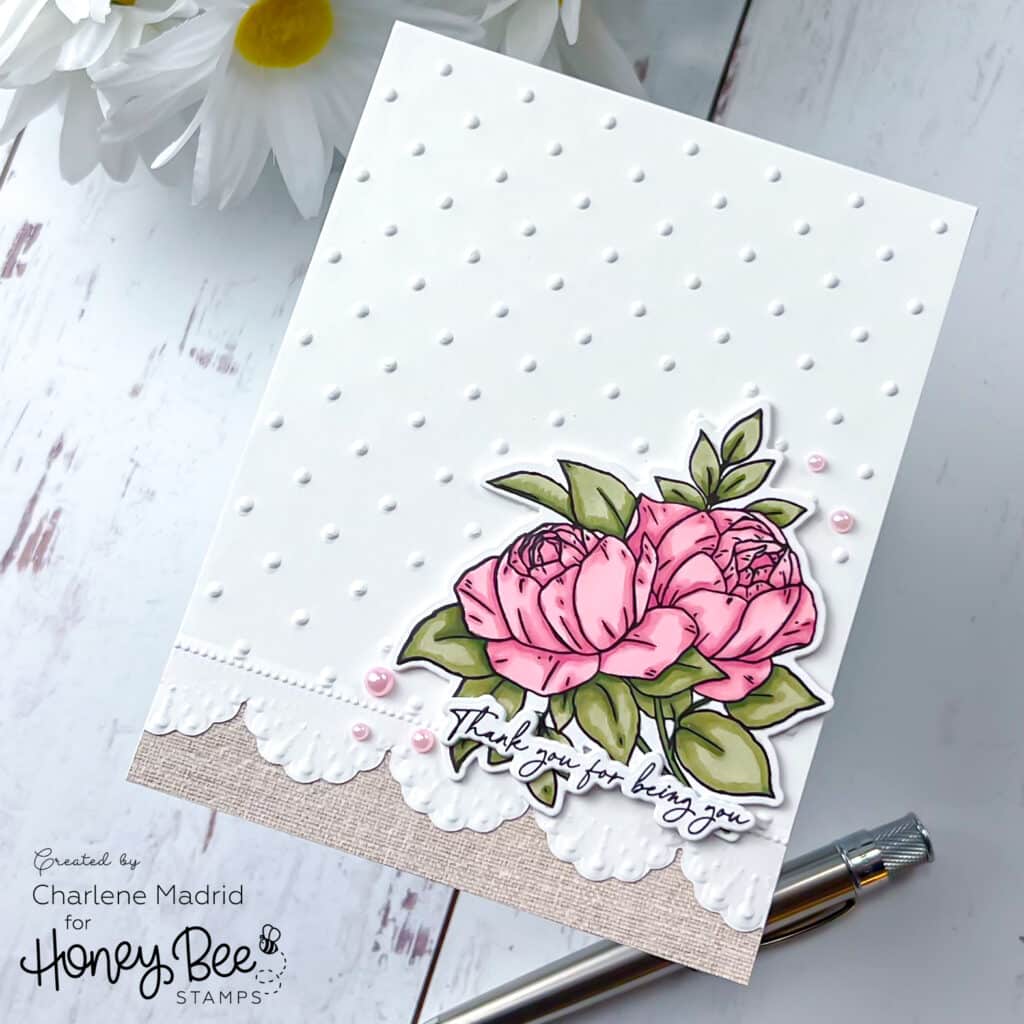
With all the elements prepared, it was time to assemble the card. I adhered a beautiful patterned paper from the Textiles & Texture: Vintage Paper Pad to the card base, setting the stage for the vintage-inspired design. Onto this backdrop, I glued the embossed panel, adding depth and dimension to the card. The colored floral piece took center stage, accompanied by a heartfelt sentiment. To add a final touch of opulence, I embellished the card with delicate pearls from the Vintage Pearls Stickers collection.
For those eager to learn more about coloring floral images, I’ve prepared a detailed video tutorial as a guide. Join me as I share invaluable tips and techniques to bring your floral creations to life with stunning color and depth. Happy crafting!
Supplies