One Stenciling Session, Three Polished Cards
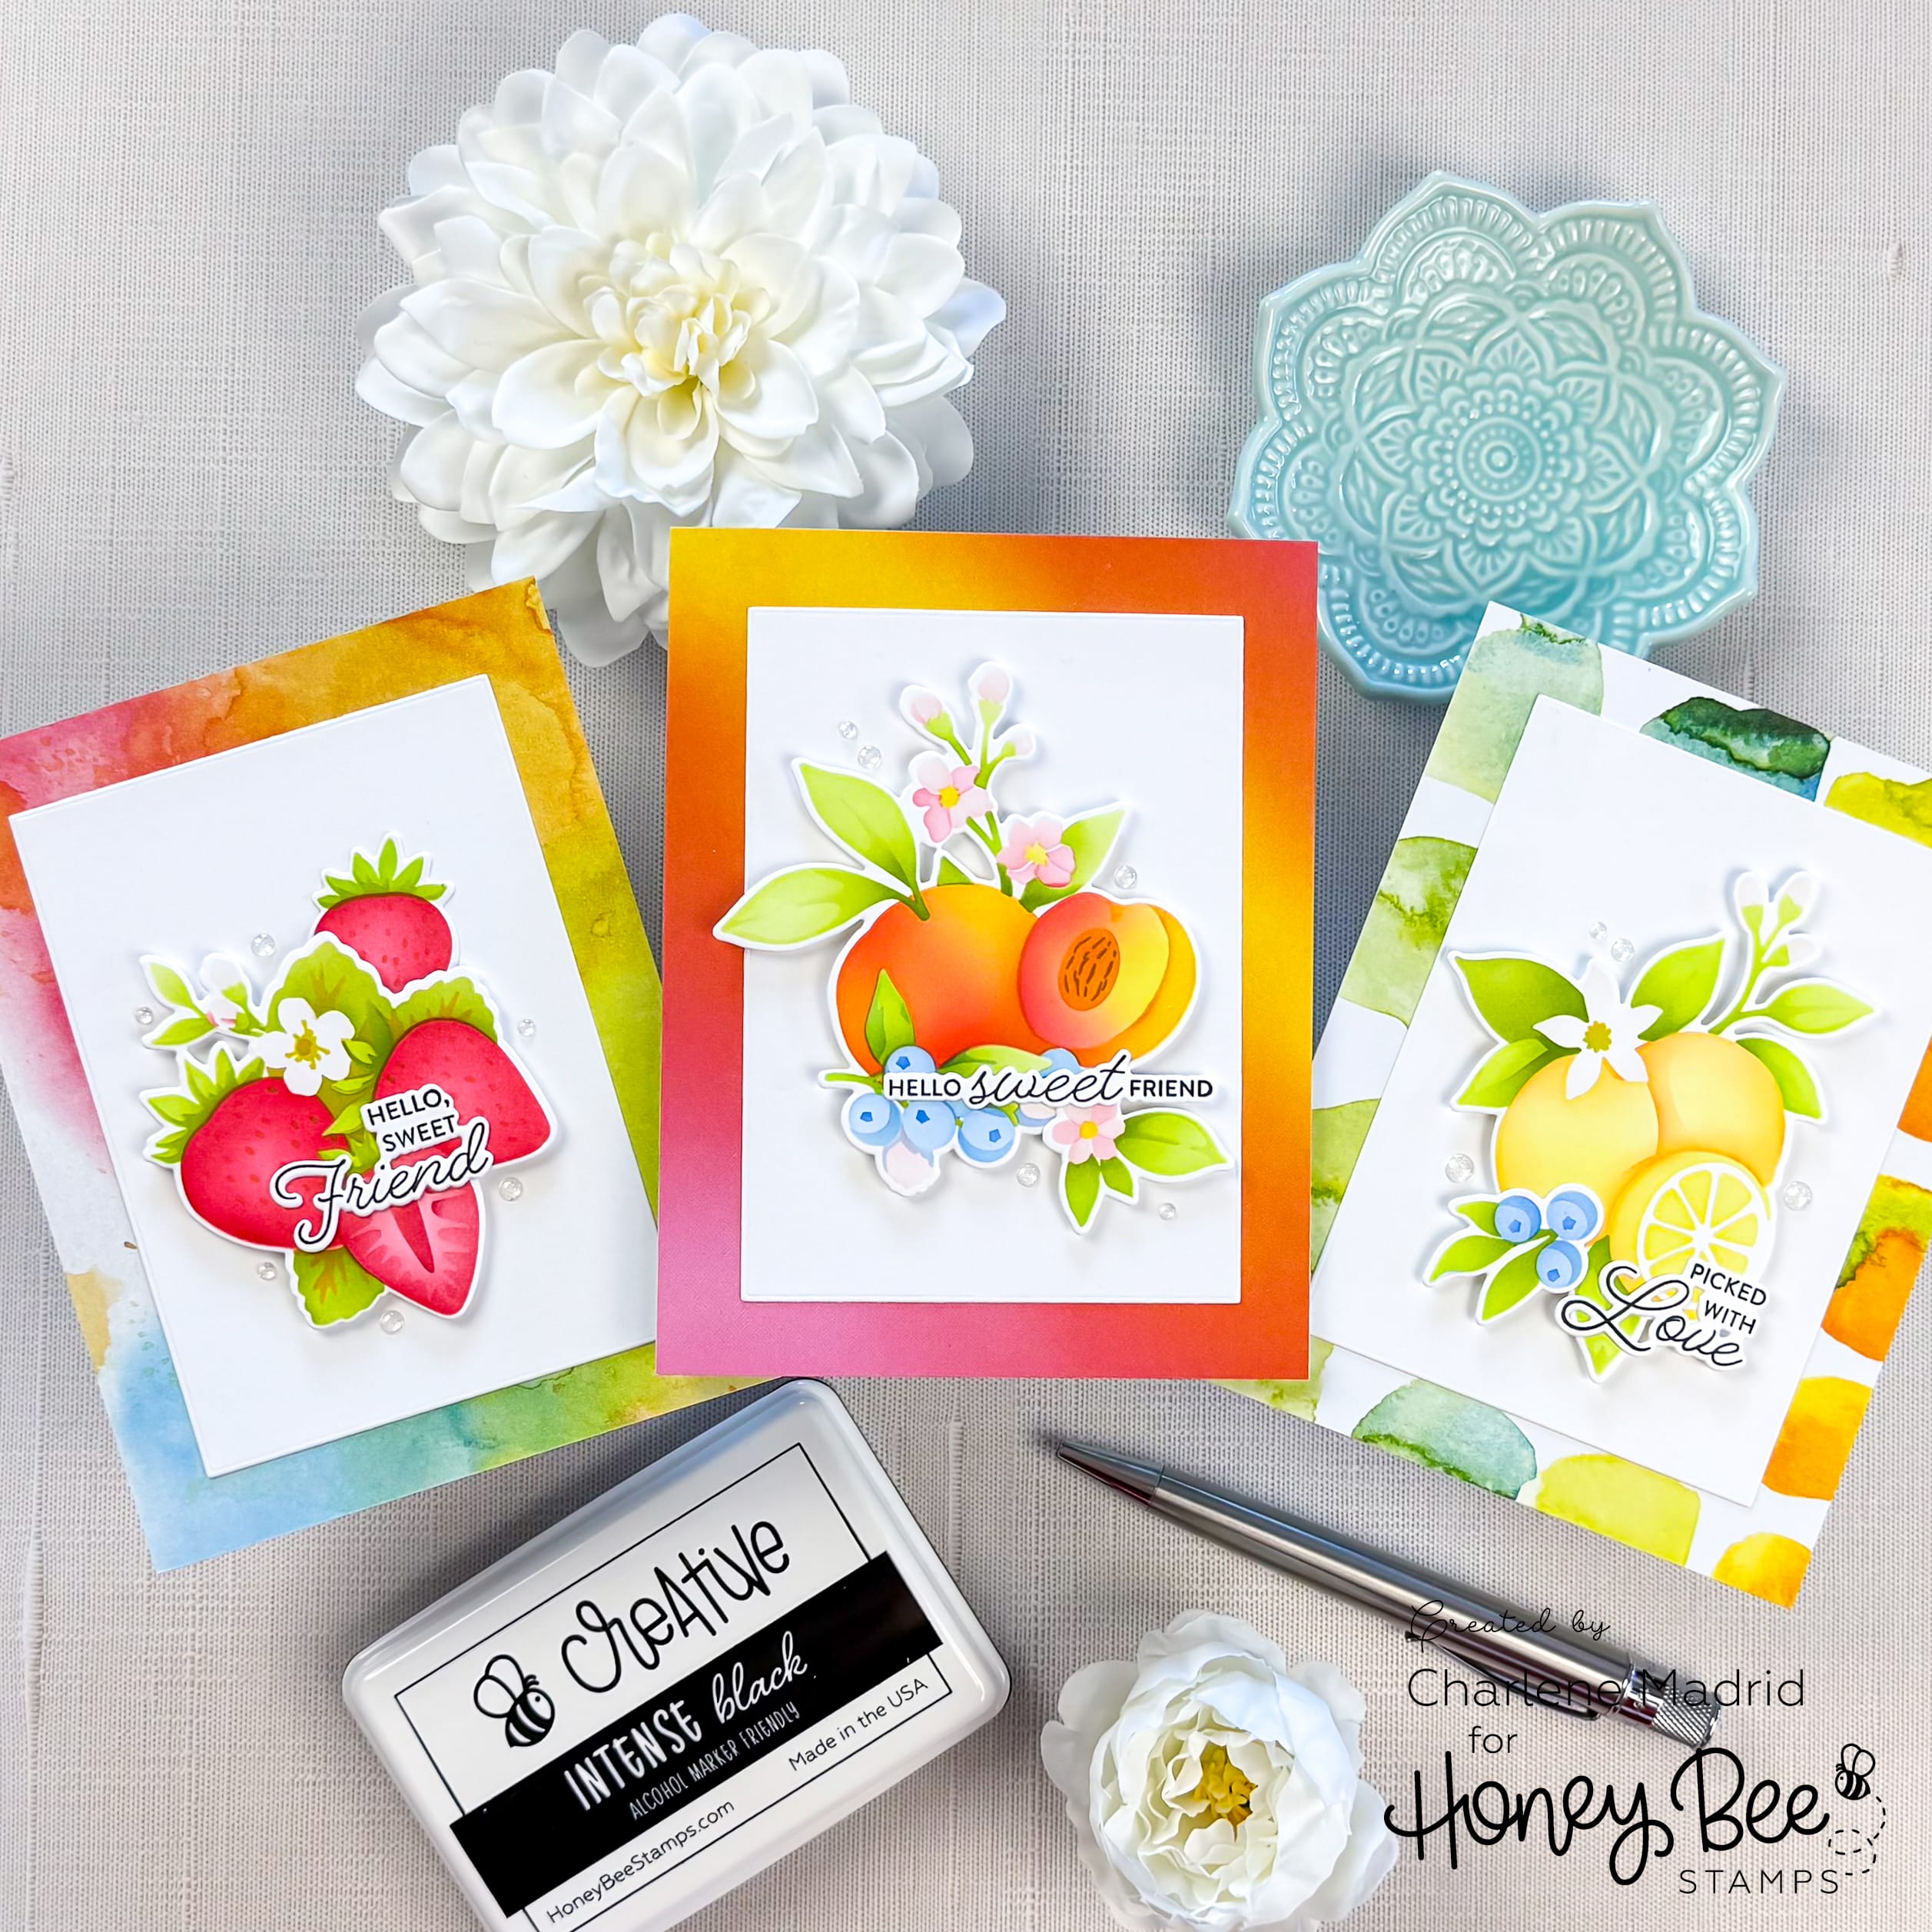
I’m sharing how to turn one stenciling session into three finished cards with extra shading, repeated colors, and the right background paper.
Hi crafty friends! Batch stenciling is such a great way to save time, but the real trick is making the finished cards feel intentional instead of repetitive. For this card trio, I used the Picked with Love stencils, stamps, and dies from Honey Bee Stamps to create three different fruit cards that each have their own personality, while still feeling like they belong together.
Watch the full video tutorial on YouTube
Click here for the full supply list
Disclosure
Compensated affiliate links may be used in this post at no cost to you. I received some of the products in this post at no cost. I will ONLY show you products from companies that I believe in and purchase from personally. Thank you for supporting me so that I can continue to bring you lots of fun crafting content!
In the video, you’ll learn:
- How to batch stencil multiple images in one session
- How to add extra shading so stenciled images look soft and dimensional
- How repeated colors help a card trio feel cohesive
- How to choose background paper that supports your focal images
- How to finish the inside of your card so the whole design feels pulled together
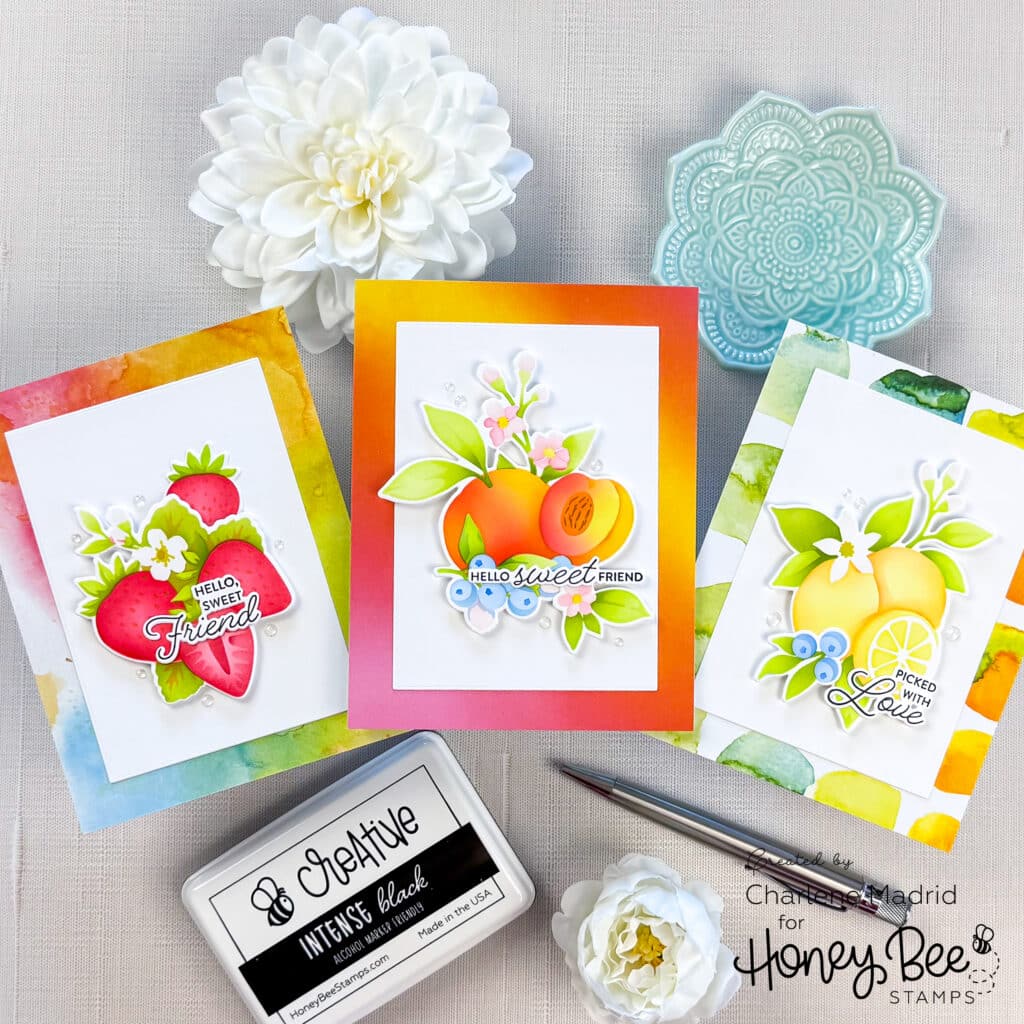
I love how this trio turned out because each card has a different feel, but the repeated colors, soft backgrounds, and clean white panels make them feel like a coordinated set. This is such an easy formula to reuse with any stencil set: batch the images, add a little shading, repeat your colors, and let your background paper do some of the work.
Which fruit card is your favorite, strawberry, peach, or lemon?
Happy crafting!
Charlene
Supplies