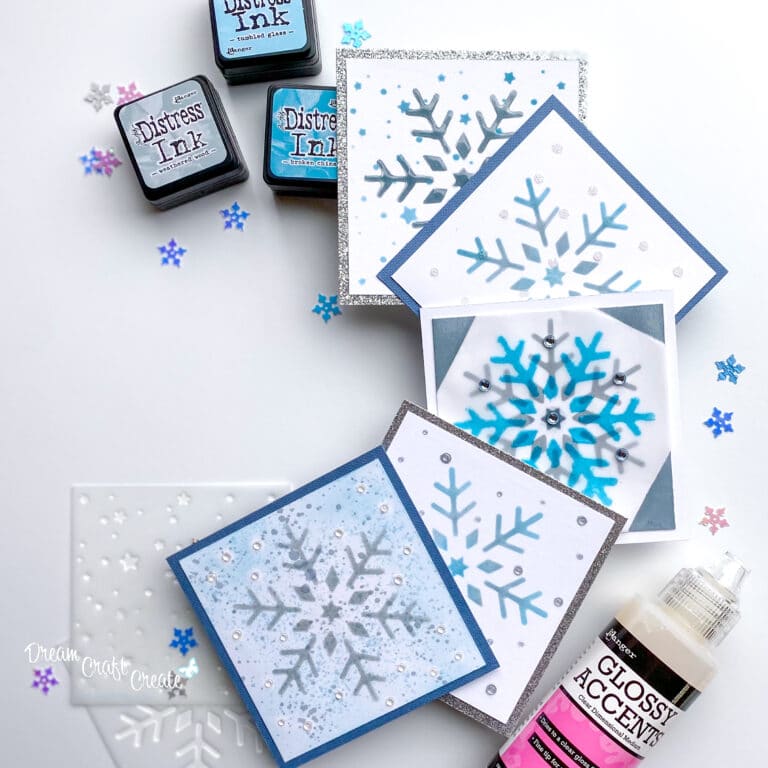
One Layer… But It Looks Like Die Cuts!
Stencils, strategic shading, and a 3D embossing folder can create incredible dimension on one sheet of cardstock.
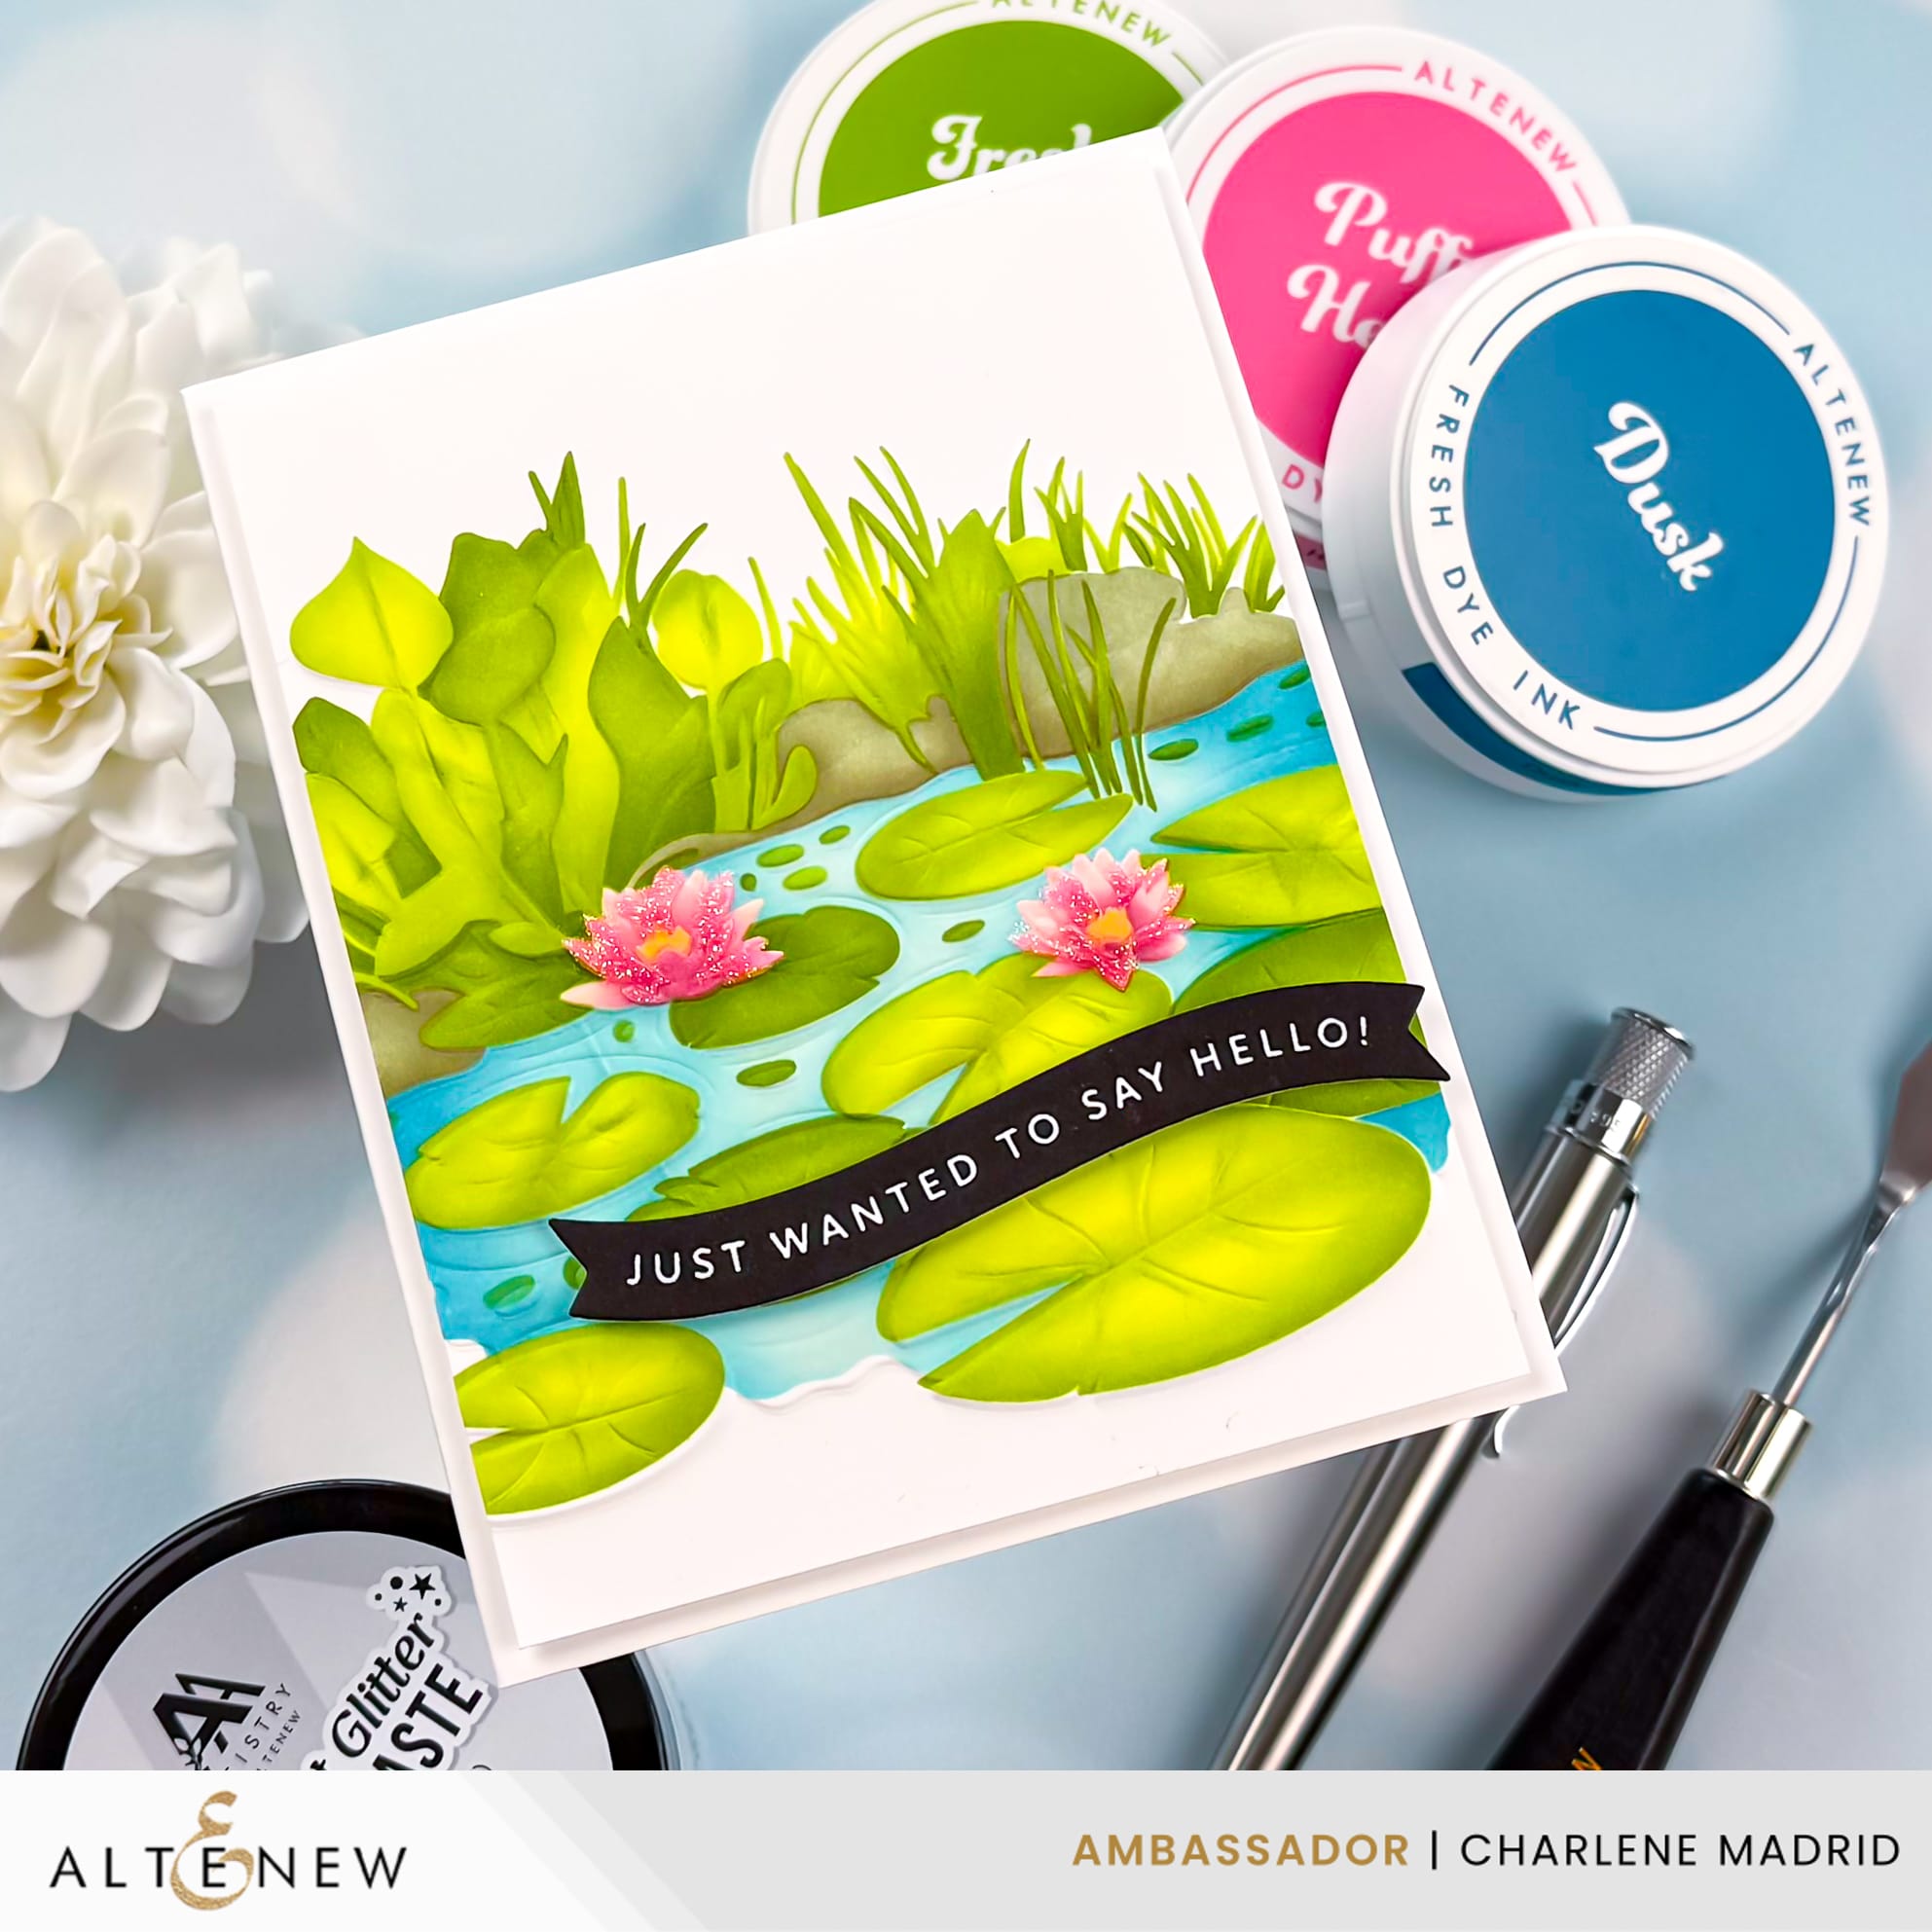
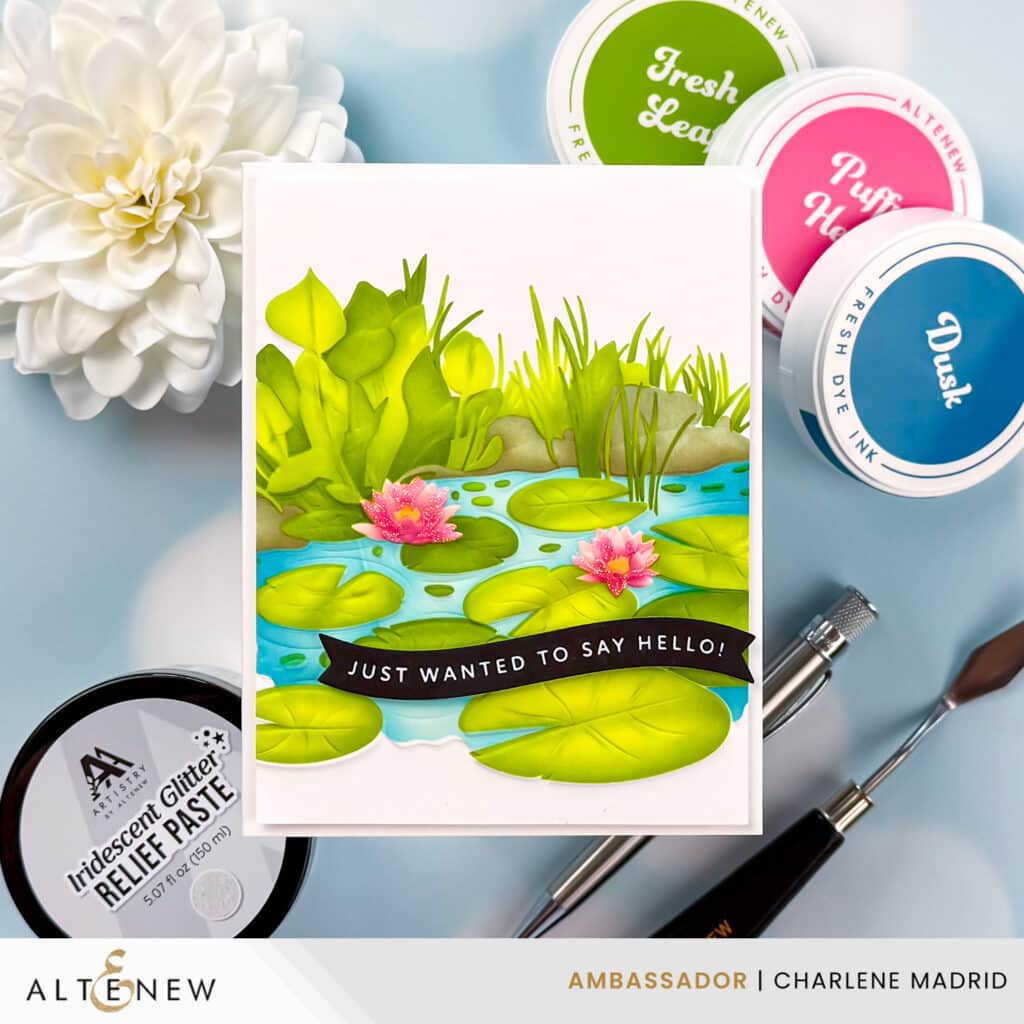
This card looks like it is built from layered die cuts, but it is almost entirely created on a single A2 panel using Altenew products. The trick is using multiple ink colors in each stencil layer so the highlights and shadows do the work for you. Then the Lily Pad Dreams 3D embossing folder takes it from pretty to jaw dropping!
Disclosure
Compensated affiliate links may be used in this post at no cost to you. I received some of the products in this post at no cost. I will ONLY show you products from companies that I believe in and purchase from personally. Thank you for supporting me so that I can continue to bring you lots of fun crafting content!
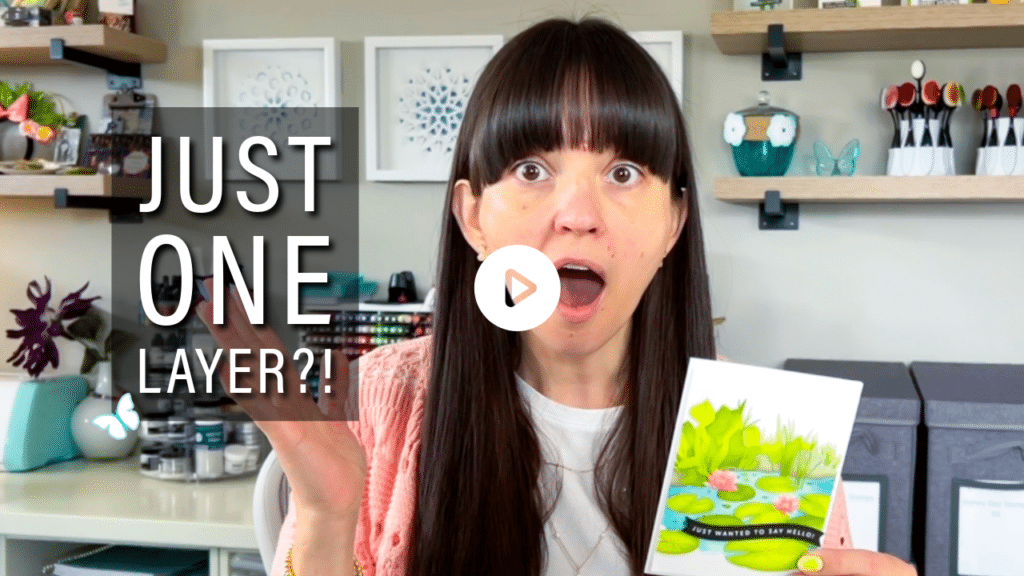
Watch the full video tutorial on YouTube
Click here for the full supply list
In the video, you’ll learn:
- How to use two ink shades in one stencil layer to create instant dimension
- Why micro blending brushes are the secret to realistic shading
- How to place highlights so lily pads look curved instead of flat
- How to blend water with a bright center highlight for a glowing look
- How to finish small stenciled flowers with glitter relief paste for extra sparkle
- How to align a 3D embossing folder over your stenciled scene for added texture
Have you tried mixing shading and embossing like this before? If not, this is such a fun technique to try with any scenic stencil set. Let me know in the comments, or tag me @dreamcraftcreate if you give these techniques a try.
Happy crafting!
Charlene
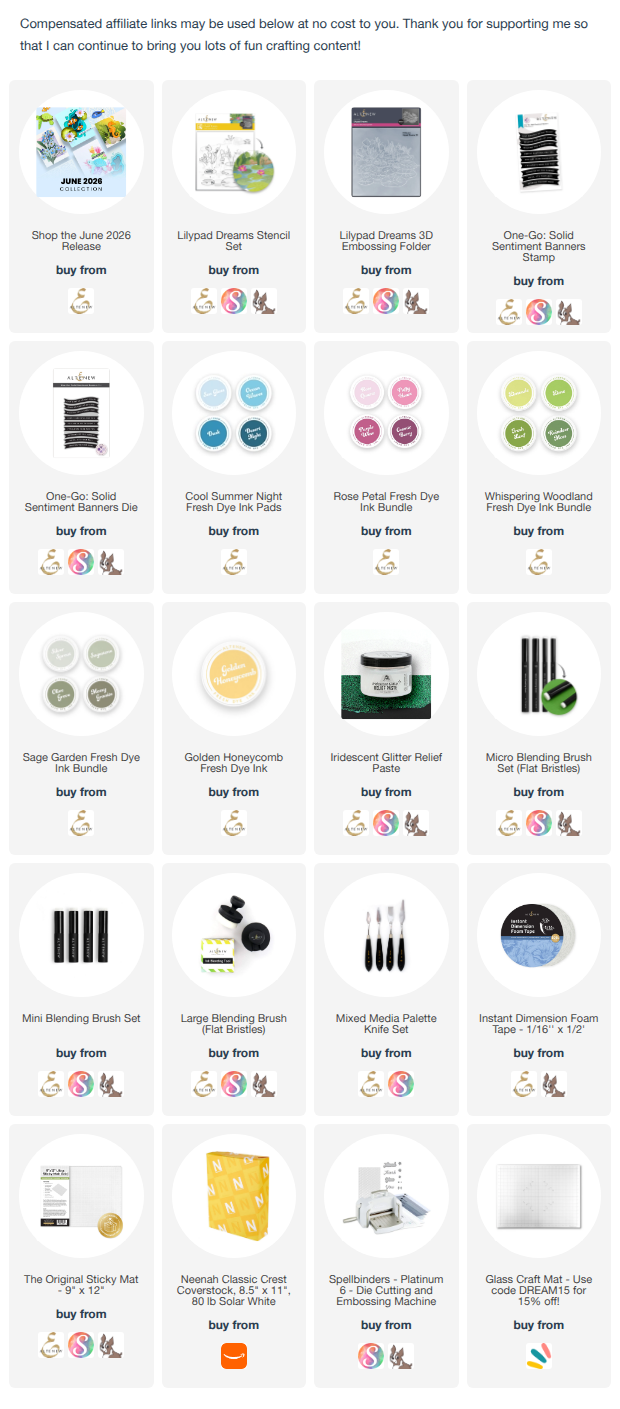
Supplies