5 Fun and Easy Ways to use Paper Strips!
Get Creative with These Five Fun Techniques for Handmade Paper Strip Cards!
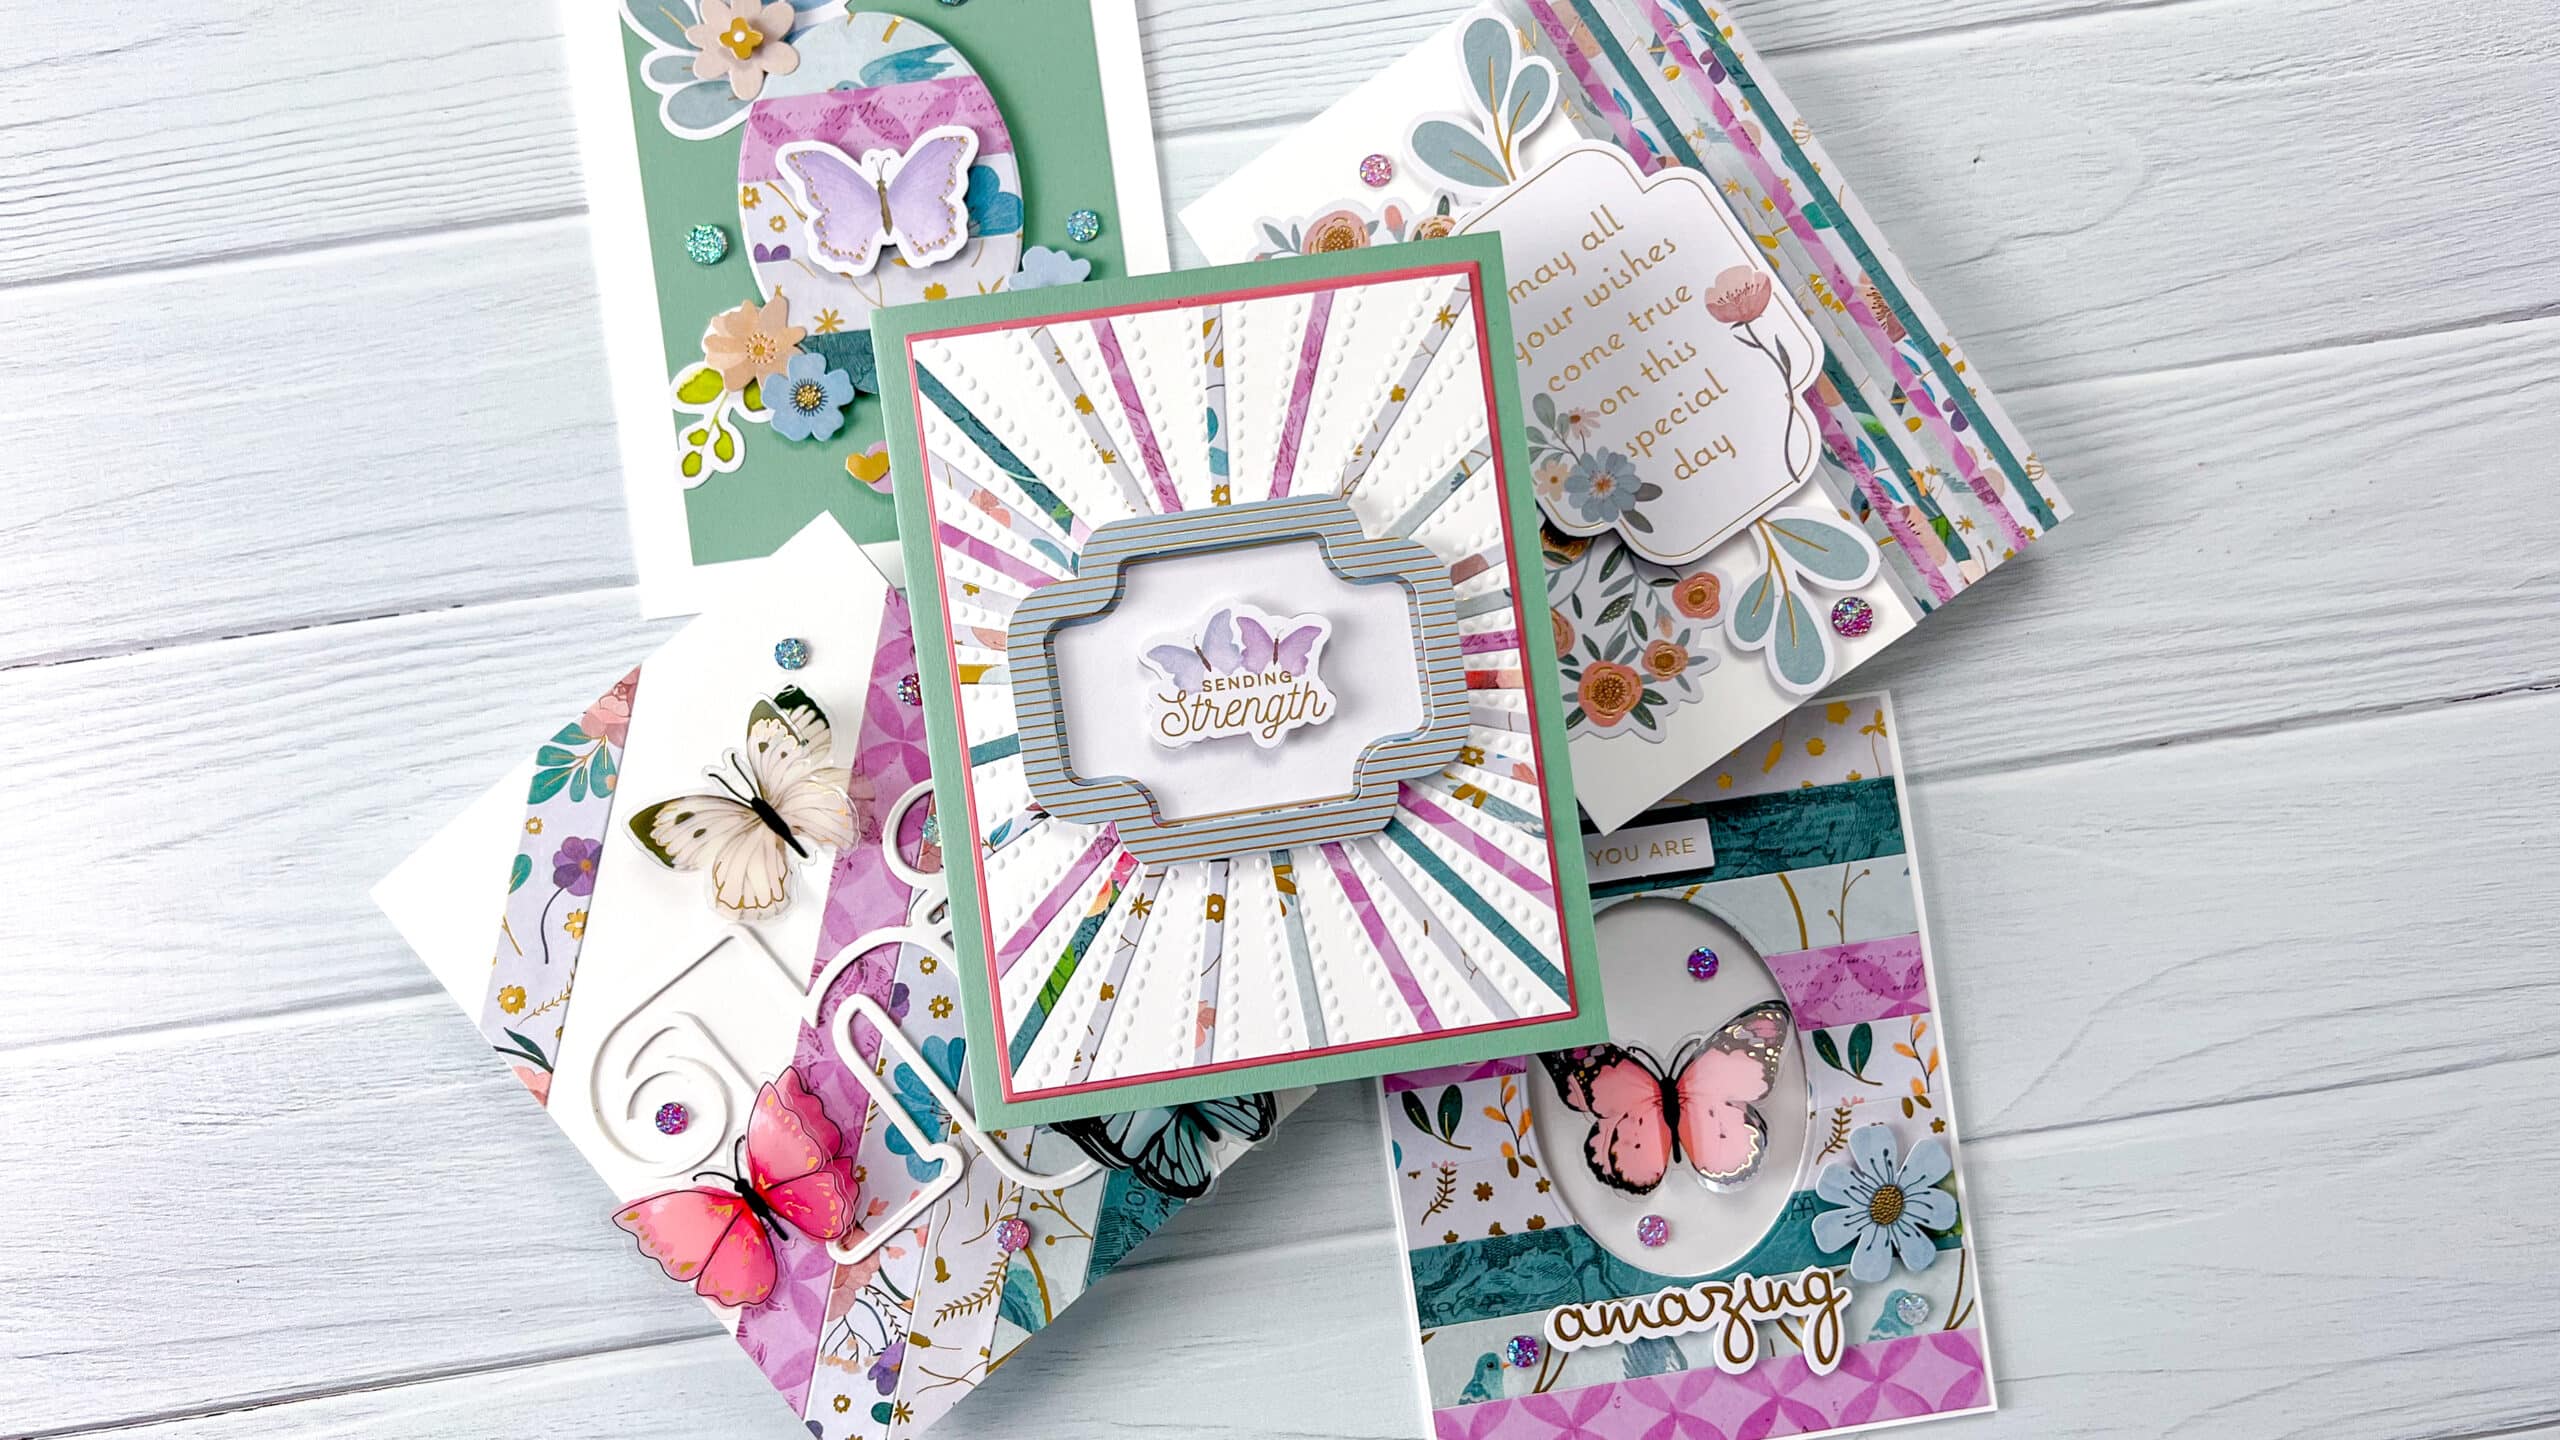
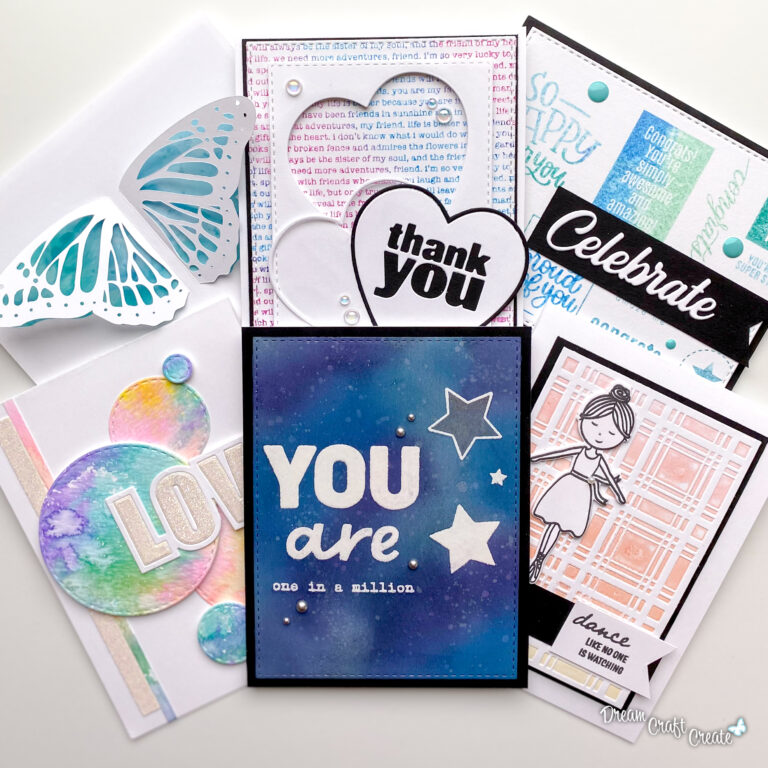
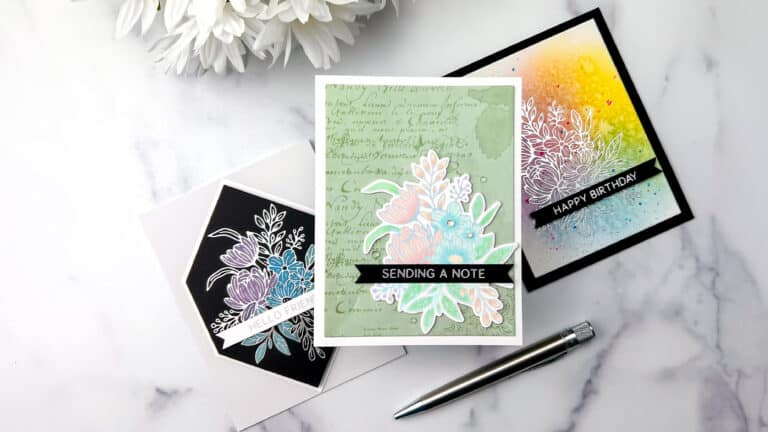
As a lover of all things handmade, I am always looking for new and creative ways to express myself through card making. Recently, I had the chance to create with several items from the Floral Friendship Collection from Spellbinders. Come along with me as I guide you through the process of using paper strips to create cards that are truly one-of-a-kind, and see the stunning results!
To create my handmade cards, I first cut paper strips in various widths and lengths. I then used five different techniques to create intricate designs on the front of the cards. Check out my video tutorial below and learn five fun ways to use paper strips on your handmade cards! Happy crafting! ❤️
Disclosure
Compensated affiliate links may be used in this post at no cost to you. I received some of the products in this video/post at no cost. I will ONLY show you products from companies that I believe in and purchase from personally. Thank you for supporting me so that I can continue to bring you lots of fun crafting content!
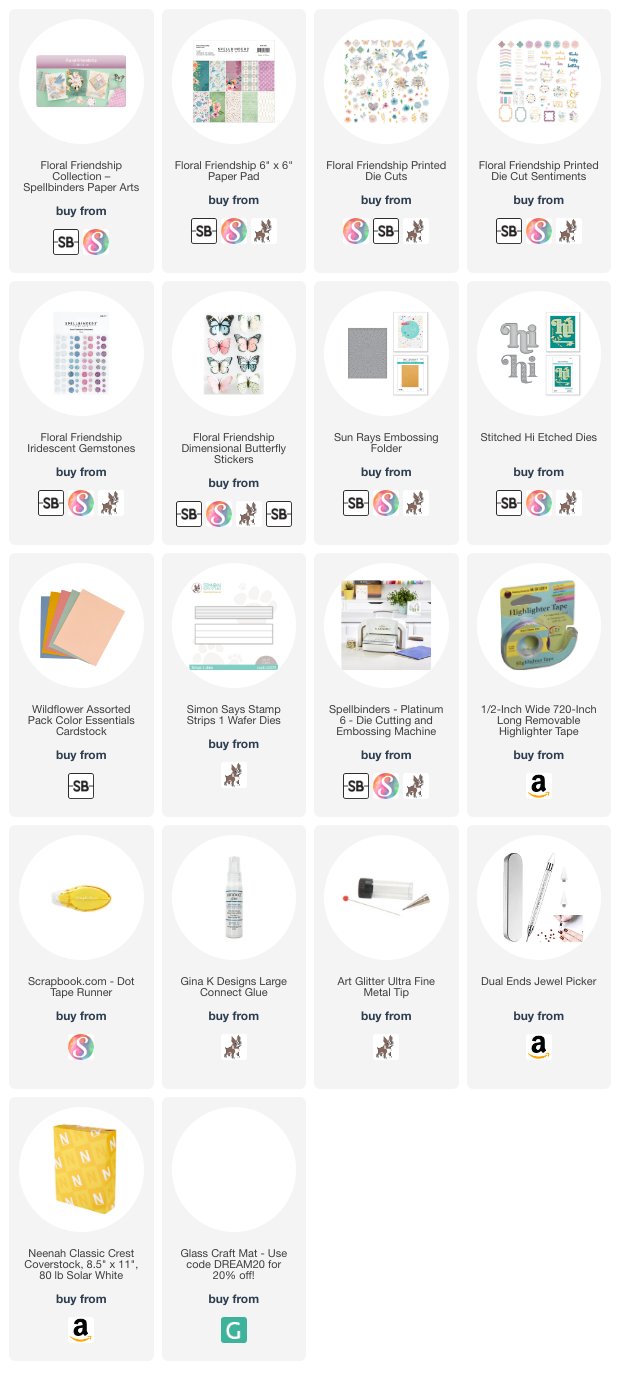
Featured Products
- Floral Friendship Collection
- Floral Friendship 6″ x 6″ Paper Pad
- Floral Friendship Printed Die Cuts
- Floral Friendship Printed Die Cut Sentiments
- Floral Friendship Iridescent Gemstones
- Floral Friendship Dimensional Butterfly Stickers
- For the full supply list, scroll down to the thumbnails at the end of this post.
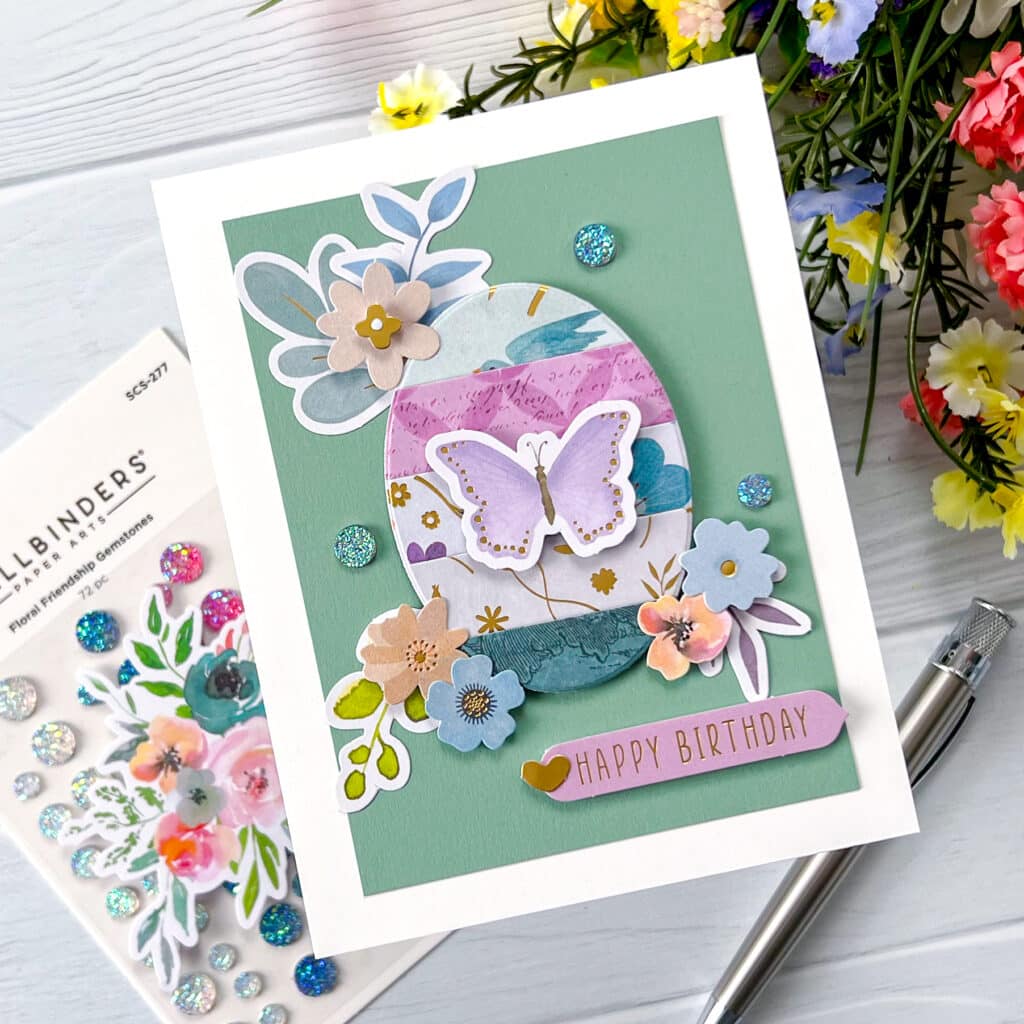
Technique #1 Die Cut Shapes
Use a die cut machine to cut out geometric shapes and designs from the paper strips.
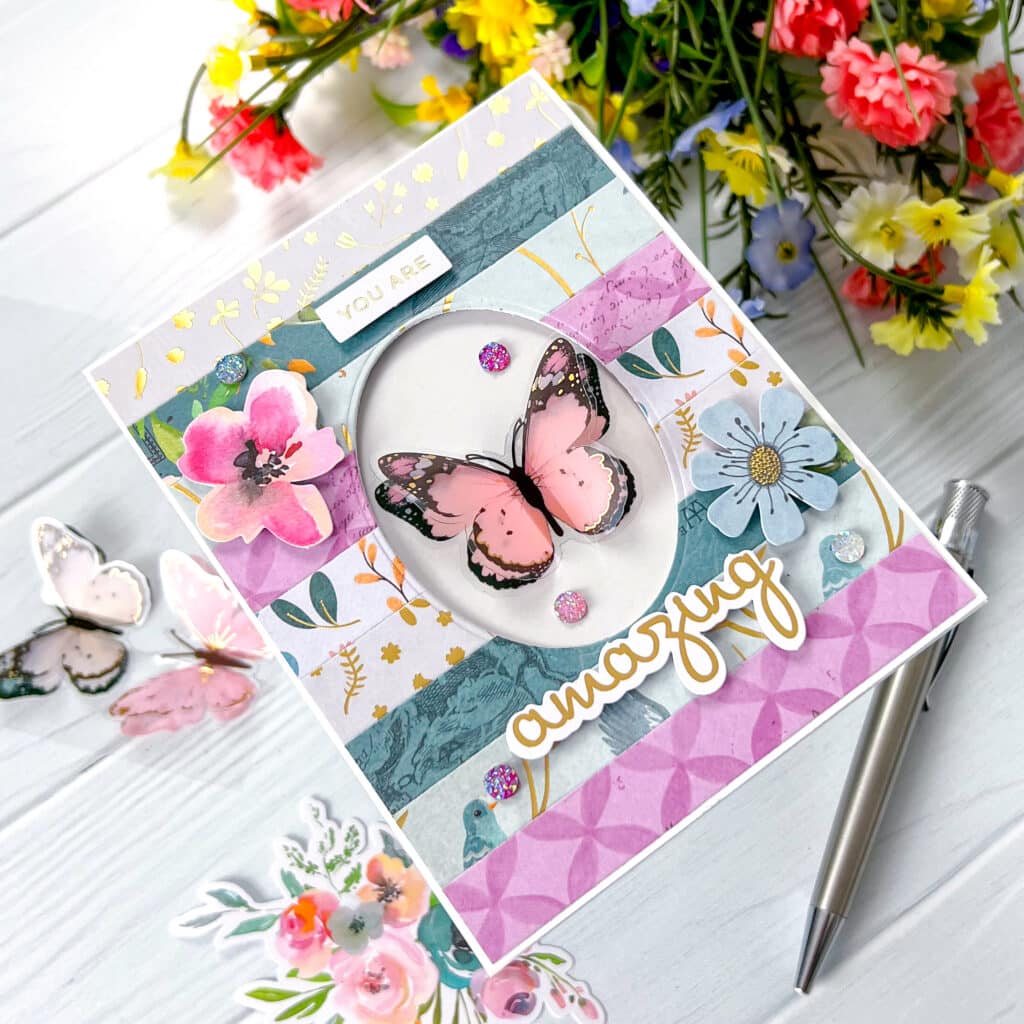
Technique #2 Window Cards
Cut out a window from a panel of paper strips to create a layered effect on the front of your card.
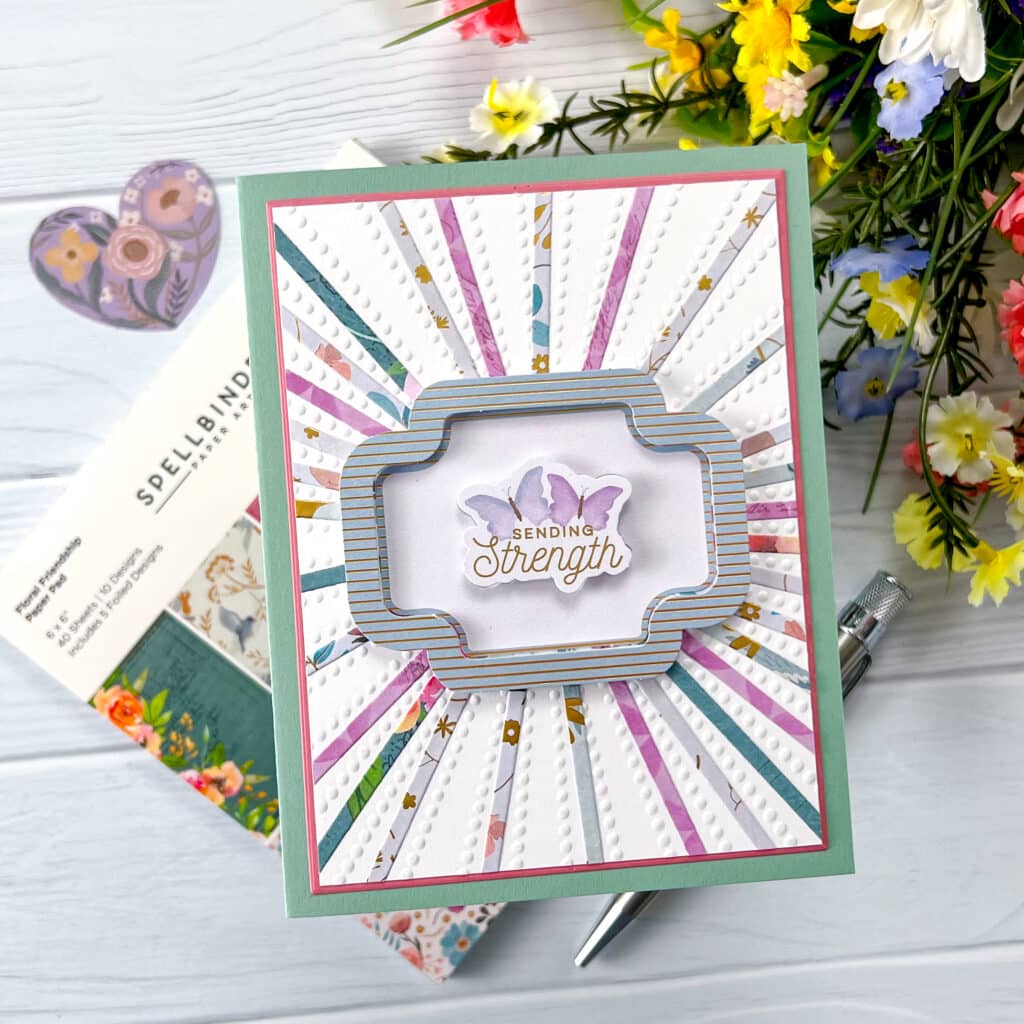
Technique #3 Starburst Pattern
Arrange paper strips in a starburst pattern for a bold and eye-catching design.
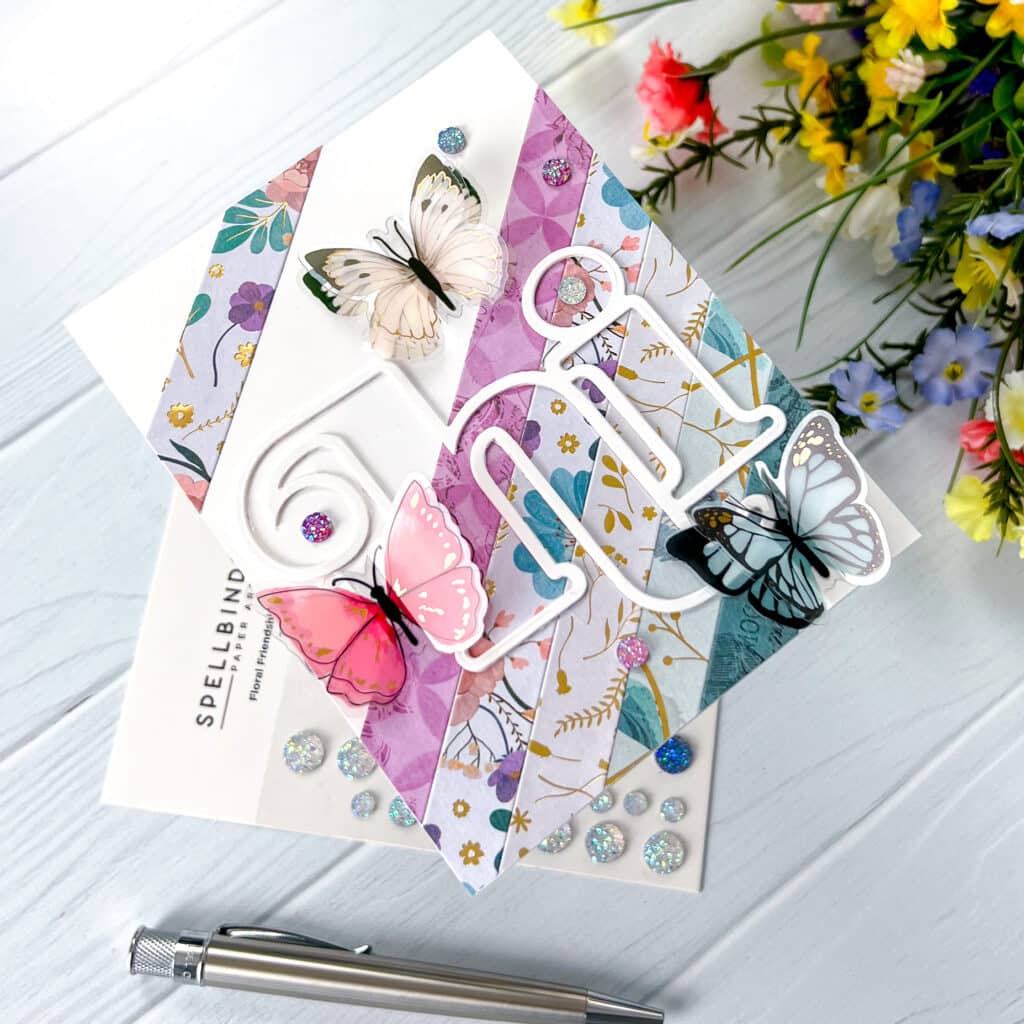
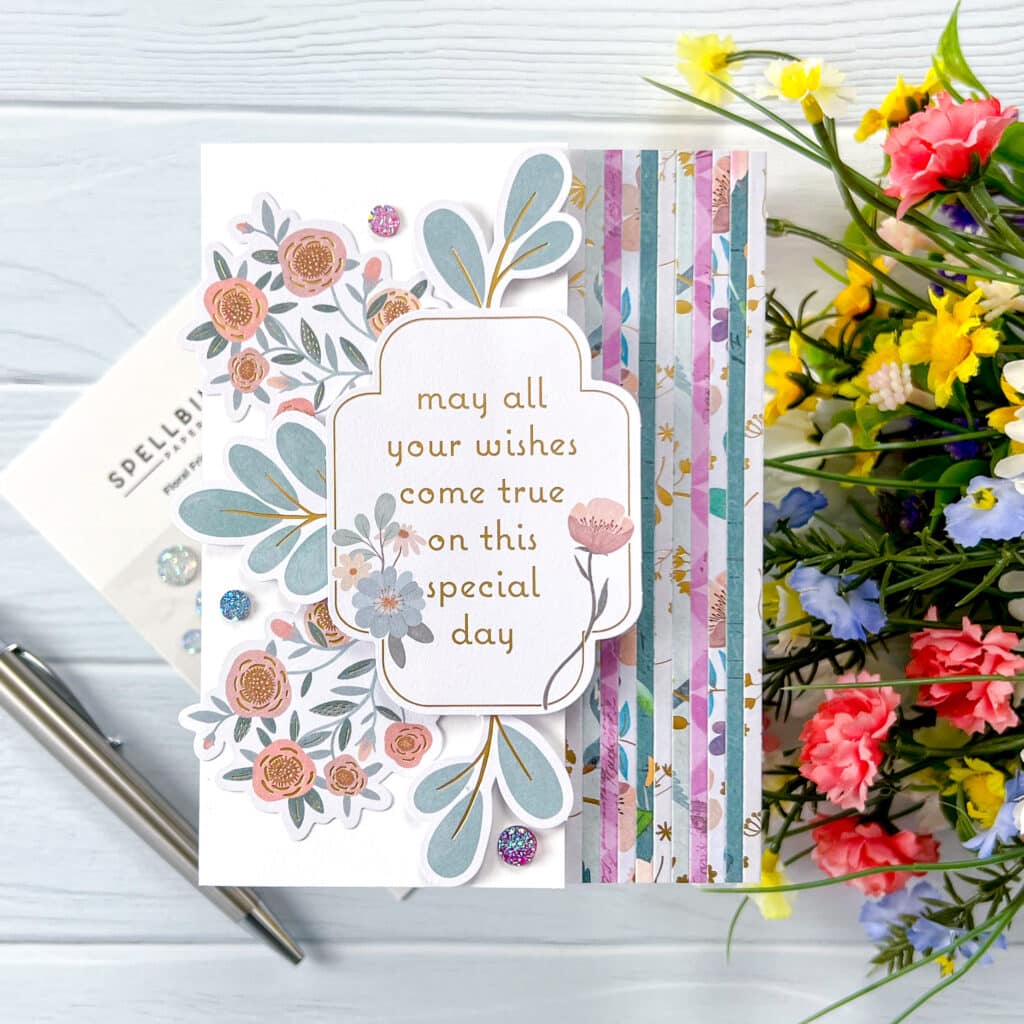
Technique #4 Strips Behind a Die Cut
Add paper strips behind a die cut word or shape for a unique and textured look.
Technique #5 Strips on the Inside of the Card
Add paper strips to the inside of the card for a pop of color and interest.
Tips and Tricks
Here are a few tips and tricks I learned while creating my paper strip cards:
- Experiment with different combinations of techniques to create a variety of designs.
- Use a die cut machine to add intricate shapes and designs to your cards.
- Cut out windows in the front of the card for a unique and layered effect.
- Arrange paper strips in a starburst pattern for a bold and eye-catching design.
- Add paper strips behind a die cut shape or on the inside of the card for a textured and interesting look.
I am thrilled with how my paper strip cards turned out. Each of the five cards features a unique technique, resulting in a mix of of cards that are perfect for any occasion, from birthdays to weddings to just-because notes of appreciation. If you’re looking for a new crafting project to try, I highly recommend experimenting with different paper strip techniques to create your own unique and stunning handmade cards!
Supplies
