How to Make a Shaker Card with Frame Dies
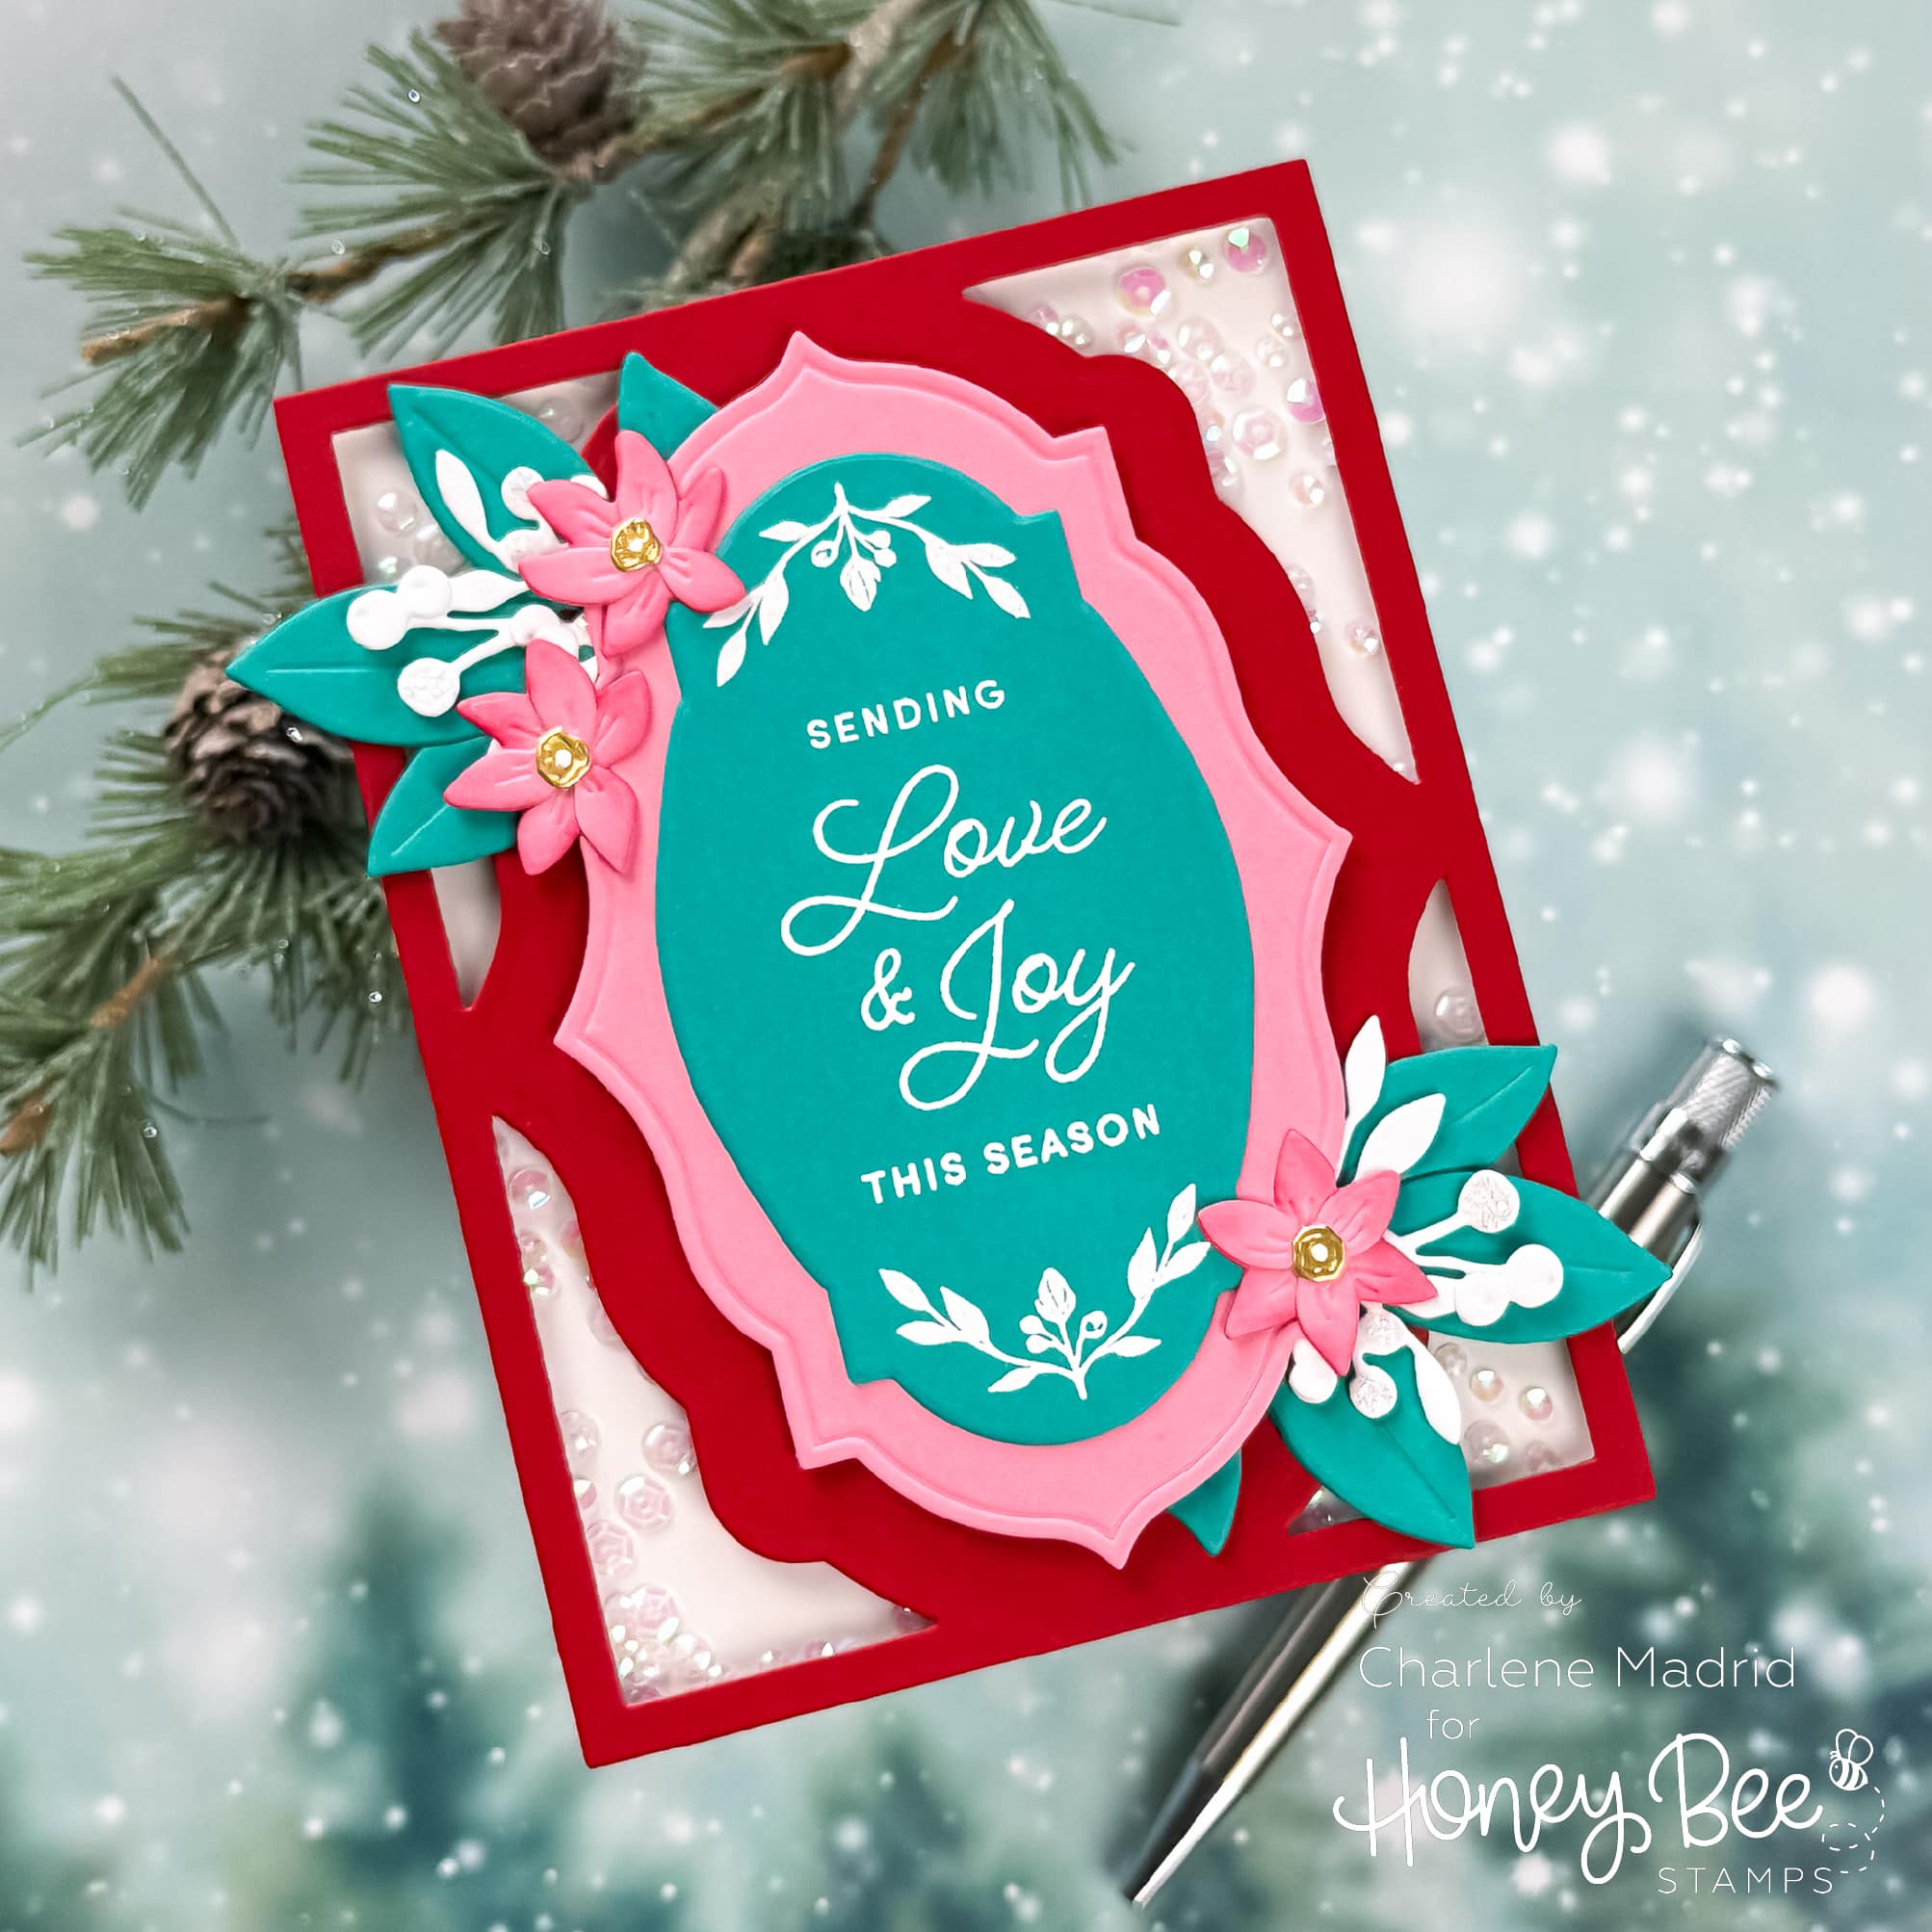
Turn a decorative layering frame into an interactive shaker while still using the remaining layers to create a colorful focal point.
Hey crafty friends! Layering frames are beautiful stacked together, but you do not have to use every layer exactly as intended. In this tutorial, I’m sharing how to make a shaker card with frame dies by turning the outer Laurel Wishes Layering Frames from Honey Bee Stamps into four separate shaker windows. Then I layered the remaining frames in the center with the coordinating Laurel Wishes stamps for a completely different way to use the set!
Disclosure
Compensated affiliate links may be used in this post at no cost to you. I received some of the products in this post at no cost. I will ONLY show you products from companies that I believe in and purchase from personally. Thank you for supporting me so that I can continue to bring you lots of fun crafting content!
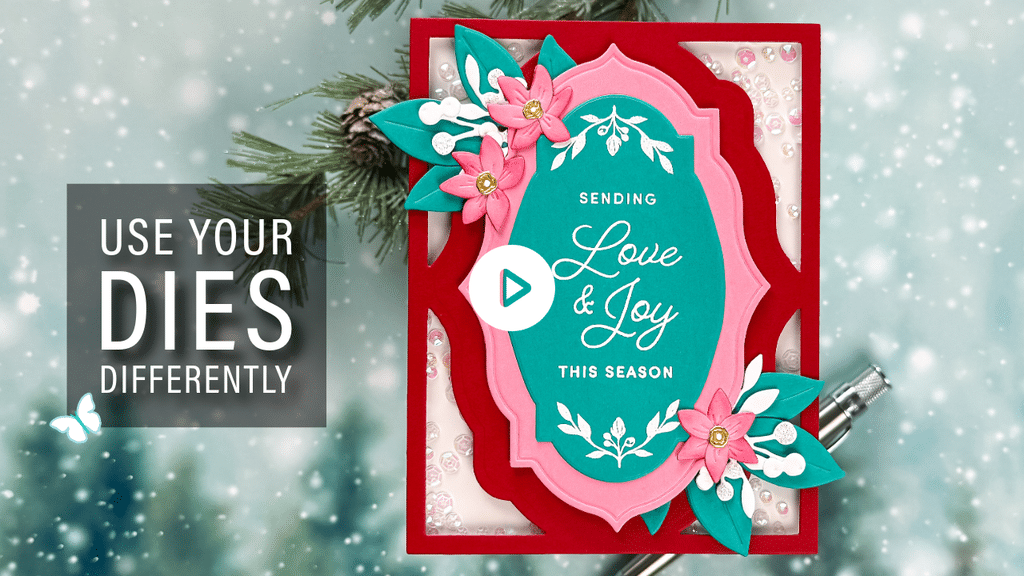
Watch the full video tutorial on YouTube
Click here for the full supply list
In this video, you’ll learn:
- How to turn a layering frame into shaker windows
- How to create separate shaker wells without wasting shaker mix
- An easy scoreboard trick for perfect shaker alignment
- How to balance several saturated colors with white space
- How to use contrast to create a strong center focal point
- How to extend the design with coordinating layered botanicals
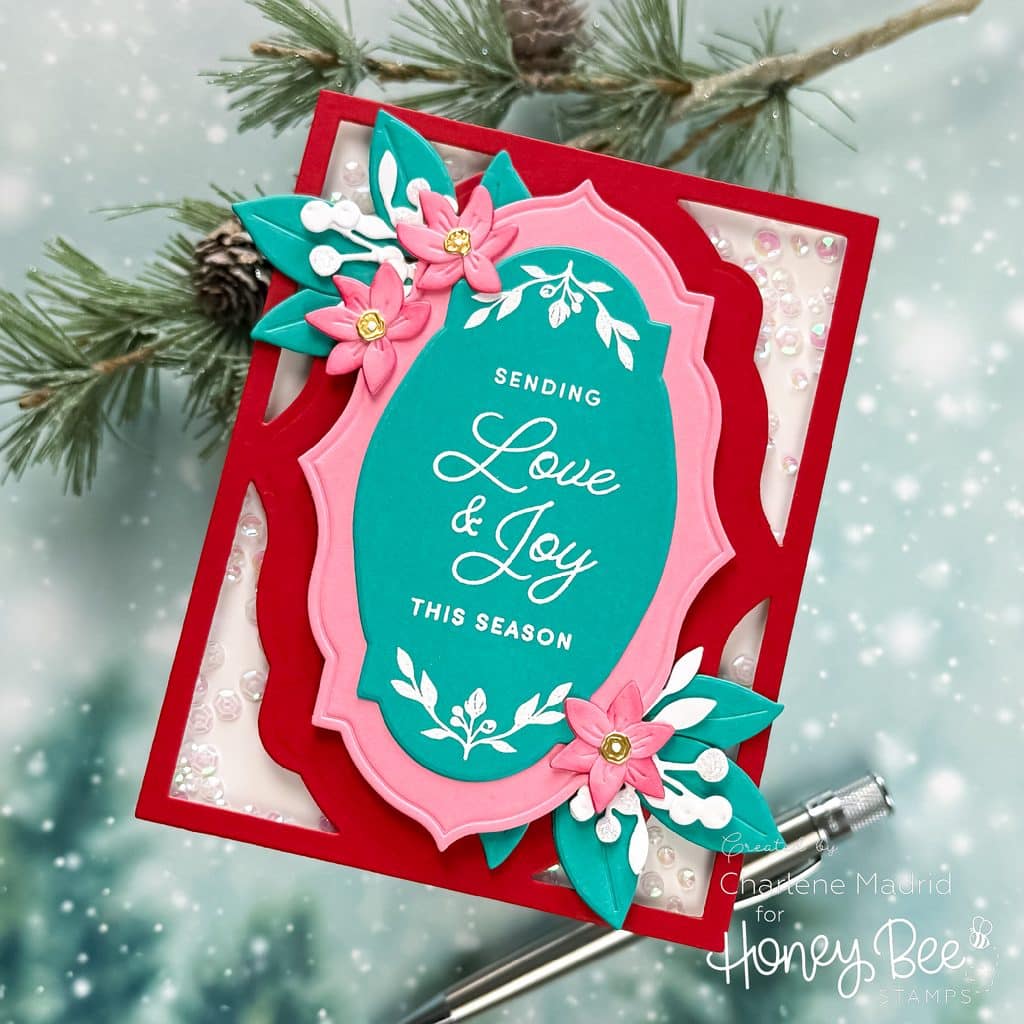
I love how changing the purpose of just one die completely transforms this card. The largest frame becomes the interactive element, while the remaining layers still give you all of the color, dimension, and detail the set was designed for. The next time you pull out a layering frame, take a look at those openings and ask whether one of them could become a window. It is such an easy way to create a shaker card with frame dies and get even more from the supplies you already own.
Have you ever turned a frame die into a shaker? I’d love to know what frame set you would try this with.
Happy crafting!
Charlene
Supplies